If you love crunch and you love fried chicken, you're going to absolutely love this super crunchy oat crusted chicken schnitzel.
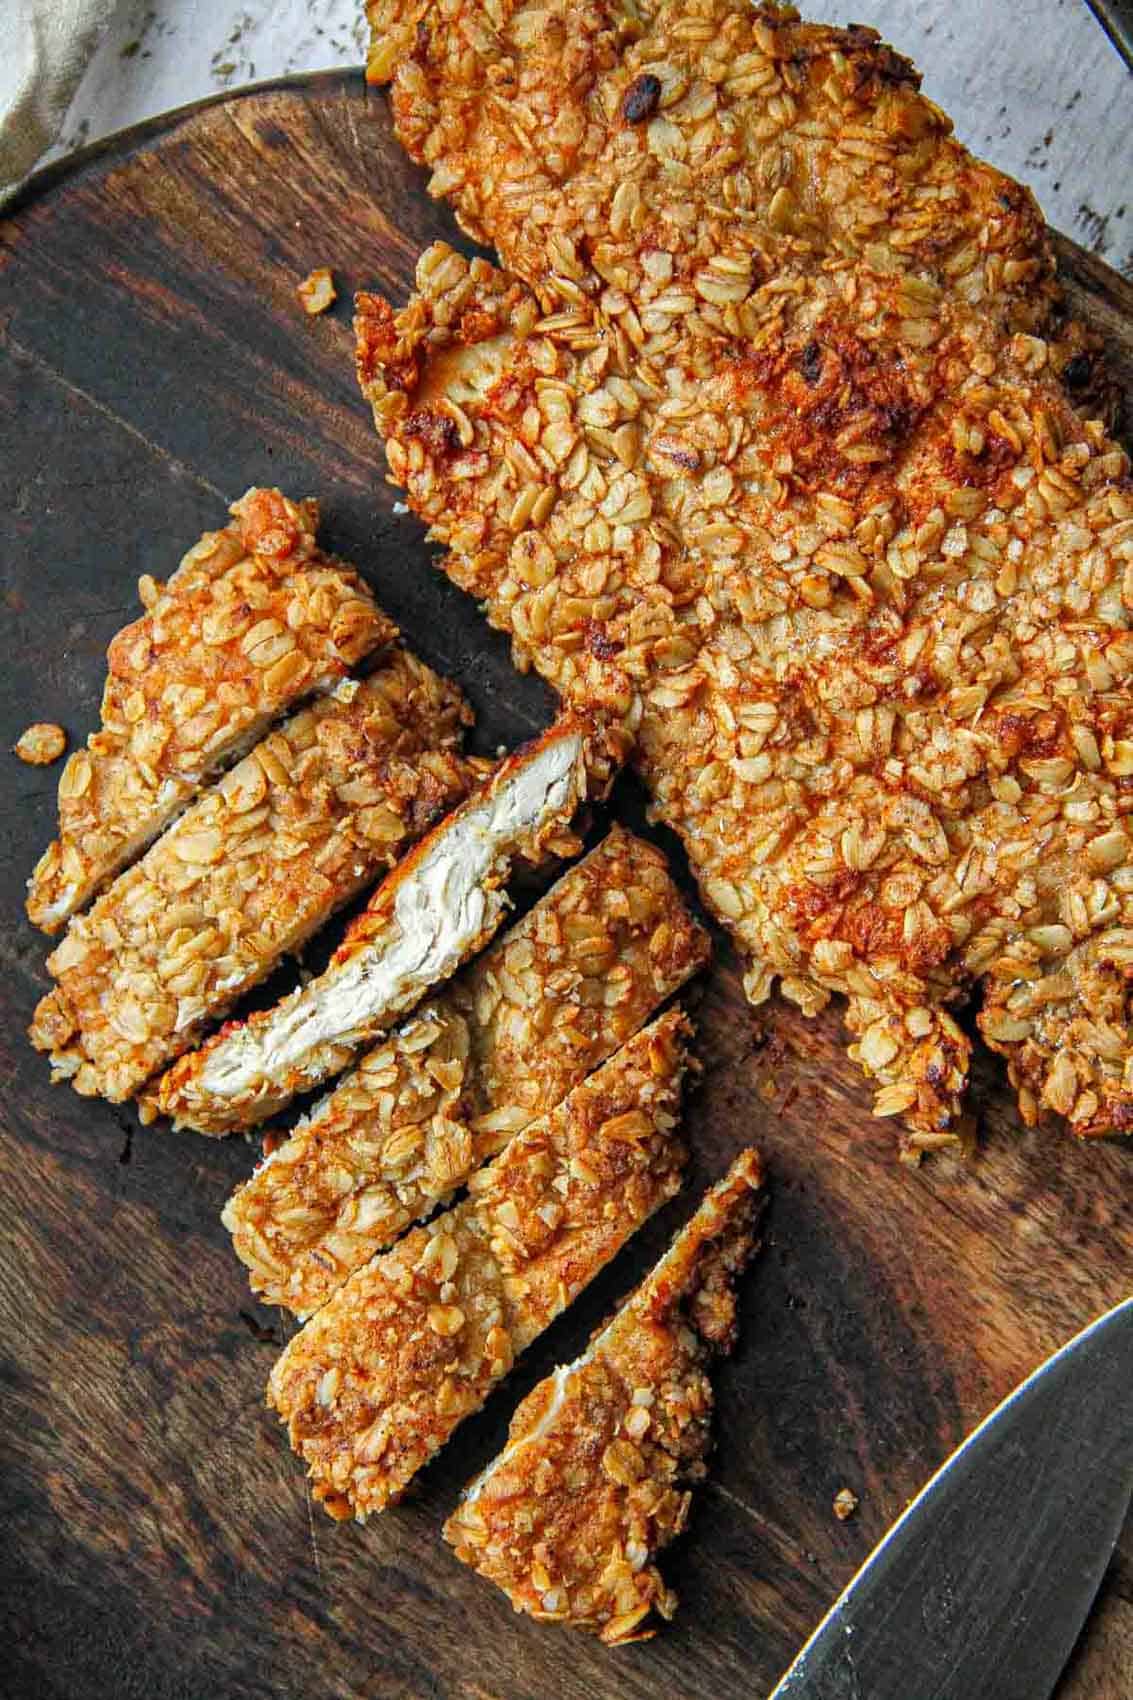
I think a lot of people associated oats with healthy eating but that's not what this recipe is about. This recipe is about pure enjoyment.
Oats happen to make an absolutely perfect coating for chicken schnitzel. Since oats (and rolled oats in particular) are larger and denser than wheat flour, they give you a coating that's supremely crunchy.
There's really no comparison to schnitzel made with flour - I'd take oat crusted chicken schnitzel any day!
Plus, besides being really crunchy, the oat also adds a slightly nutty flavor that gives the chicken a little something extra.
I can't say enough good things about this crunchy oat crusted chicken. Best part is it's really easy to make.
Quick Summary
- Butterfly boneless, skinless chicken breast filets and pound them out thin;
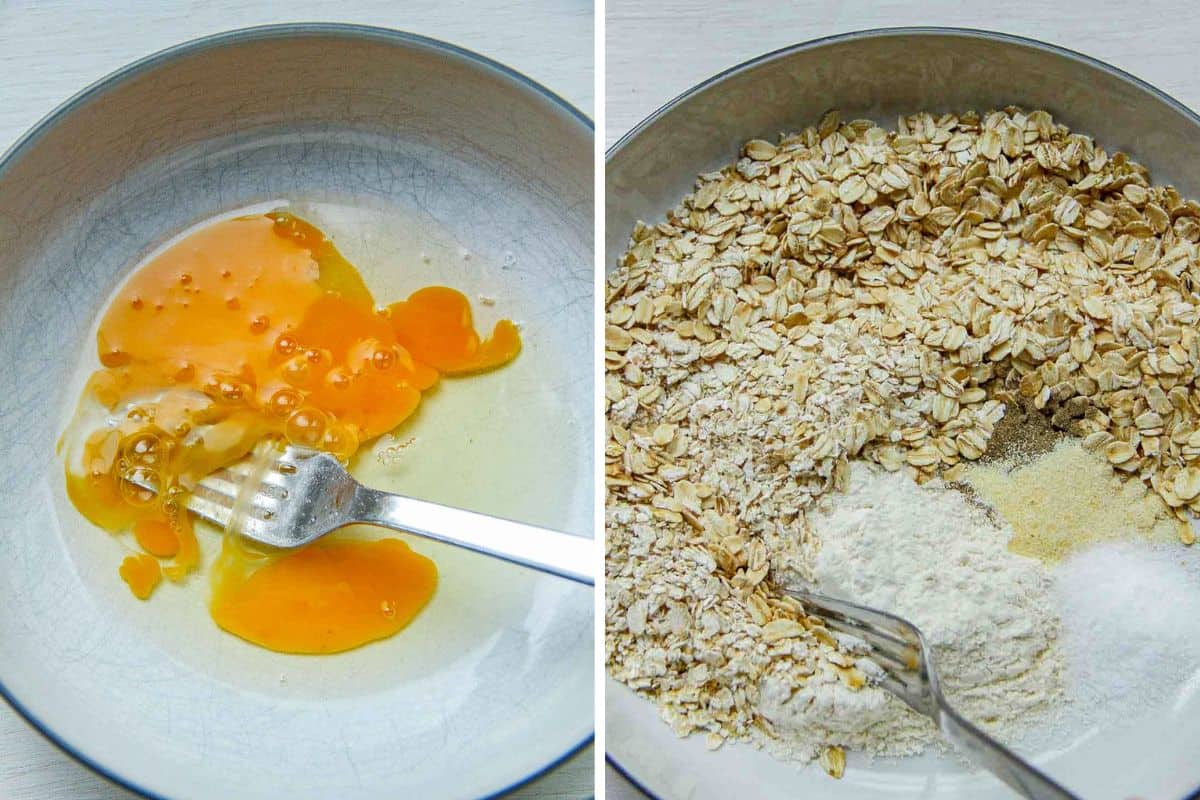
- Whisk up egg in one bowl and the coating ingredients in another;
- Dredge each chicken piece through the egg then the oat mixture, ensuring they are well coated;
- Fry in hot oil for 3-4 minutes per side or until golden brown.
Ingredients
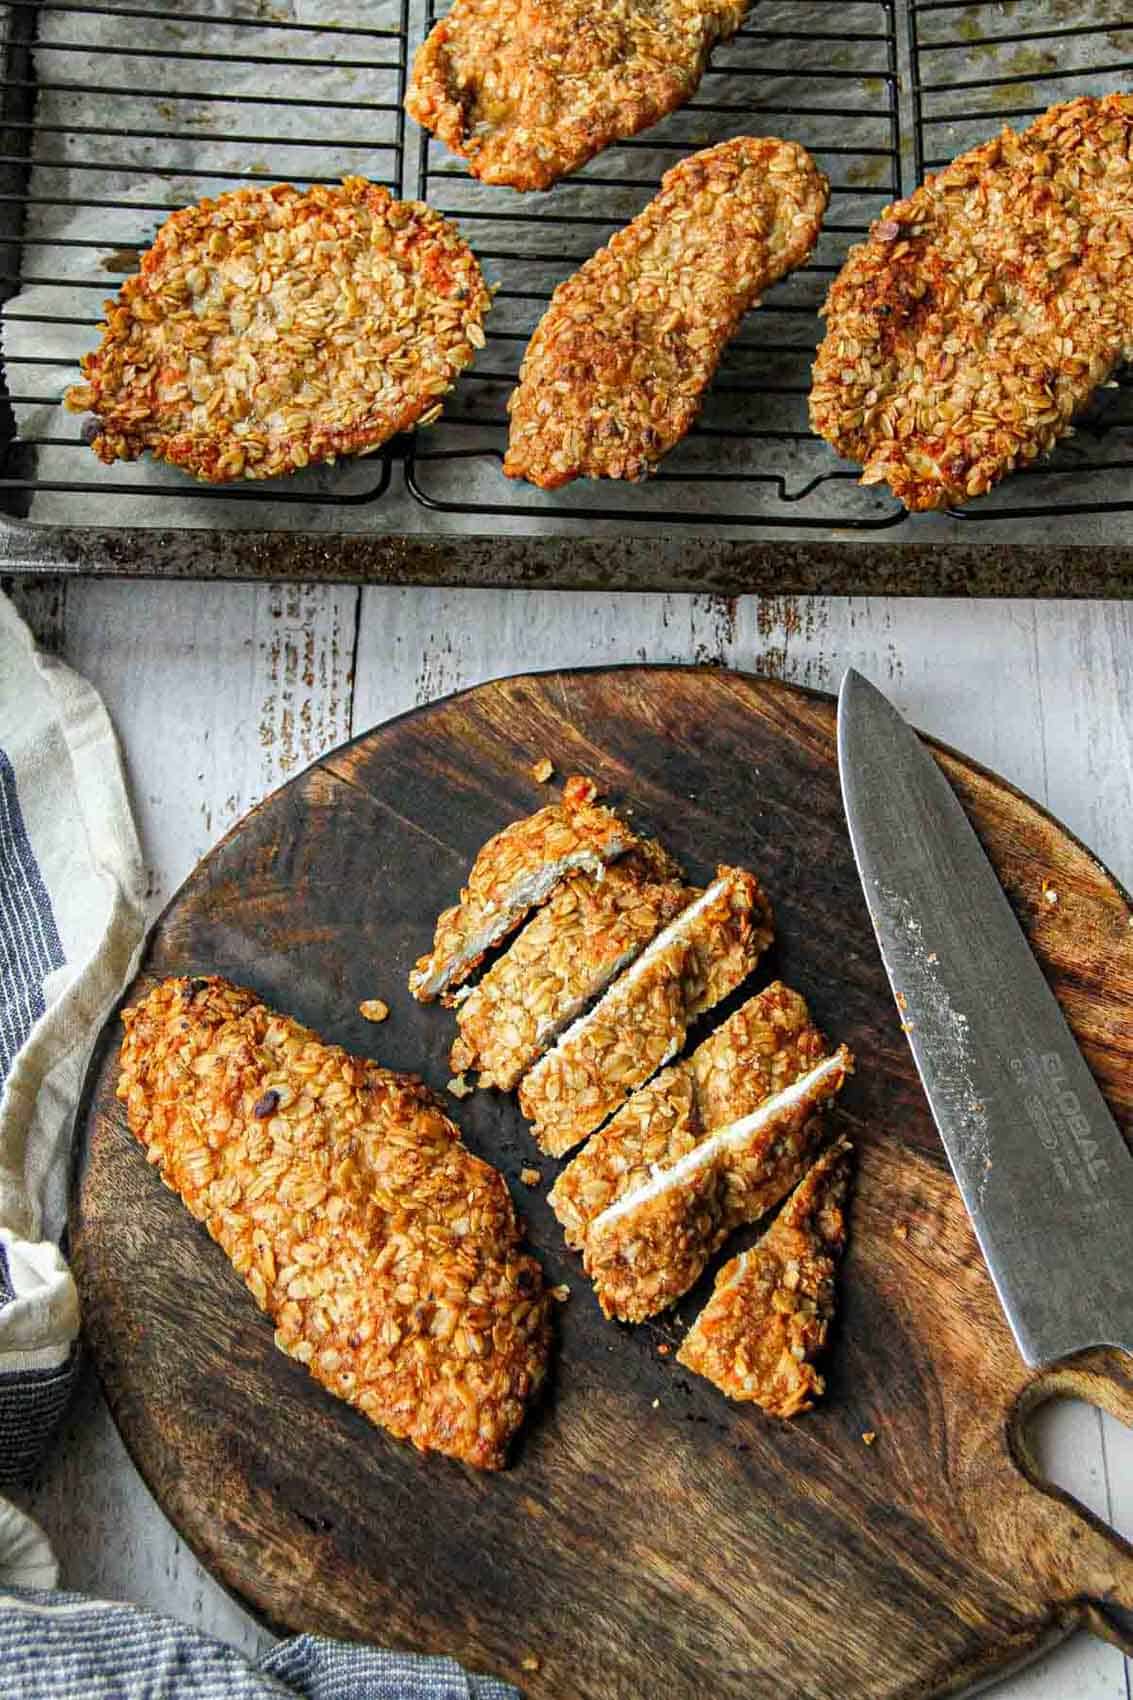
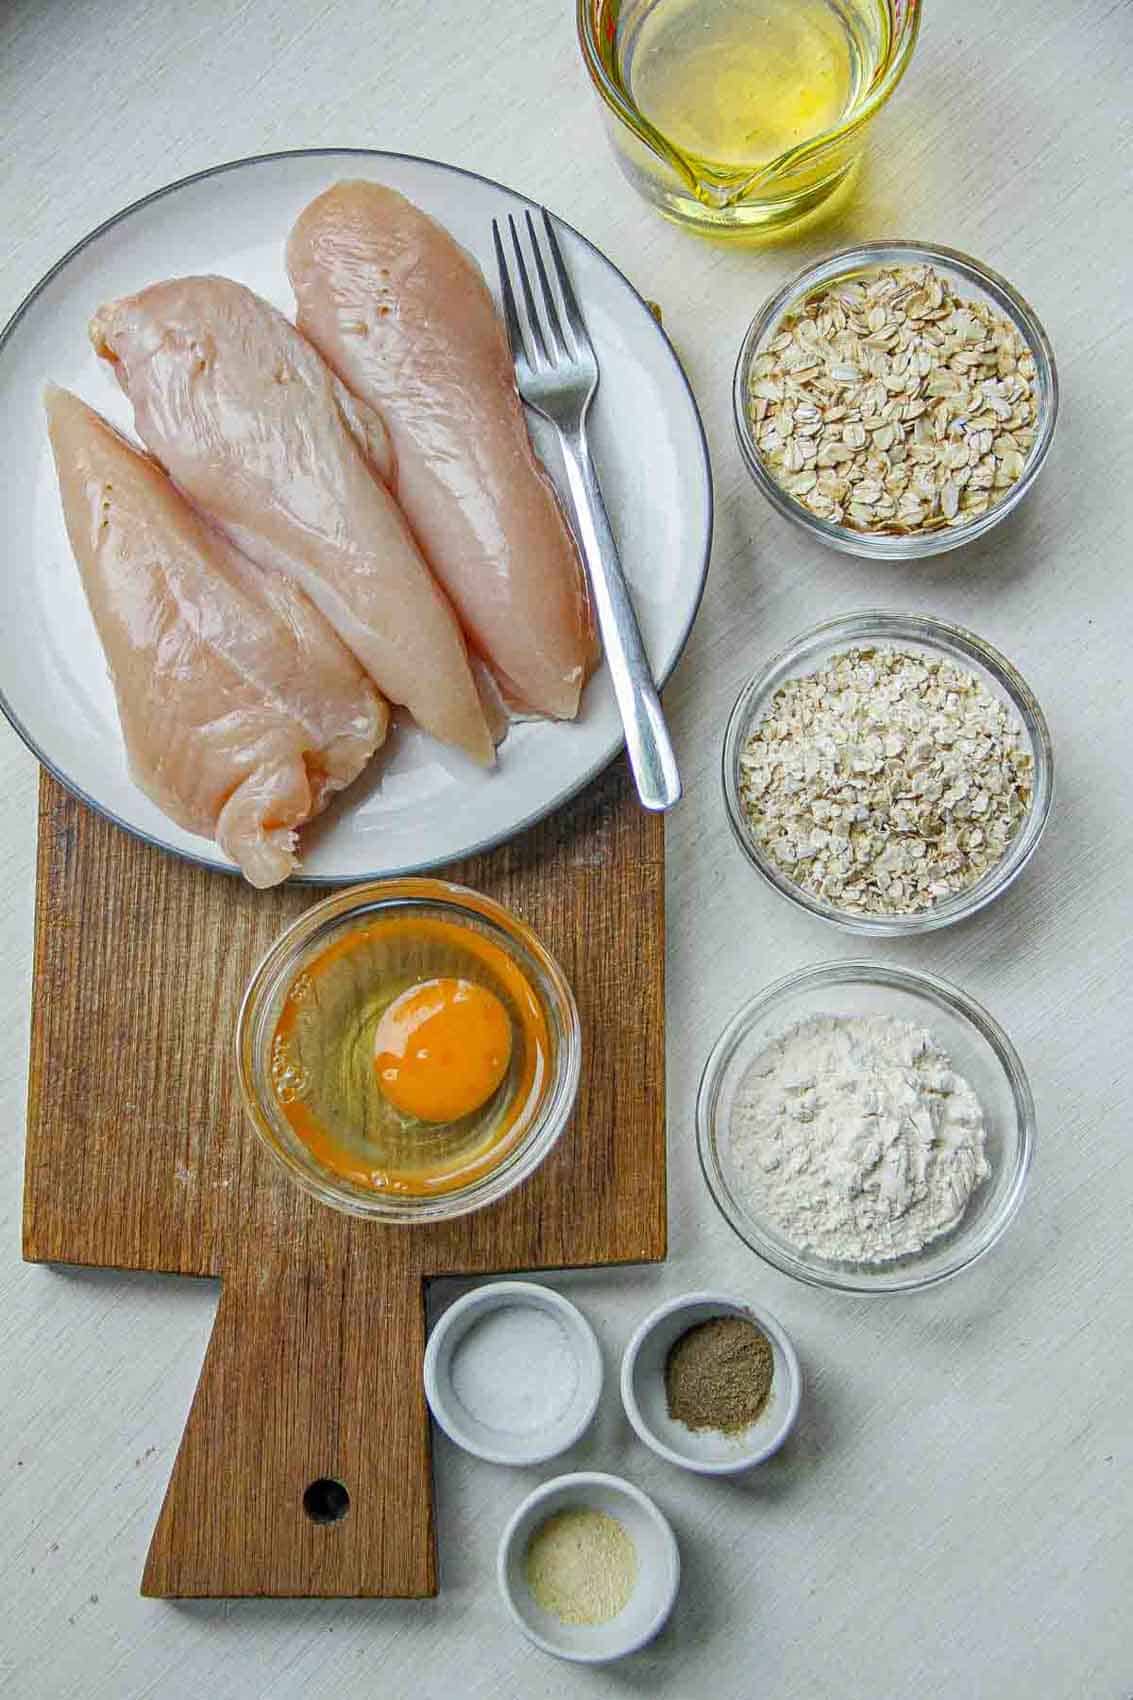
- Chicken breasts filets (boneless skinless): Chicken breast is a classic choice for schnitzel because schnitzel is very forgiving, even for very lean meats like breast. You can of course use boneless, skinless thigh instead but you will probably end up with less consistent-looking pieces since chicken thighs are quite jagged once the bone is removed. If you want to use bone-in chicken then you'll of course skip the pounding and then you'll need to adjust the cooking time.
- Rolled oats: Rolled oats are larger whole oat flakes that provide most of the crunch in the coating, but since they're so large they can leave gaps which is why we also need instant oats and flour.
- Instant oatmeal: The instant oatmeal is much finer and fills in the gaps in the rolled oats. You also don't need to use instant oatmeal, you can just process some rolled oats in a food processor until they have a similar texture to instant oatmeal.
- White wheat flour or oat flour: The flour fills in any gaps leftover from the rolled oats and instant oatmeal. It doesn't have to be wheat flour - you can substitute oat flour to make it gluten-free. You can also just continue processing rolled oats in the food processor until you get oat flour.
- Egg: Egg acts as a binder and sticks the coating to the chicken.
- Seasoning (salt, black pepper, dried oregano, garlic powder): Since there's already a lot of excitement in this chicken with the crunchy nutty coating, I've kept the seasoning simple. You can jazz it up as you like.
Equipment
Meat pounder or rolling pin: You'll need something to pound down the chicken to get it very thin. If you have a meat tenderizer/pounder you can use that or otherwise a rolling pin also works.
Plastic zipper bag: In order to avoid chicken flying everywhere and spreading bacteria, I always contain the chicken before pounding it out. Usually a plastic zipper bag is handy but if you have concerns about plastic you can also use some parchment paper you'll just have to be gentler so it doesn't tear.
Non-stick skillet: This oat crusted chicken is shallow fried so a non-stick skillet is very helpful to ensure the pieces don't stick.
Wire rack: A wire rack is helpful for putting out the chicken after frying.
Instant read food thermometer: An instant read food thermometer helps to determine if the oil is at the right temperature so you neither end up with too much oil being absorbed due to the temperature being too low, nor burning due to it being too hot. This is optional but helpful.
Instructions
Step 1: Thin out the chicken
Chicken schnitzel needs to be very thin so we'll start by butterflying each chicken breast so get a head start on thinning it out.

If the photo isn't clear, here's a video of butterflying chicken breast.
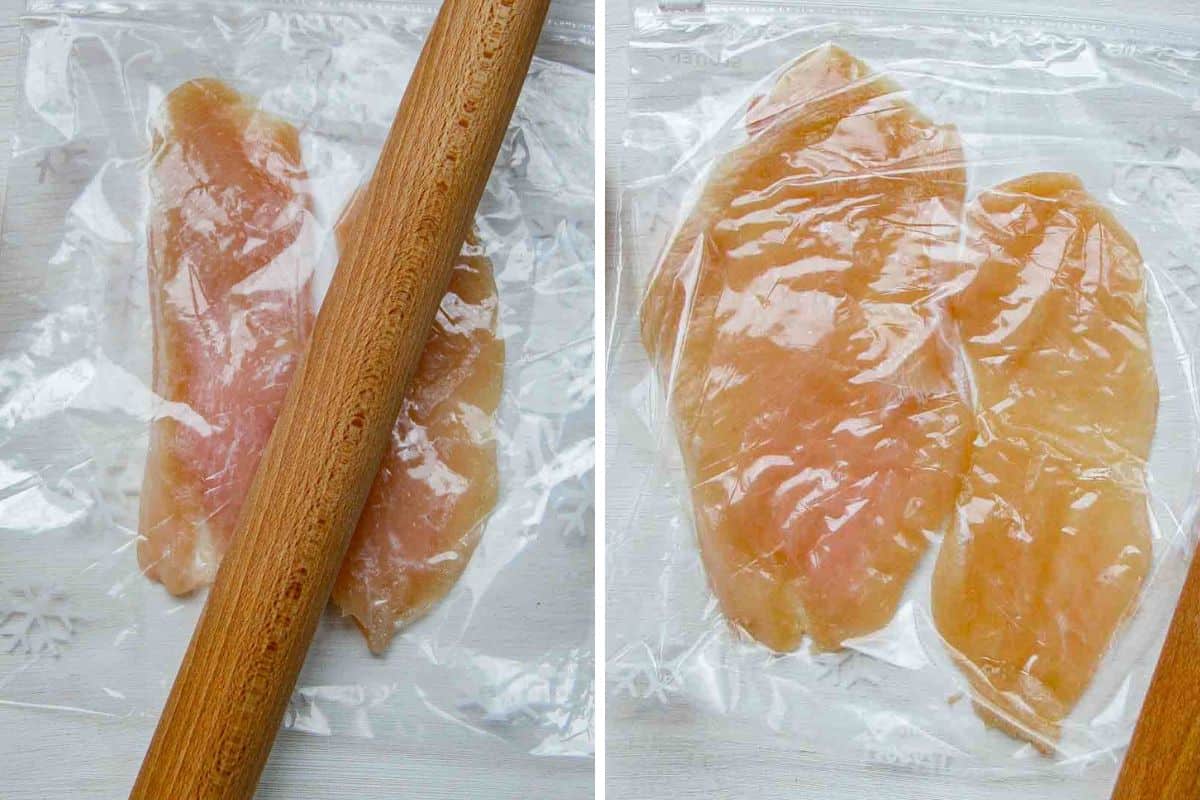
The chicken will then be pounded out until very thin. This also helps it get extra crunchy.
I always do this using a plastic zipper bag (to avoid cross-contamination) and a rolling pin. If you have a more sophisticated method for this then of course go for it (and if you care to share I'd be curious to hear about it in the comments).
Once the chicken is pounded out, sprinkle it evenly with about half a teaspoon of salt (total - there's more in the coating).
Then set the chicken aside while you mix up the coating.
Step 2: Dredge the chicken in egg and oat mixture
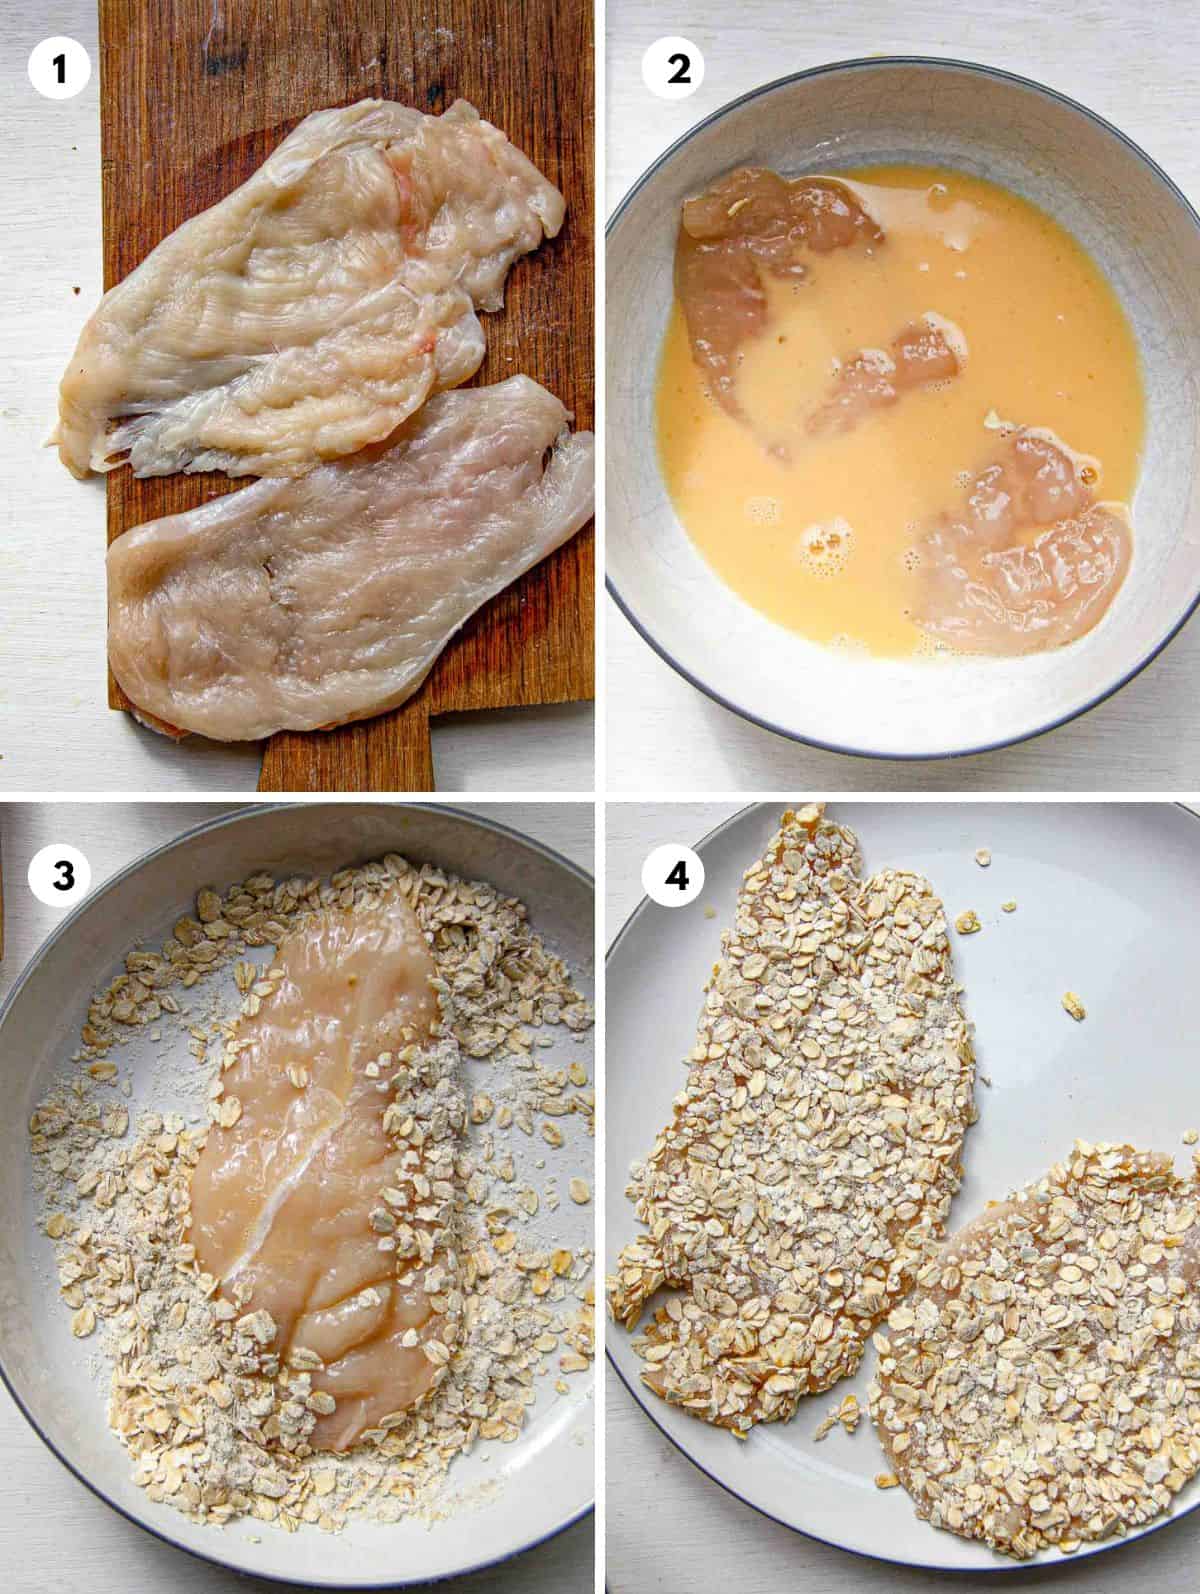
I think it helps to get a workstation ready with the chicken laid out as well as both bowls with egg and coating, and finally a bowl where you can put the coated chicken.

- Set up your workstation;
- Dip the chicken into the egg mixture - make sure it's coated on all sides;
- Lay the chicken piece out in the oat mixture and gently press it to adhere the coating well. Repeat until it's full coated;
- Lay the coated chicken out on a plate until ready to fry.
Your fingers might get coated as you go - you'll have much more dexterity if you just take a moment to wash it off.
Step 3: Fry the chicken
This chicken is shallow fried, so about a half cup (125ml) of neutral vegetable oil is enough.
The temperature of the oil is important. Too low and the chicken will just soak in oil and be greasy. Too high and it will burn the coating.
The ideal temperature is around 150 C / 300 F. It doesn't have to be exactly that temperature so if you don't have a thermometer don't worry.
You'll know it's the right temperature if the oil is bubbling and sputtering rapidly when you put the chicken in and if the chicken can be fried for at least 3 minutes per side without any burning.
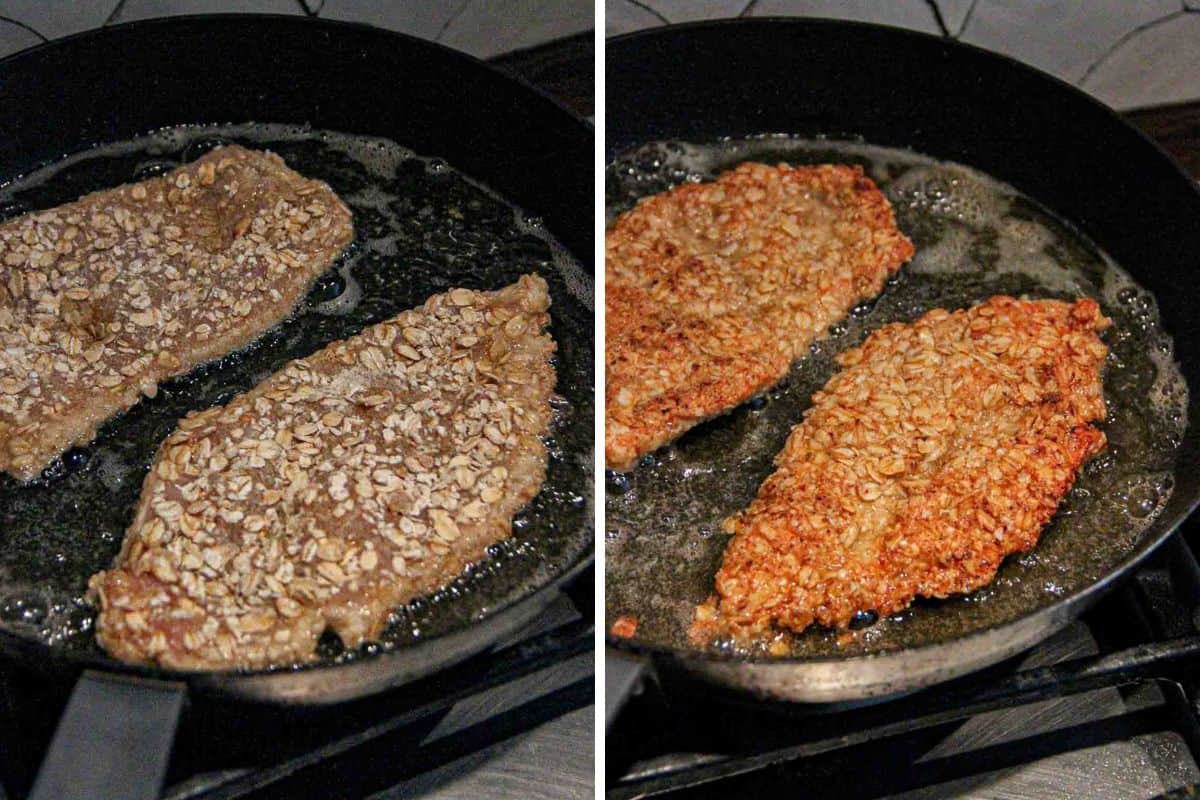
Once the chicken pieces are golden brown, remove them from the pan and lay the out to drain.
A wire rack is ideal since it drains but provides air circulation which keeps the chicken from steaming and getting soggy.
You can also use a paper towel lined plate - the chicken will still be crunchy.

Note on scaling the recipe up
If you are scaling the recipe up and frying more chicken, you may notice the oil gets quite dark with sediment the more you fry.
You may want to change out the oil if this happens because that sediment can stick to the chicken and leave burnt bits on it which, besides not tasting great, are also not good for you to eat.

Serving Suggestion
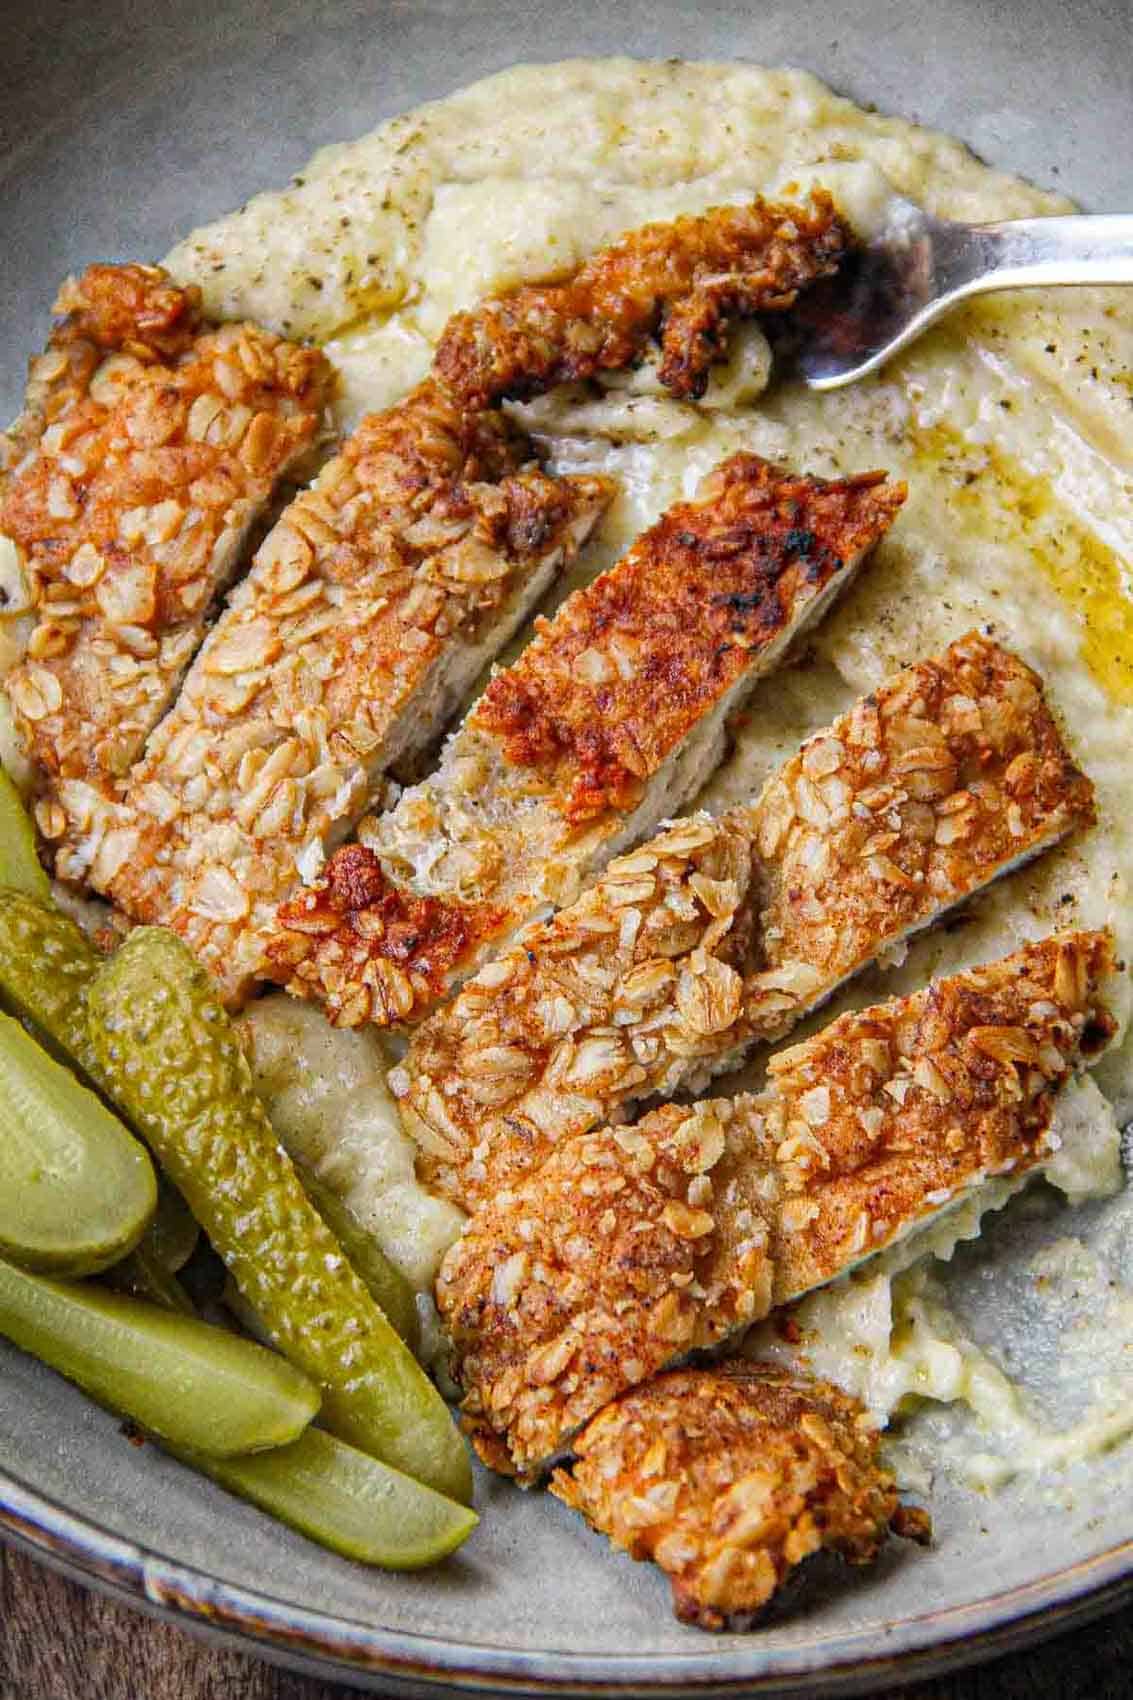
I'm Romanian so fried chicken and pickles are a classic combination.
In general, a fresh and acidic counterpoint is really nice to enhance the chicken. You could also opt for a salad, some lemon wedges, or a different type of pickle.
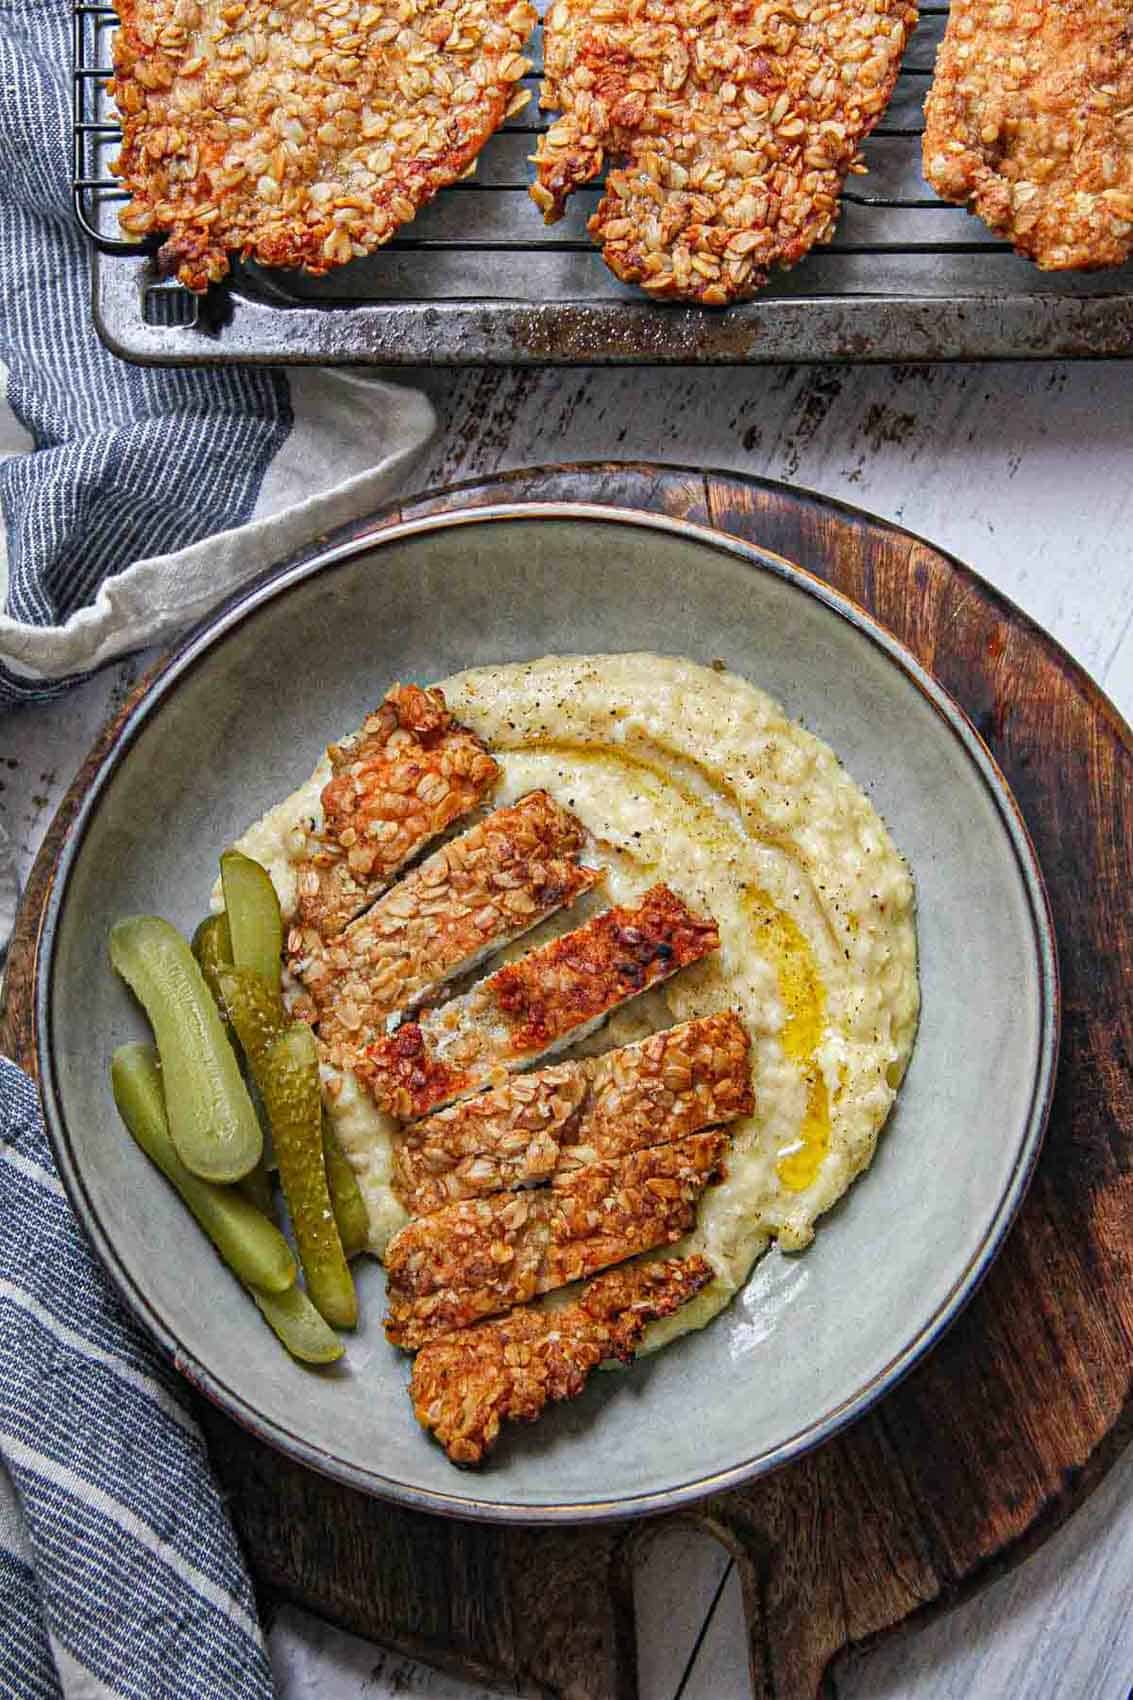
In terms of carb elements, mashed potatoes go so well with crunchy fried chicken.
There's something about the textural contrast (and being able to smear that crunchy chicken through lusciously creamy potatoes) that is just perfect.
For a slightly novel approach, try serving with creamy roasted celeriac puree as shown below.
Related
Looking for more recipe inspiration? Maybe you'll like one of these:
Recipe

Crunchy Oat Crusted Chicken Schnitzel
Equipment
- non-stick skillet
- meat pounder or rolling pin
- plastic zipper bag for containing the chicken, optional
- wire rack for draining, optional
Ingredients
- 3 chicken breasts boneless skinless
- 0.5 cups rolled oats
- 0.5 cups instant oatmeal
- 3 tablespoons white wheat flour or oat flour
- 1 egg
- 1.5 teaspoons salt
- 1 teaspoon black pepper
- 1 teaspoon dried oregano
- 1 teaspoon garlic powder
- 0.5 cup vegetable oil for frying
Instructions
- Use a sharp knife to butterfly each chicken breast in two.
- Place the chicken breast pieces into a plastic zipper bag (or folded in parchment paper if you prefer) and use a meat pounder or rolling pin to pound them out until thin and even.
- Sprinkle 0.5 teaspoon of the salt all over the chicken pieces and set aside.
- Whisk up the egg in a bowl large enough to fit a chicken breast piece.
- Combine the oats, flour and remaining salt and seasoning in a large flat bowl.
- Dredge each chicken piece in the egg and then the oat mixture. Set aside on a plate.
- Heat up oil in a non-stick skillet to about 150 C / 300 F.
- Fry the chicken immediately for about 3-4 minutes per side until golden brown.
- Remove to wire rack until ready to serve.

Comments
No Comments