
This easy all purpose pie dough is made with simple ingredients and couldn't be easier to make. It's a solid go-to short crust pastry recipe with a lot of possibilities.
I love the possibilities of an empty pie shell. A few simple ingredients and you have a blank canvas you can turn into countless sweet or savory dishes.
I also love that it's made with simple ingredients that you probably already have on hand.
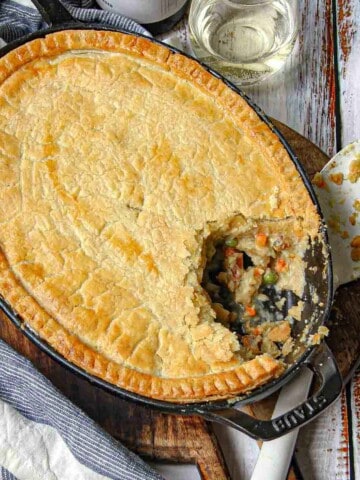
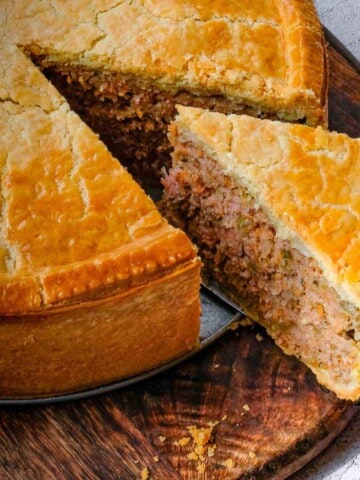
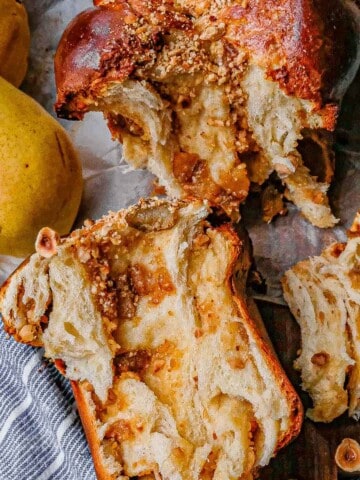
So you can whip up this easy all purpose pie and tart dough very quickly. That means you can also quickly make a breakfast quiche, a savory appetizer like leek tarte tatin with ham and cheese, or a sweet dessert like an almond and fruit tart.
Jump to:
Ingredients for all purpose pie dough
There are only four simple ingredients in this recipe.

- White all purpose (regular) flour
- Unsalted butter
- Water
- Salt
See detailed quantities in the recipe card.
Instructions
The process is very simple. You basically just throw on the ingredients into a food processor and pulse for a few seconds.
The photos below show the basic process.

Add all the (measured out) ingredients to the bowl of a food processor.

Pulse for 10-20 seconds just until the ingredients clumps together and then stop immediately.
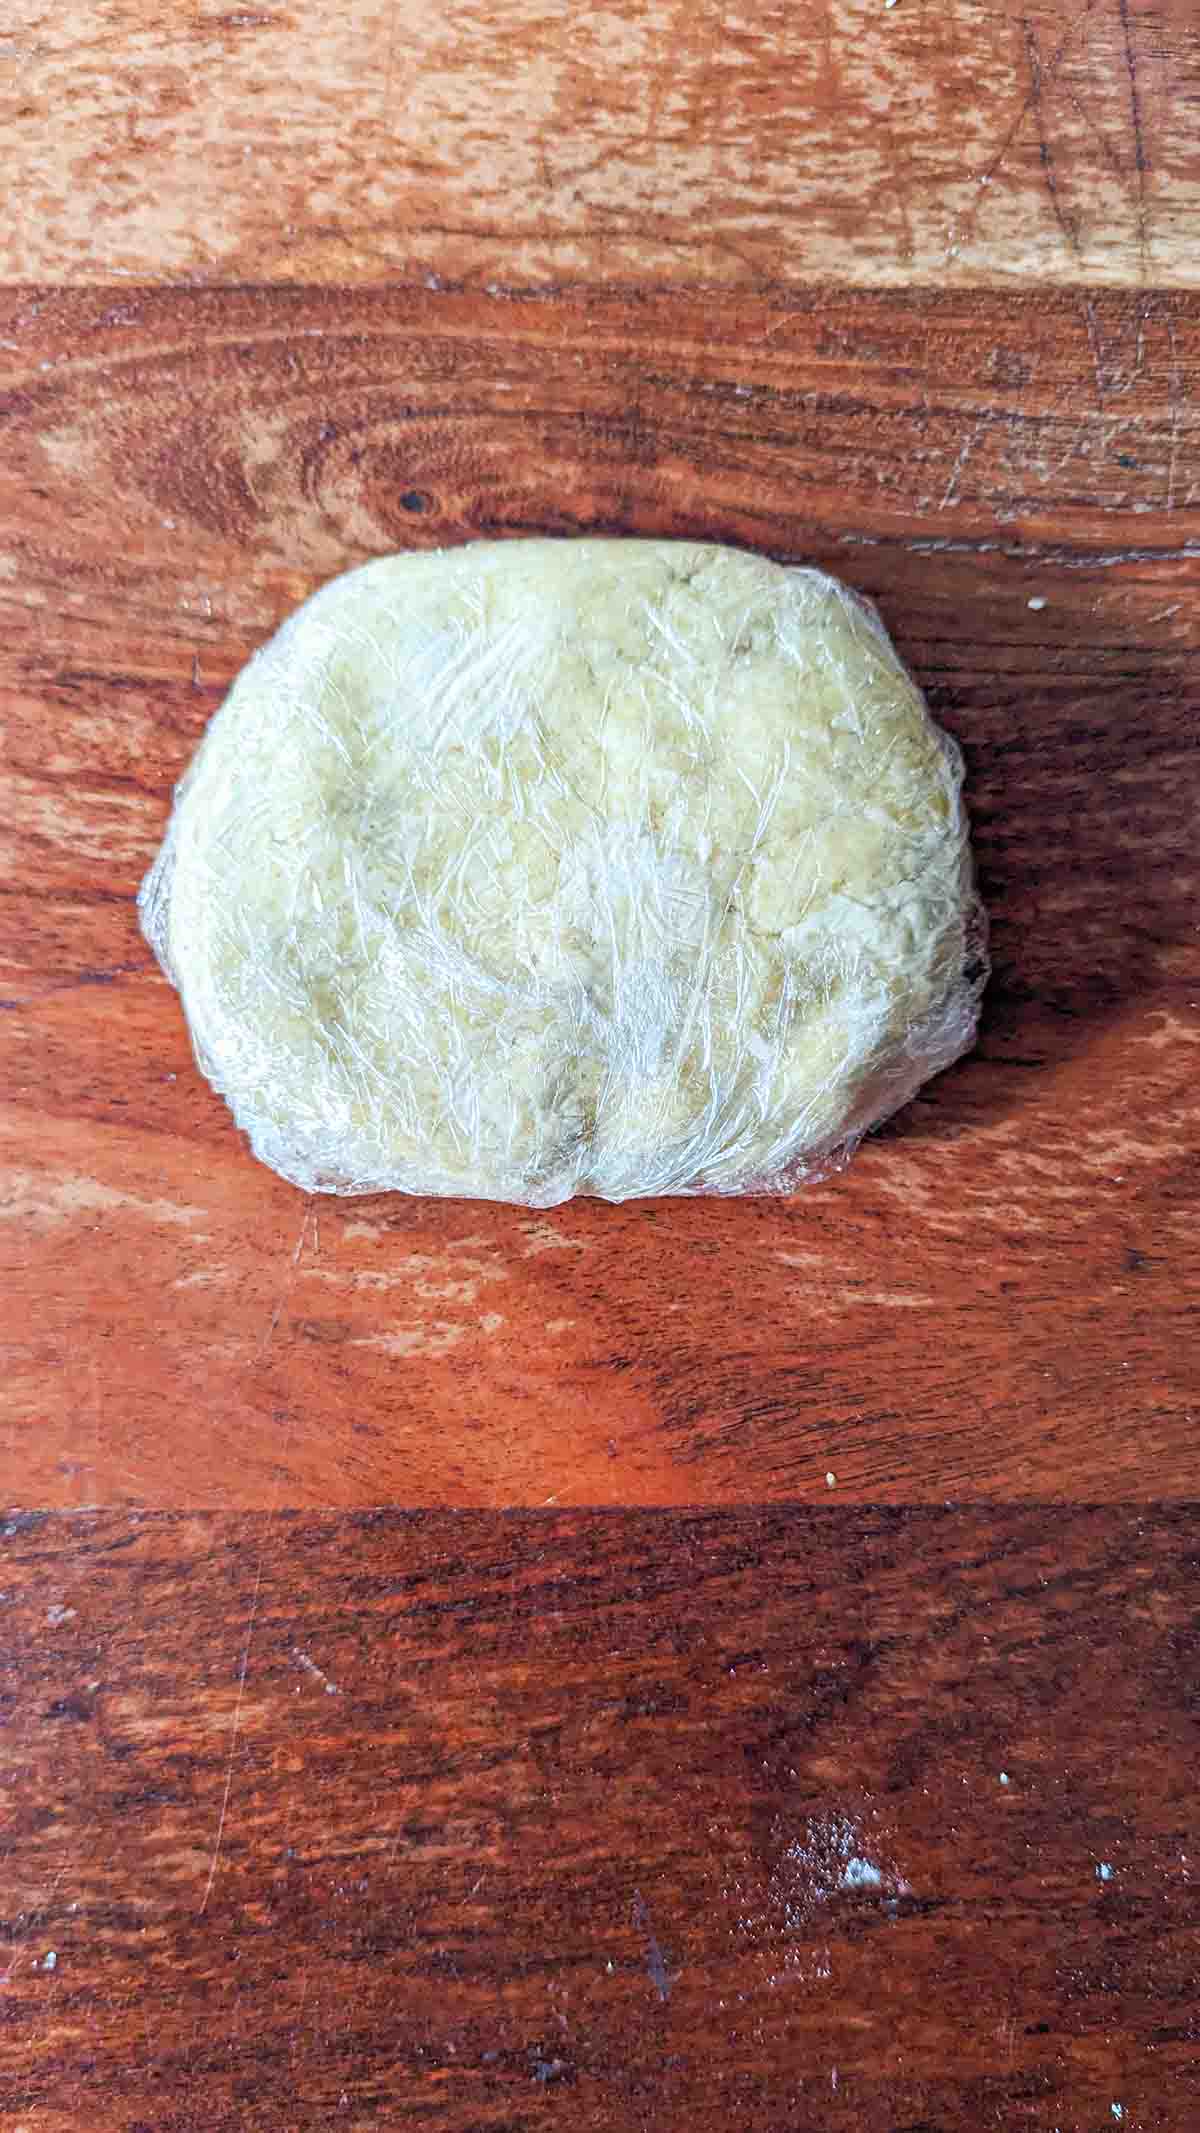
Gather the dough into a ball, wrap it up and rest it in the fridge for at least 5 minutes or longer (see post).
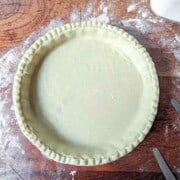
Roll out the dough and it's ready to use.
While the basic process is simple, there are just a few things to be aware of.
Instruction details
Start with cold ingredients
Start with cold butter from the fridge (or even frozen grated butter) and use cold or ice water. Starting with cold ingredients reduces the interaction of the liquid with the flour which prevents the formation of gluten.
Measure (preferably by weight not volume)
The measurements in the recipe card are provided in both metric and in US customary measures.
The best way to measure is to use a food scale if you have one. Weight based measurements are more precise than volumetric measurements. In some recipes it doesn't matter, but when it comes to doughs it's best to have more control over the process - so more precise measures are better.
Mix for only a few seconds (don't overmix)
You should only mix until the dough starts forming clumps. At first it will look mealy but even. Then all of a sudden it will form clumps. It only takes 3-5 seconds to go from mealy to clumps.
Stop mixing as soon as it forms clumps. Ideally, there shouldn't be any unincorporated floury bits left when this happens. If there are, pulse a few times until it's mixed in and looks like homogenous clumps.
Rest the dough
Resting the dough in the fridge for at minimum 5-10 minutes allows the liquid to fully absorb into the flour. Ensuring the flour is fully hydrated will make rolling out the dough easier as the dough will be smoother and less likely to crack.
You can also rest the dough for longer in the fridge or freezer. See the storage indications at the bottom of the post for more information.
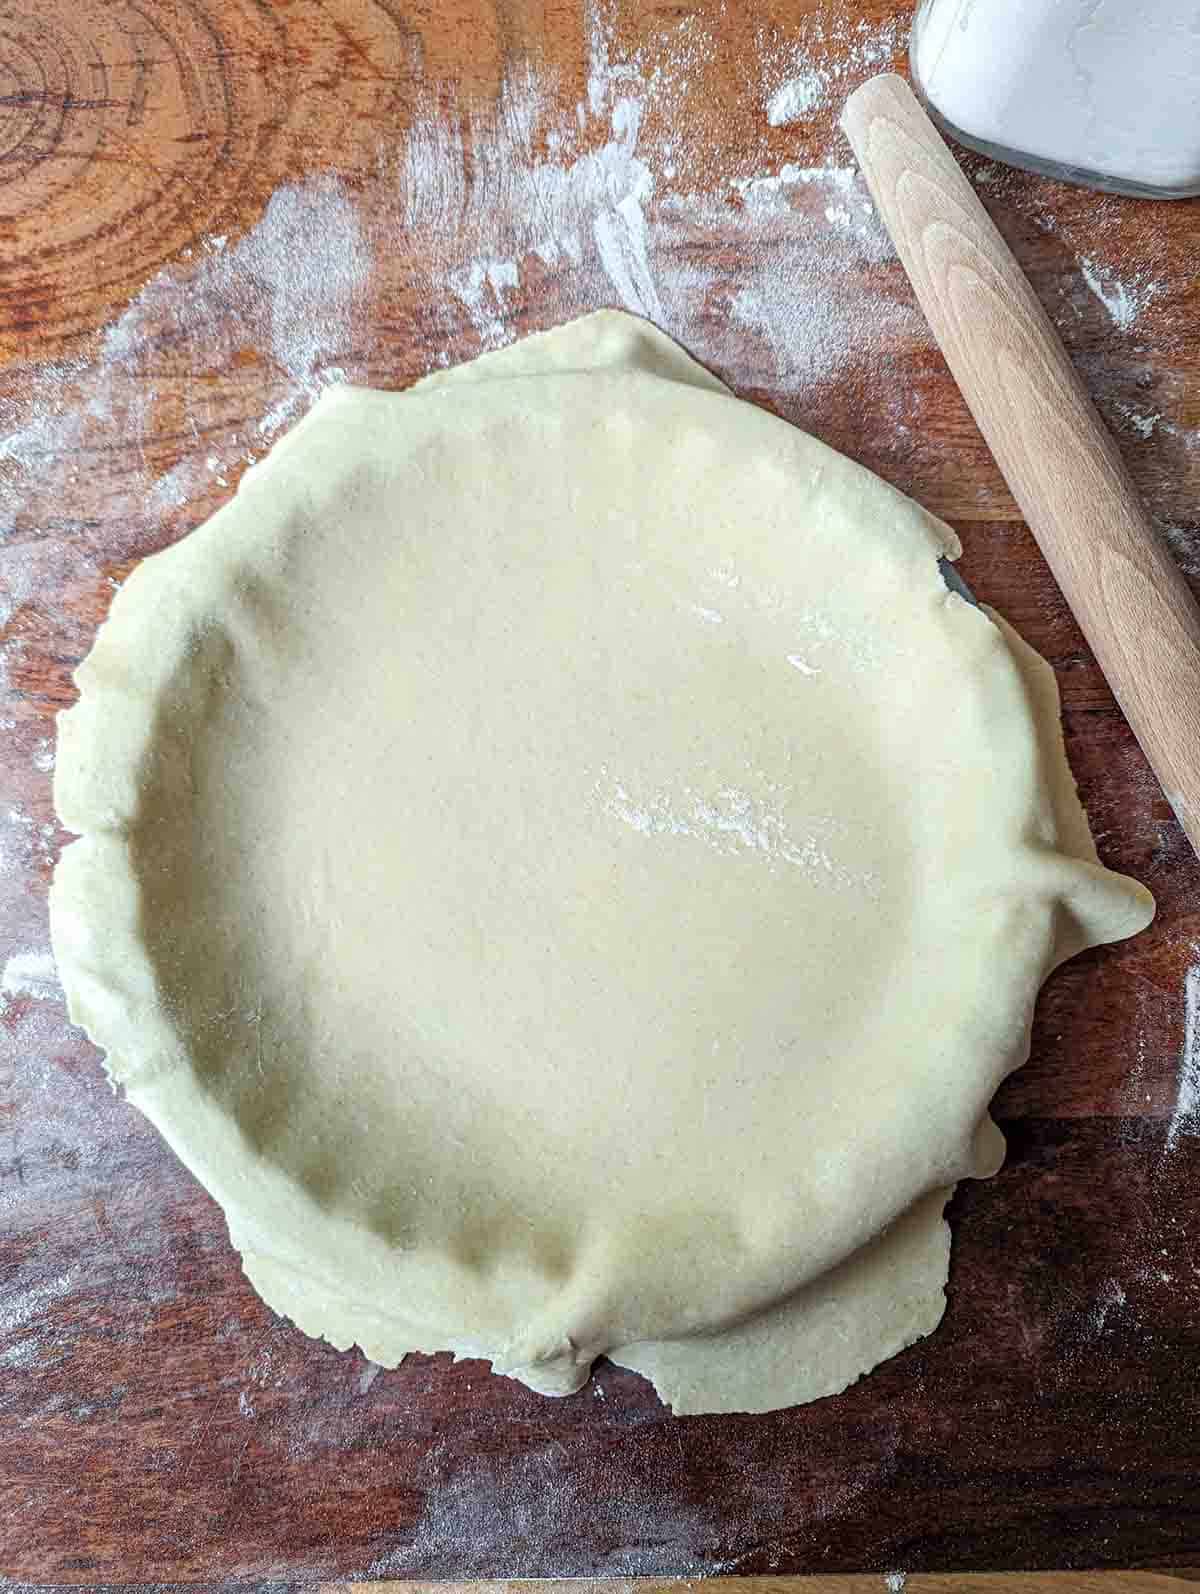
Roll out on a floured surface
Liberally flour your work surface before you roll out the dough. You may need to lightly flour the top of the dough as well.
As you roll, check every so often that the bottom is not sticking to your work surface. If it is, add more flour.
Short crust pastry is normally rolled out to around half a centimeter (0.25 of an inch) in thickness.
When finished, use the rolling pin to lift the dough and place it into your pie dish. Please note this recipe is enough for a pie bottom and crimped edge but not enough for both a bottom and a top. If you plan to make a pie with a bottom and a top then you'll need to double the recipe.
Prepare your pie pan
If you know your pie pan sticks (or are uncertain whether it does) then make sure to prepare it by either:
- line the pan with baking paper;
- grease the pan with butter and then a light dusting of flour.
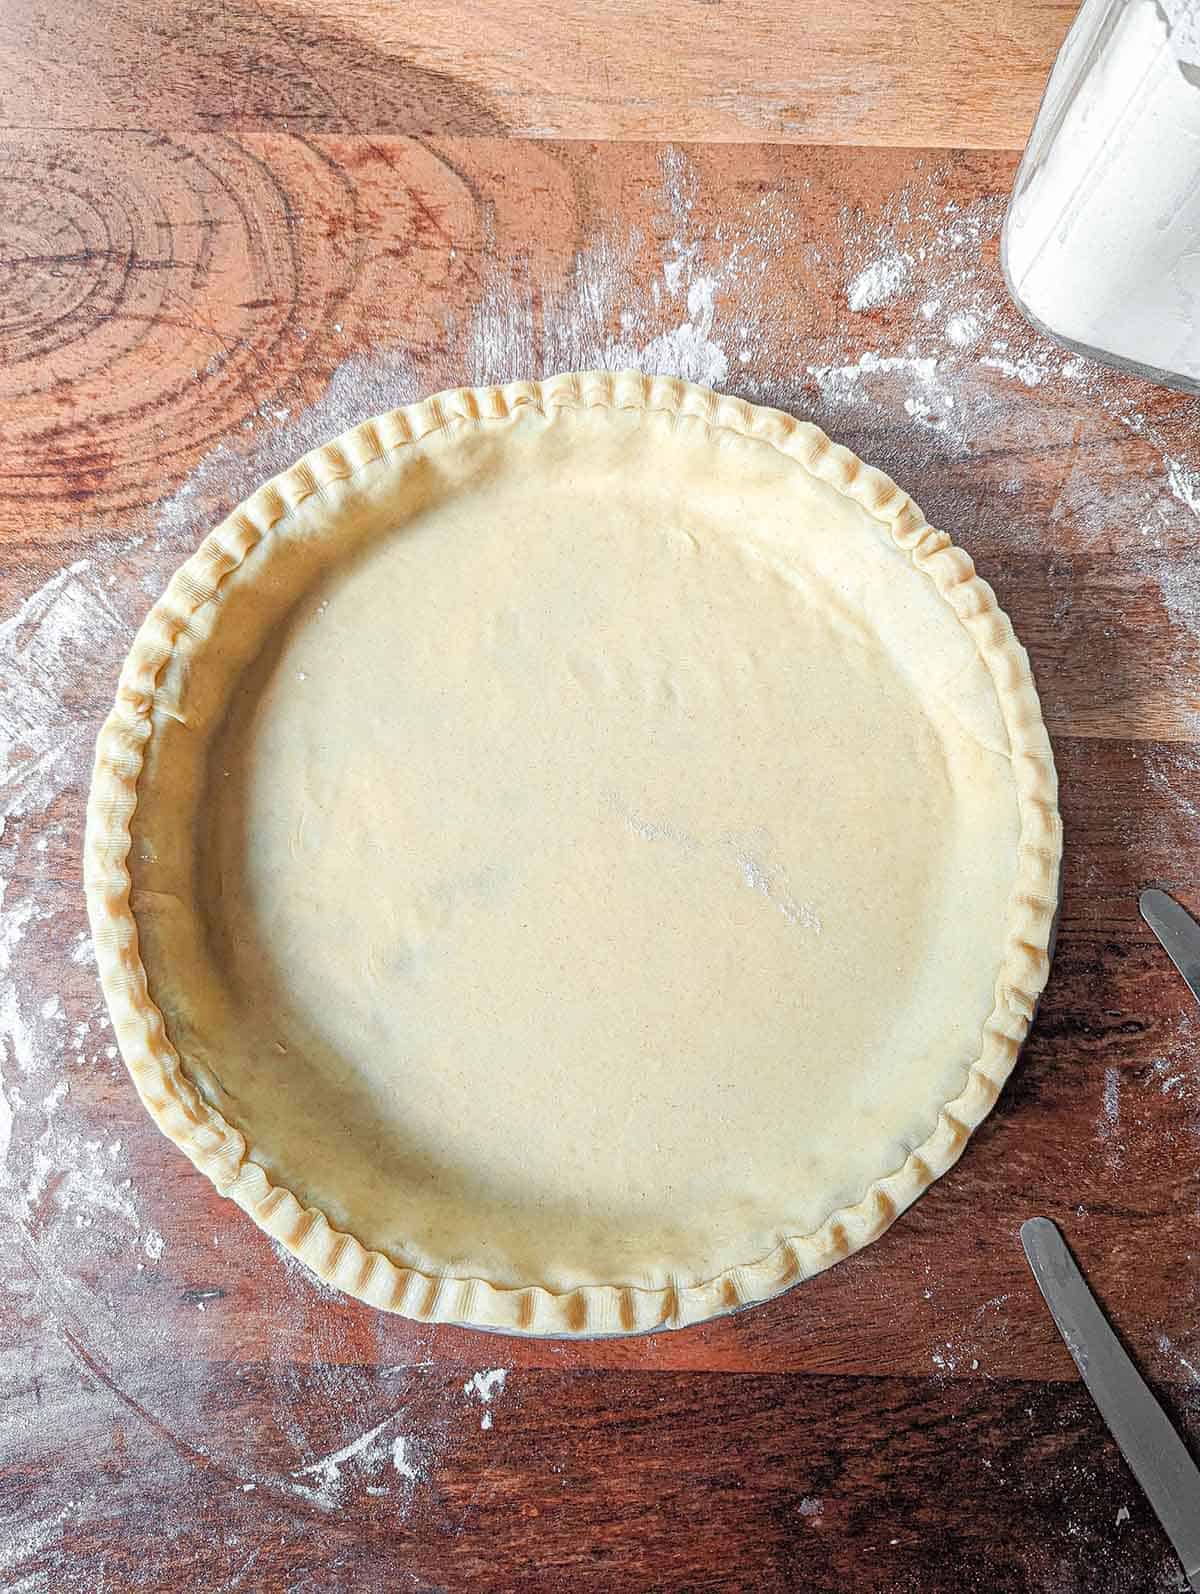
Crimp the edges
My go-to pie pan is a 31cm (12 inch) 1.8 liter Ikea Vardagen springform pie pan with removable bottom. I end up with a little bit of excess dough from trimming off the edges.
You may also end up with some excess that you can use to make a crimped decoration for the edges of the pie.
For pie plates with a lip around the edge like mine has, the decoration can go directly on the edge of the pan before adding the filling.
If your pie pan doesn't have a lip, then fill it first and add the decorative edge after.

Remix and then doll out the excess dough to a slightly thicker width than the pie dough itself. Cut it into strips (you can use another kitchen tool as a guide like I've done with this wooden dowel).
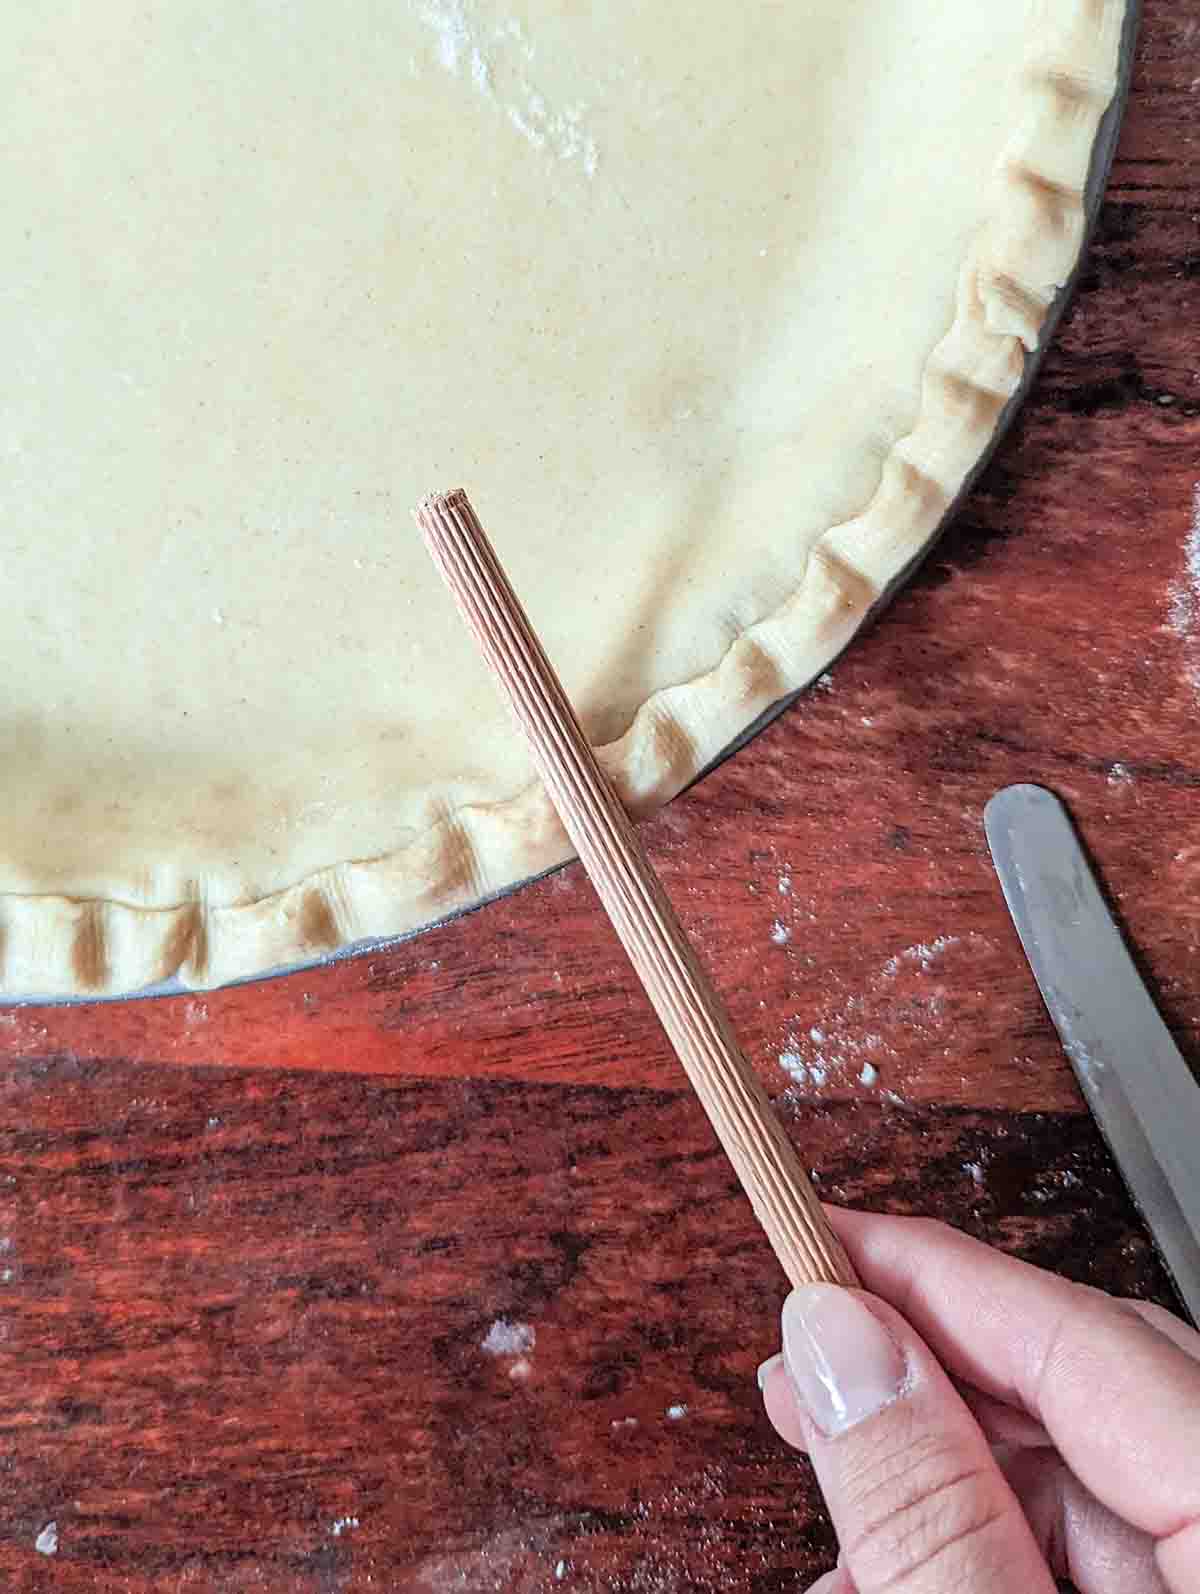
Place the trips around the edge of the pie. Use a rounded tool like a dowel or back or a wooden spoon to lightly press into the strips to close the seams between them and also create a crimped pattern all around.
Use a pie shield
If you do add a crimped or decorative edge, make sure to protect it when baking with a pie crust shield (DIY as shown below or aluminium / adjustable silicone pie crust shield).

You can make a DIY pie shield by folding pieces of aluminum foil. Fold a few layers to give it some weight as it may fly off if you bake using the convection setting.
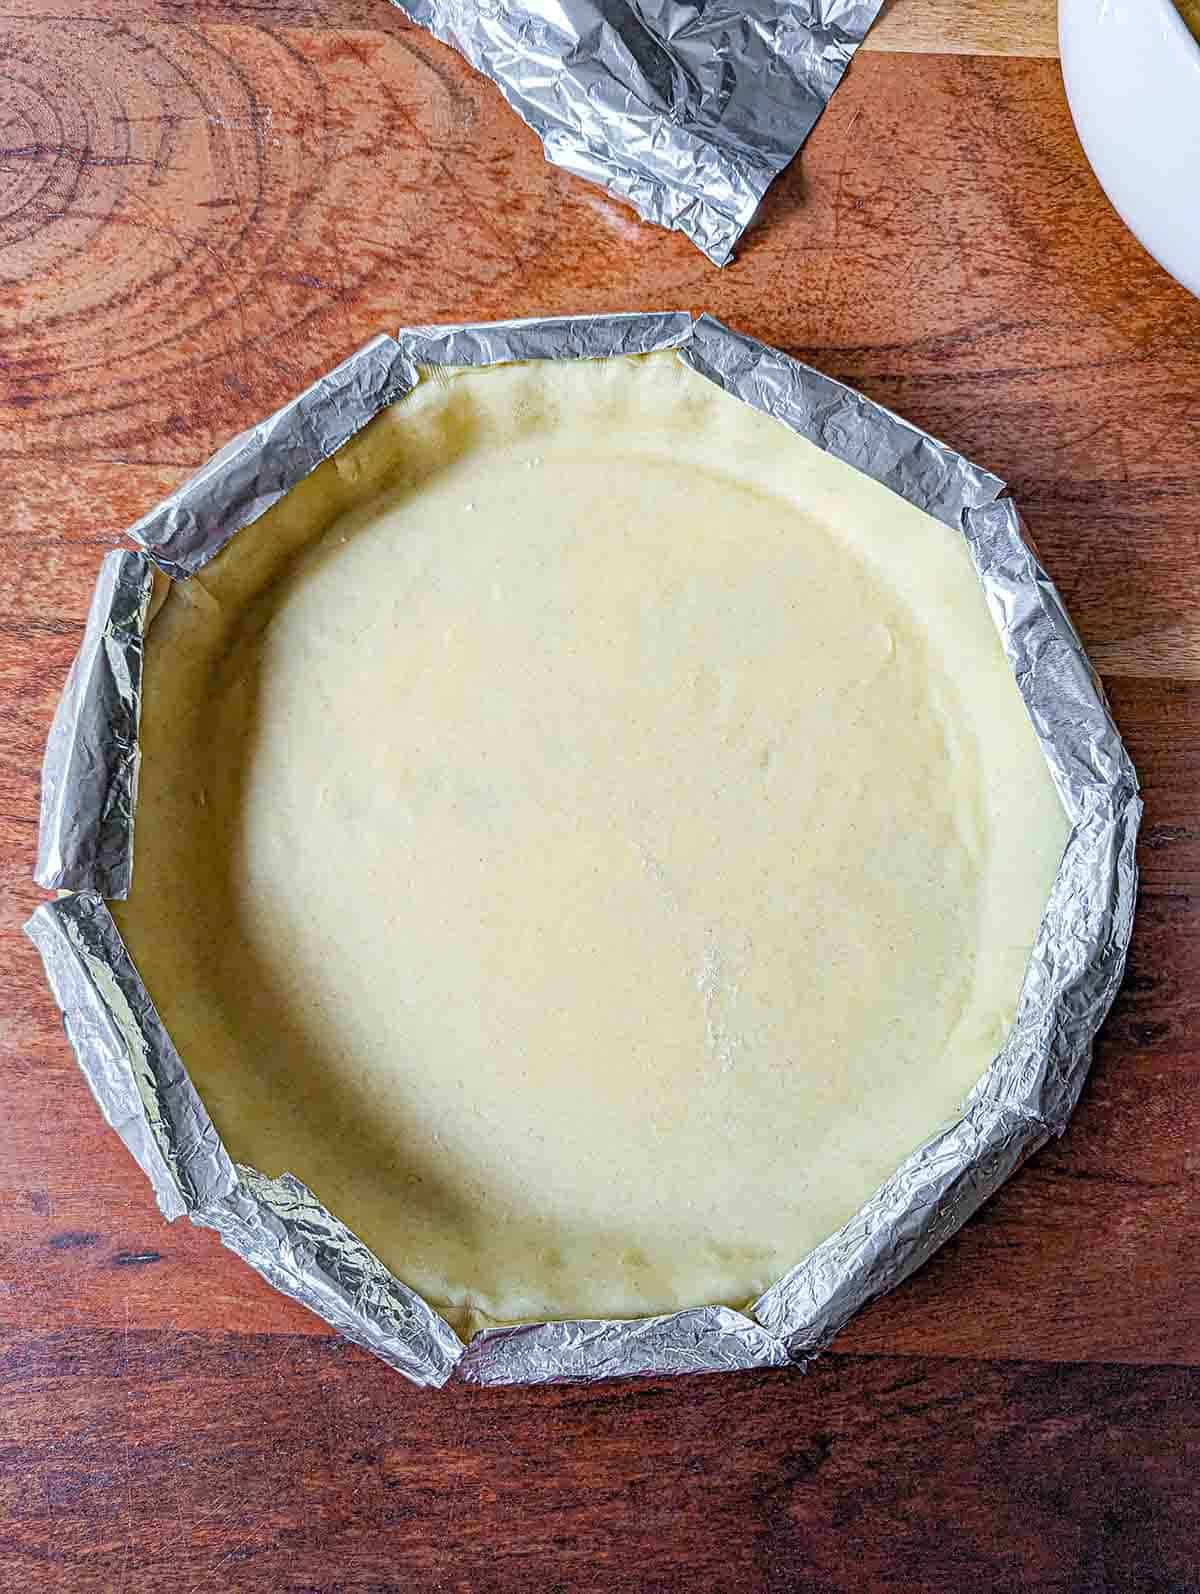
Place the pie shield all around the edge of the pie in order to protect the thinner dough from burning.
Blind bake
If you're filling the tart with very wet ingredients (like for quiche or custard) then you should do a blind bake so the bottom doesn't get too soggy.
To do a blind bake you may or may not need to fill the pie shell with pie weights (or just dry beans if you don't have weights).
If the edges of your pie pan are quite short (say 10cm / 4 inches and under) and aren't vertical (i.e. the dough is unlikely to cave in inwards) then you probably don't need to use pie weights.
If you do use pie weights or beans, put a layer of baking paper down first to make it easier to take all the pieces out at once.
You can then blind bake the pie or tart shell at 185 C / 365 F for 8-10 minutes or until the surface of the dough has dried out and started to slightly bubble.
Substitutions
Since this recipe only has 4 ingredients, any substitutions will significantly affect the final product and might require a different method.
- Whole wheat flour instead of white - you can substitute whole wheat flour for white flour. Of course the resulting pie crust will be a bit grainier and darker (depending on the texture of the flour you use)
- Gluten free flour - I'm not sure how gluten free flour would respond to this recipe. Best to consult a recipe specifically intended for gluten free pie dough.
- Salted butter instead of unsalted butter - you can substitute salted butter instead of the unsalted when making all purpose pie dough. I usually use salted butter in all baked goods (including sweet ones) and also add a bit of extra salt as it gives more nuance and depth of flavor. This depends on personal taste. For context, salted butter has between 0.3 and 3 grams of salt per 100 grams of butter (depends on the brand). This is equivalent to at most ¾ of a teaspoon of additional salt for a recipe like this one which calls for 100 grams of butter.
- Shortening instead of butter - shortening doesn't respond the same way in a food processor as butter does. If you want to use shortening, it's better to cut it into the flour using two forks or a pastry cutter otherwise it may just make a messy paste in the food processor.
Equipment
Springform pie pan with removable bottom
I mostly use my tried and true Ikea Vardagen 31cm (12 inch) 1.8 liter springform pie and tart pan with removable bottom and fluted edges. This Amazon pie pan with removable bottom is very similar and well rated.
I didn't use baking paper or butter the pie pan in advance as I know this pie pan doesn't tend to stick with pie dough.
Food processor
A food processor is a really incomparable kitchen tool for saving a ton of time. One of the most significant benefits of a food processor is the ease with which it allows you to make pie and tart dough. If you don't have a food processor you can mix the dough using two forks or a pastry cutter .
Kitchen scale
A kitchen scale will give you a lot more control over the recipe as compared to volumetric measures.
Pie crust shield (or DIY with aluminum foil): An aluminium or adjustable silicone pie crust shield protects pie edges from browning too quickly. If left unprotected edges, being thin, bake faster than the center and may even end up too dark or burnt tasting. You can also DIY a shield using aluminum foil as shown in the instruction details above.
Storage
You can store the mixed all purpose pie dough:
- in the fridge for 2-3 days.
- in the freezer for up to 6 weeks.
Any longer than 6 weeks and the texture may be affected.
If using from frozen, allow the pie dough to defrost before rolling out. Ideally for a few hours in the fridge. If you are in a rush you can also defrost at room temperature, or just make another batch.
I advise against microwaving frozen dough. I've done this before when I was in a rush. I found that the dough was affected even if I was gentle about the process (only 30 seconds at a time on the defrost setting). The heating was uneven causing the outside to start cooking while the inside was still frozen solid.
Then when rolled out the pie dough can have little dimples and chunks which you will really see (and maybe taste) in the final product.
Related
Looking for inspiration? Try these:


Recipe
Easy All Purpose Pie & Tart Dough
Ingredients
- 200 grams flour
- 100 grams unsalted butter
- 50 ml water
- ½ teaspoon salt
Instructions
- Measure out and add the ingredients to the bowl of a food processor.
- Pulse for 10-20 seconds just until the mixture comes together. You will notice it goes from a grainy mealy texture to a clumpy texture. As soon as it does that, stop mixing.*
- Check that the dough has a texture that makes it easy for it to clump together into one mass when pressed.
- Wrap and place in the fridge to rest while you prepare the almond cream.
Notes
- * Don't pulse anymore than necessary or you can start forming gluten which is not desirable for a tender and crisp short crust pastry like this one.
- Please note this recipe is enough for a pie bottom and crimped edge but not enough for both a bottom and a top. If you plan to make a pie with a bottom and a top then you'll need to double the recipe.
- The baking time is an indication for blind baking only. The exact baking time will depend on the particular pie or tart you're making.

Comments
No Comments