
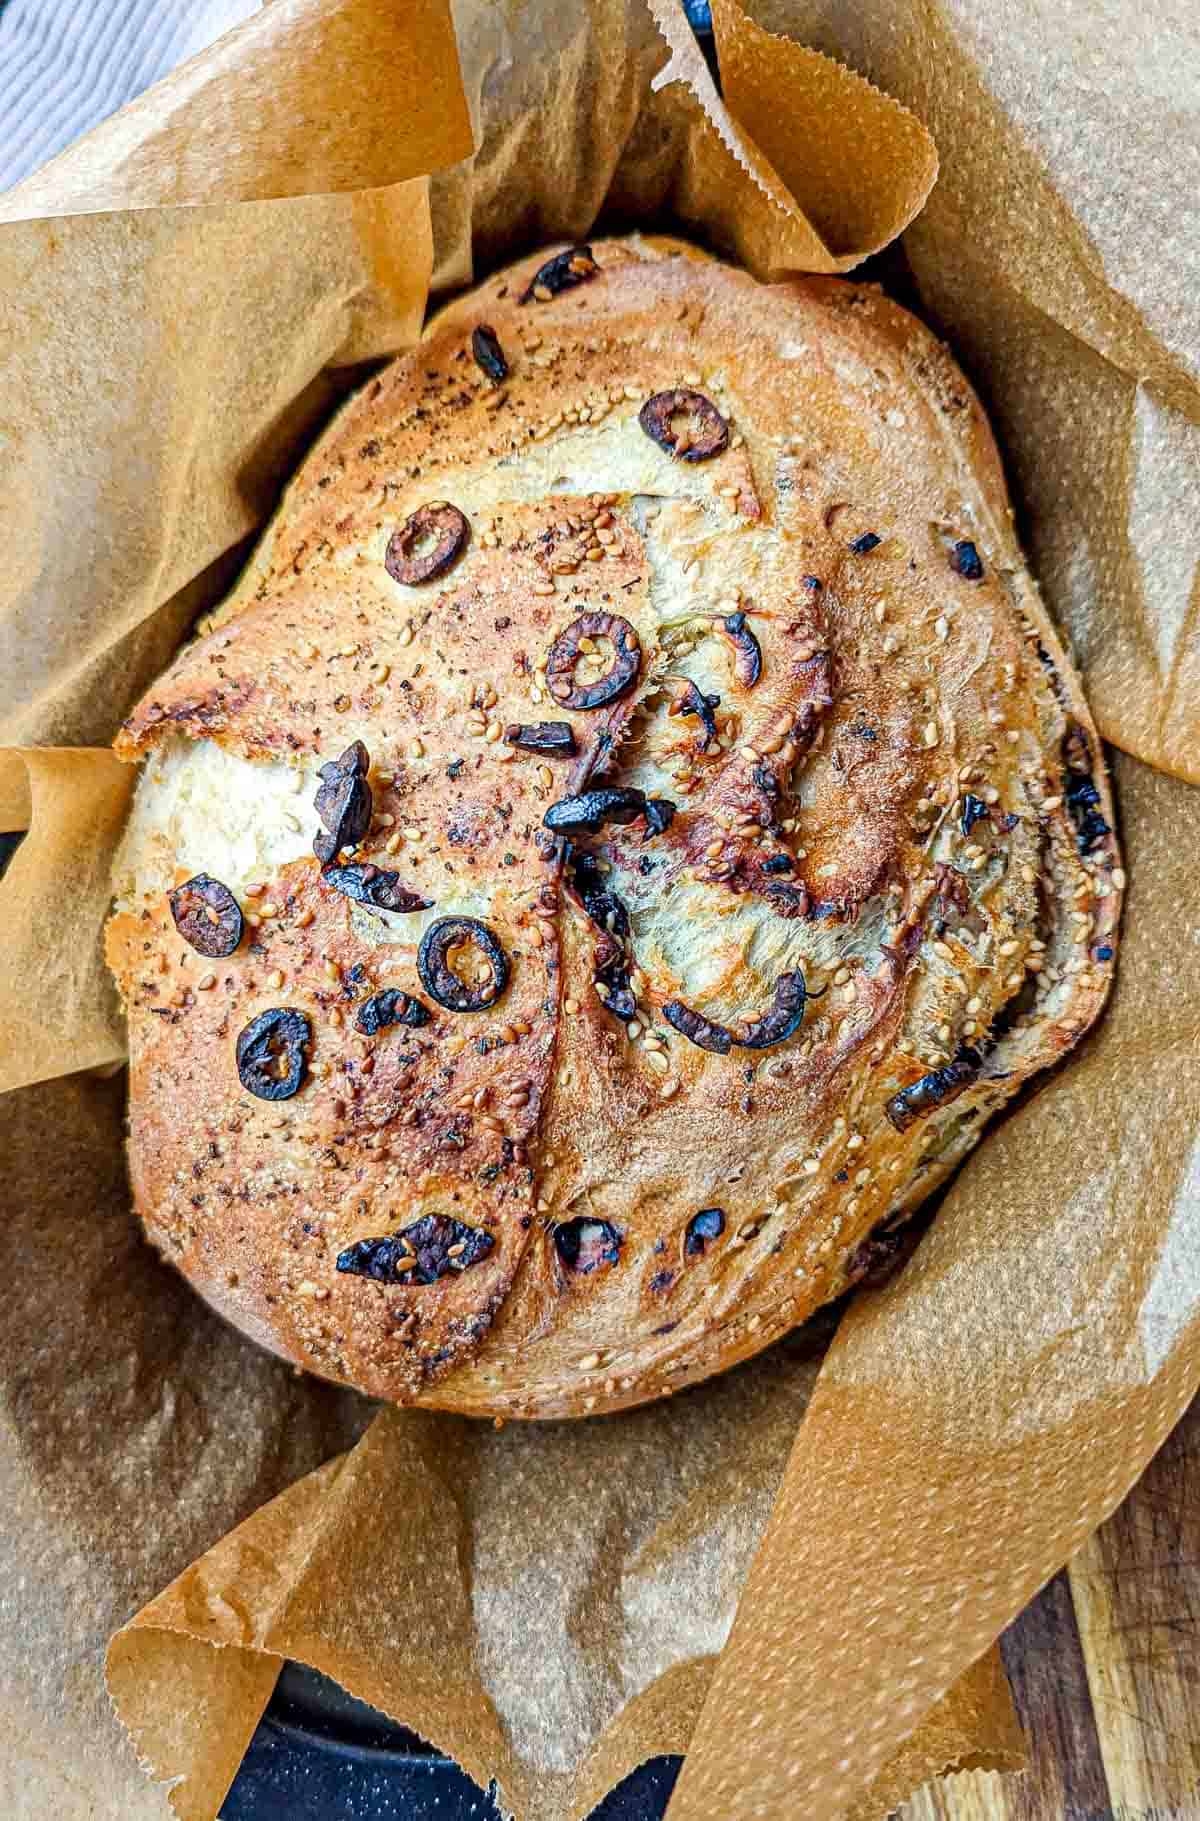
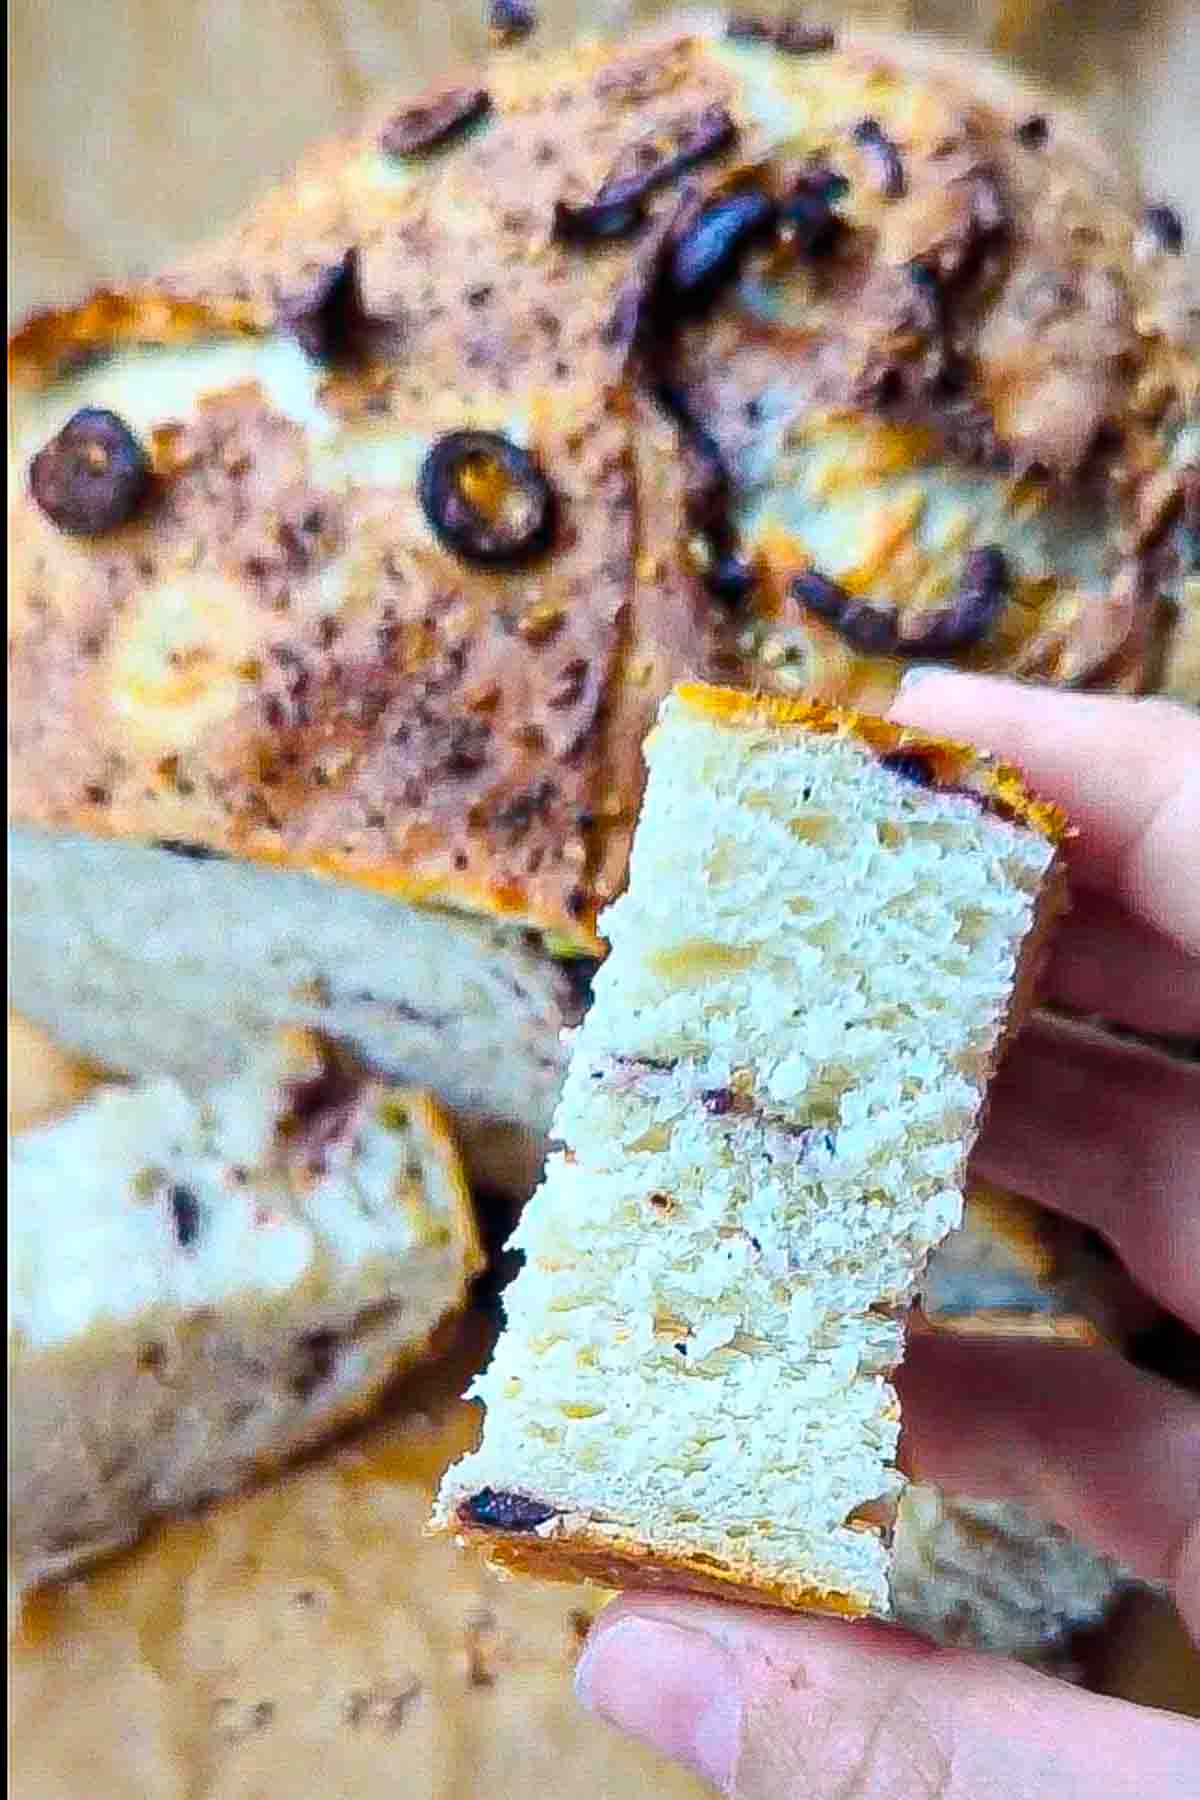
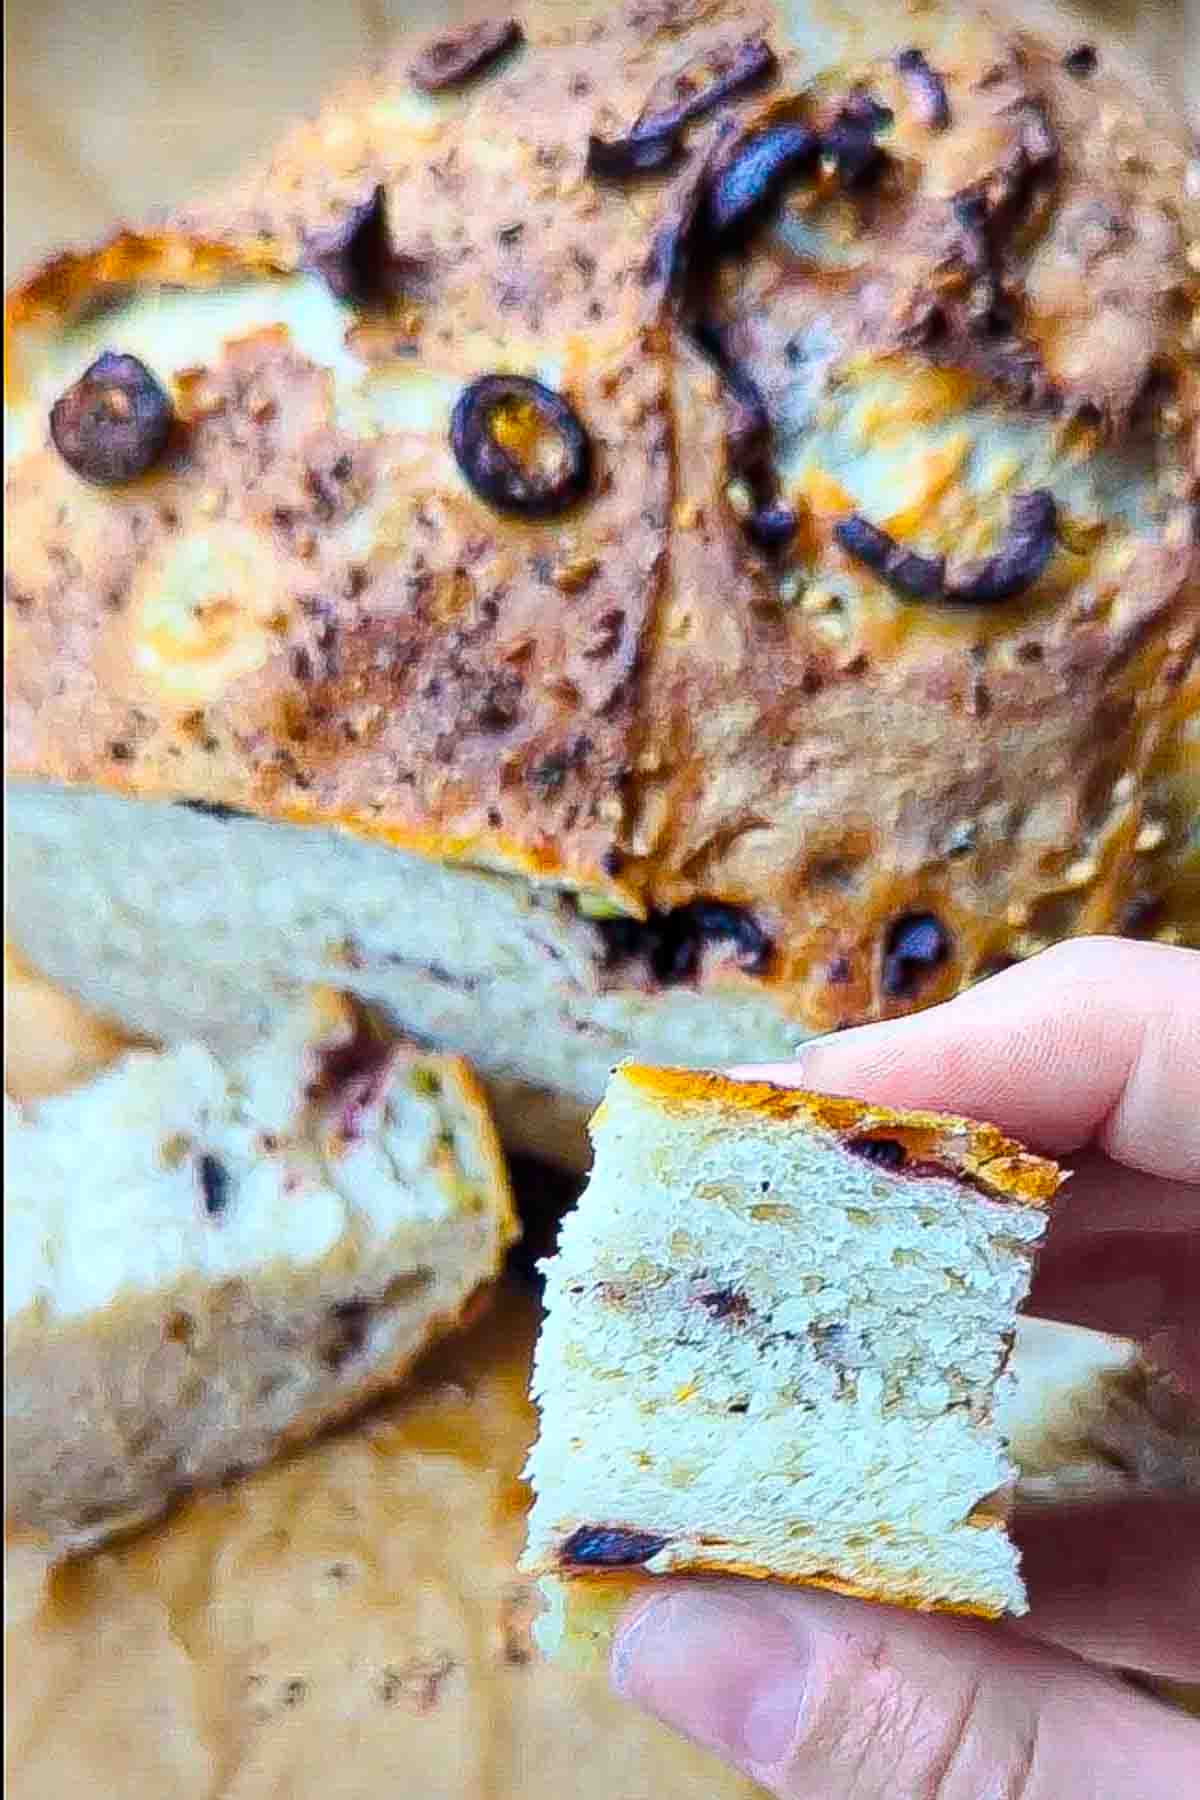
This super soft no-knead sesame and olive bread can be made either in the stand mixer or by hand. It's perfect for easy and healthy work week meals like soups, salads or even sandwiches - it slices up beautifully! The addition of olives and sesame seeds makes it an especially good addition to Mediterranean inspired meals.
Read on for how to make it and some serving ideas.
Super Soft Sesame & Olive Bread Ingredients
The ingredients are very simple and there are only 6:
- Flour: All purpose flour is perfectly fine and that's what I've used but if you have bread flour, that would provide more gluten and a nicer crust and crumb.
- Warm water: Just warm water.
- Yeast: I used fresh for this recipe but see the recipe card for swapping out instant yeast instead.
- Olives: The olives are in the bread and on the crust. You can use any olives you like, just make sure they're pitted and sliced. I used a mix of garlic green olives and black olives. You could also get adventurous with something like roasted red pepper (cut very finely) or even cornichons - why not right?
- Sesame seeds: Sesame seeds are also in the bread and on the crust. They give a beautiful nutty flavor and crunchy texture.
- Olive oil: Just a bit on top to give the crust some extra oomph.
- Seasoning: For this recipe there's just salt in the dough so that nothing distracts from the olives and sesame, but you can jazz up the crust. I sprinkled on a bit of Italian seasoning but of course you can use any seasoning you think goes.
How to make the bread dough with olives and sesame in it
There are 2 different ways you can make the dough: with a stand mixer or by hand.
I made the dough with a stand mixer, which certainly makes it a bit easier and keeps my hands free of sticky dough. But there's a trick you can use if you're making it by hand that makes it much easier, no kneading required.
Step 1: Measure the ingredients & bloom the yeast
Measure out the ingredients. Combine the flour with the salt in a large bowl (or the bowl of your stand mixer if that's what you're using). In another smaller bowl, mix together warm (not hot) water and yeast.
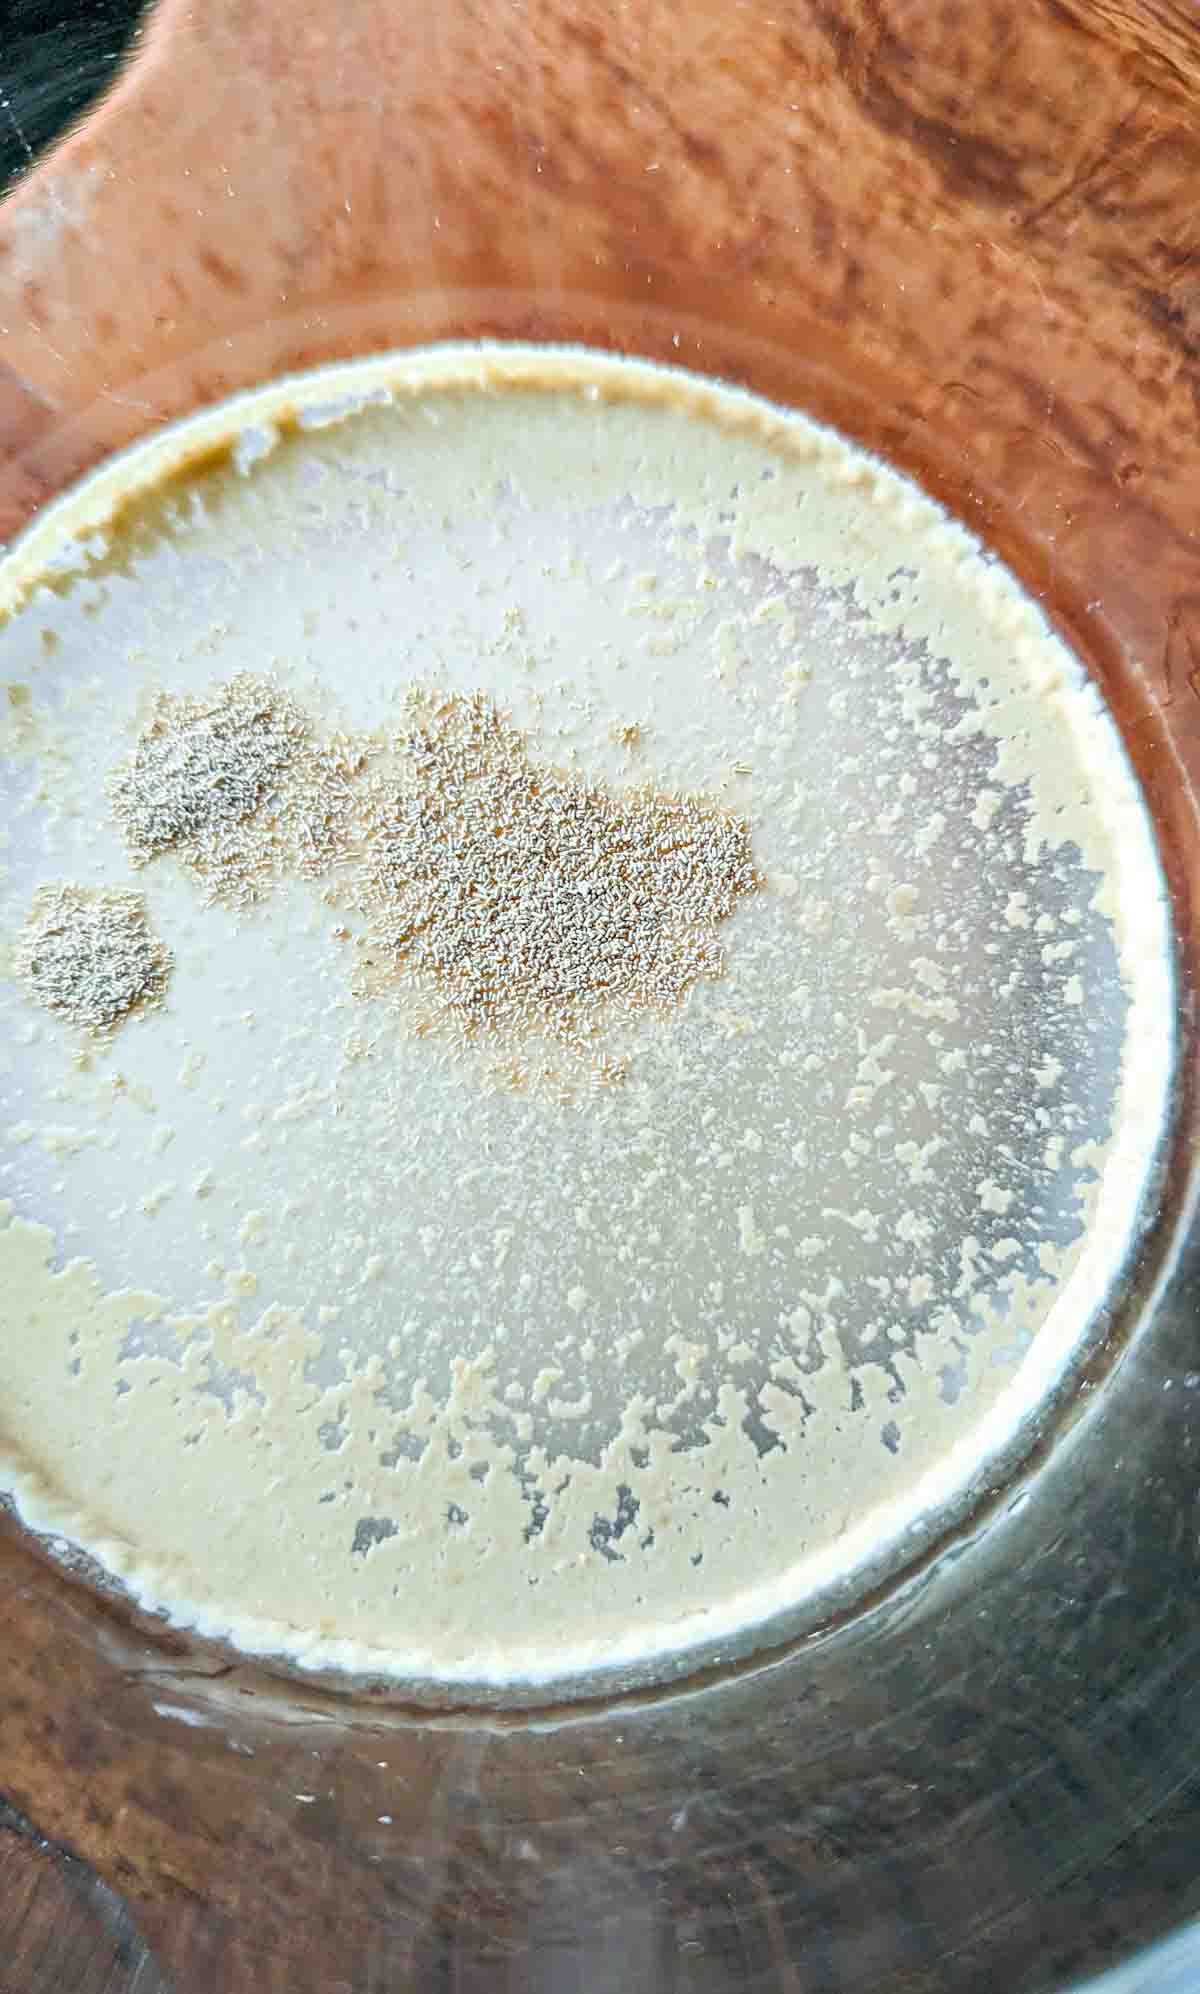

Stir it up and let it sit for 2-3 minutes. The yeast will 'bloom' or in other words it will become foamy. This means it is active. This is a necessary step for active dry yeast and fresh yeast, but technically you don't need to do it for instant yeast - that's why it's called instant: no prep.
I still always do this blooming step to make sure my yeast is good to go. Yeast can lose its potency over time sitting in the pantry (or on the store shelf). In my opinion it's not a lot of extra work and ensures your yeast will work as it should.
Step 2: Mix the wet and dry ingredients together
Mixing with stand mixer
Add all the dry ingredients to the bowl of the stand mixer, and slowly drizzle in the water and yeast mixture.
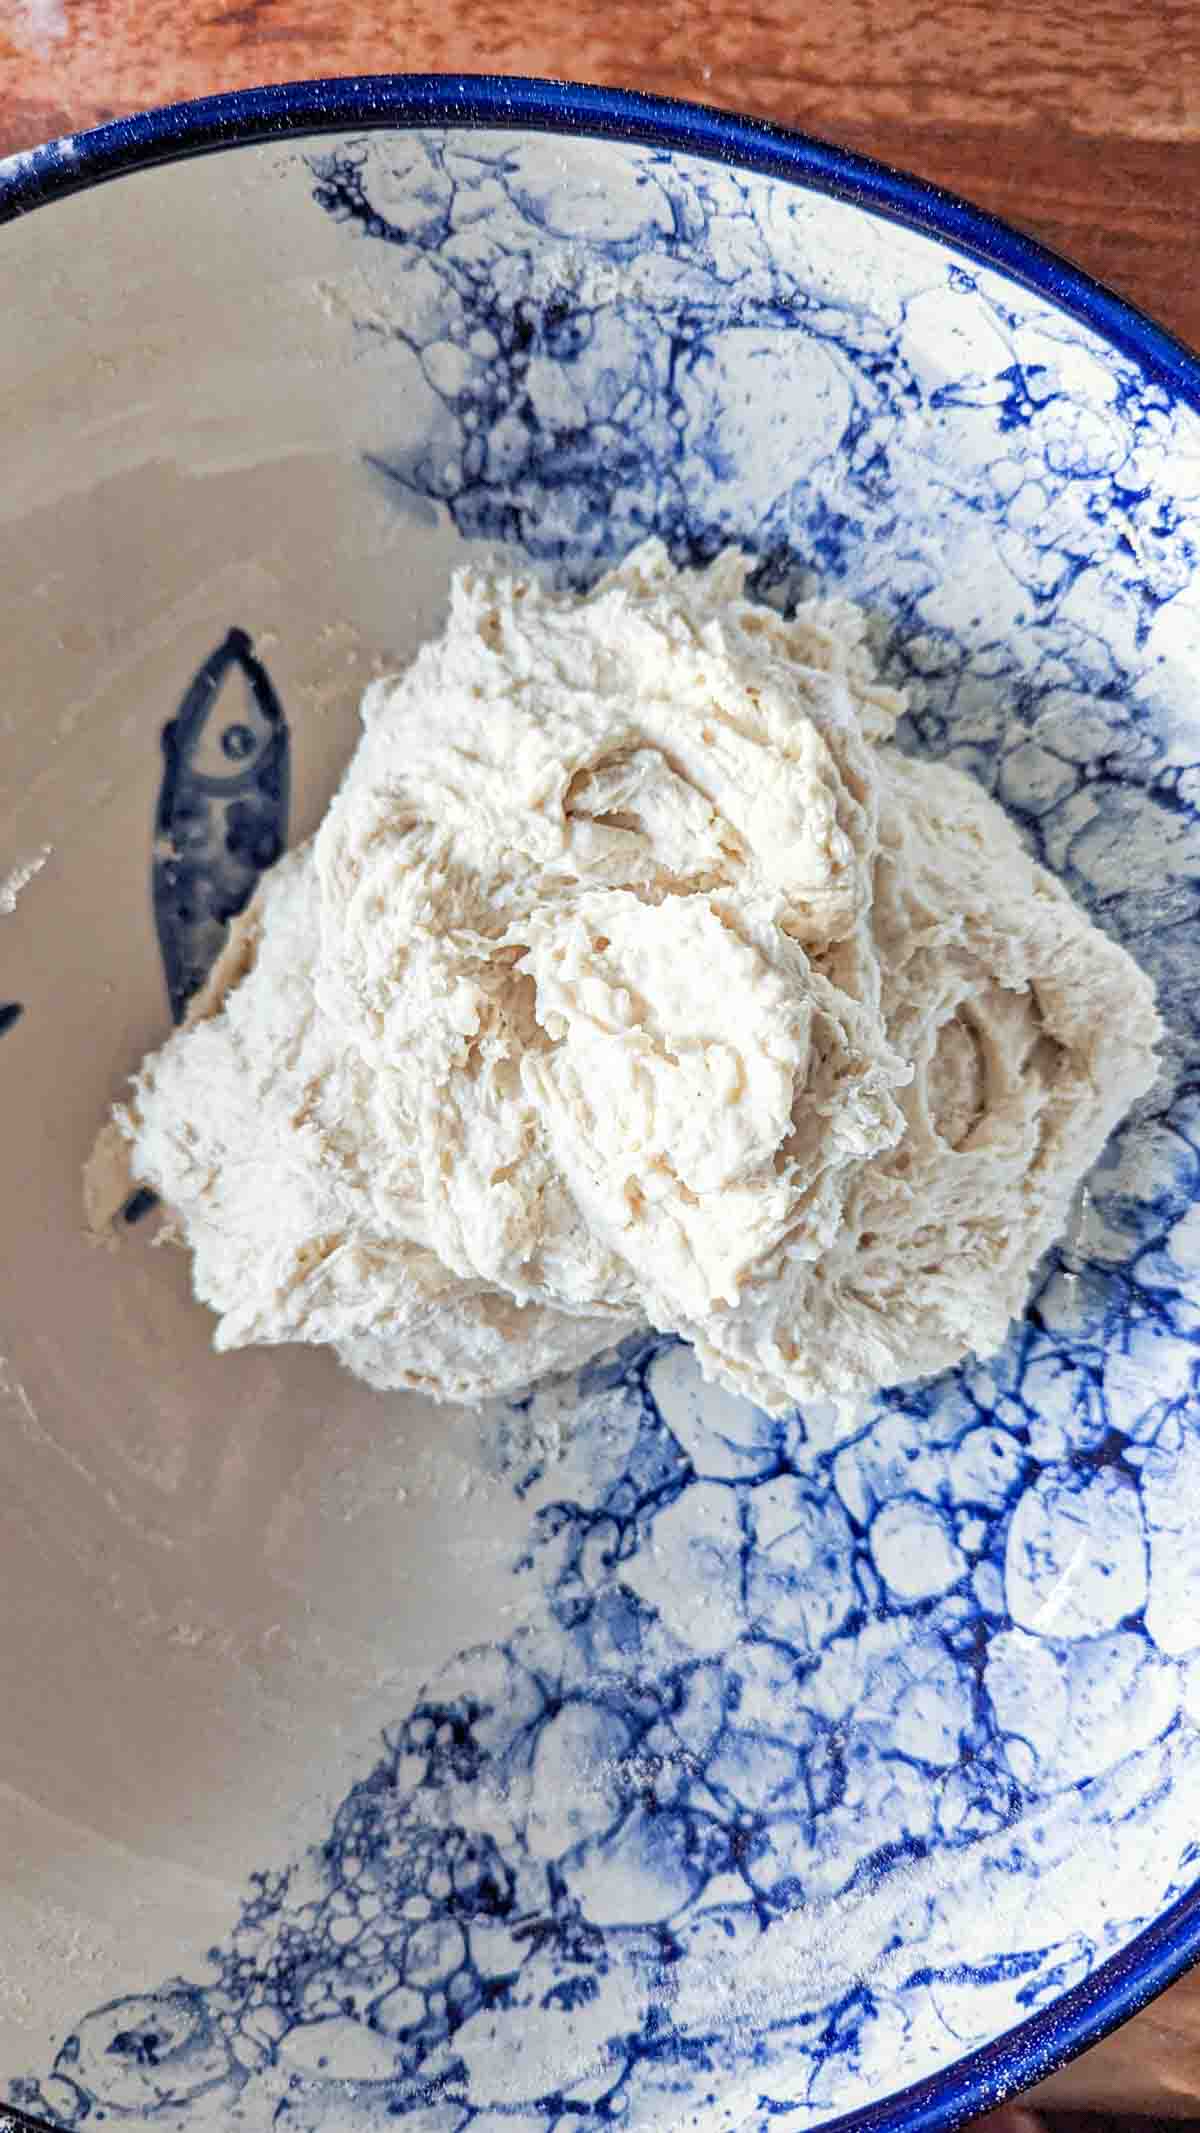
Continue to mix on a medium to low setting for 1-2 minutes or until the dough comes together into one mass that is relatively smooth. See photo below of what it should look like.

Mixing by hand
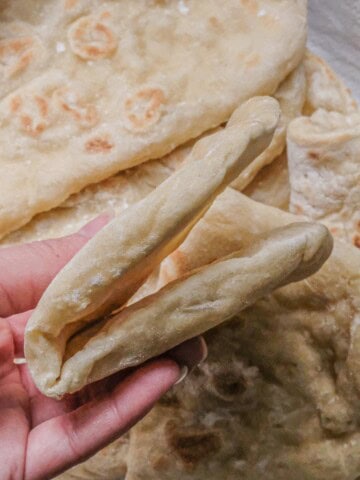
Pro tip: You can encourage really good gluten formation by mixing part of the flour with the yeast/water and literally stirring it (it should be the consistency of pancake batter). This technique makes gluten that's just as good as that made by mixing in a stand mixer.
In order to do this, combine half the flour with the water and yeast mixture, and use a wooden spoon or spatula to stir it together. It will have a soupy stringy texture, which is what you want.
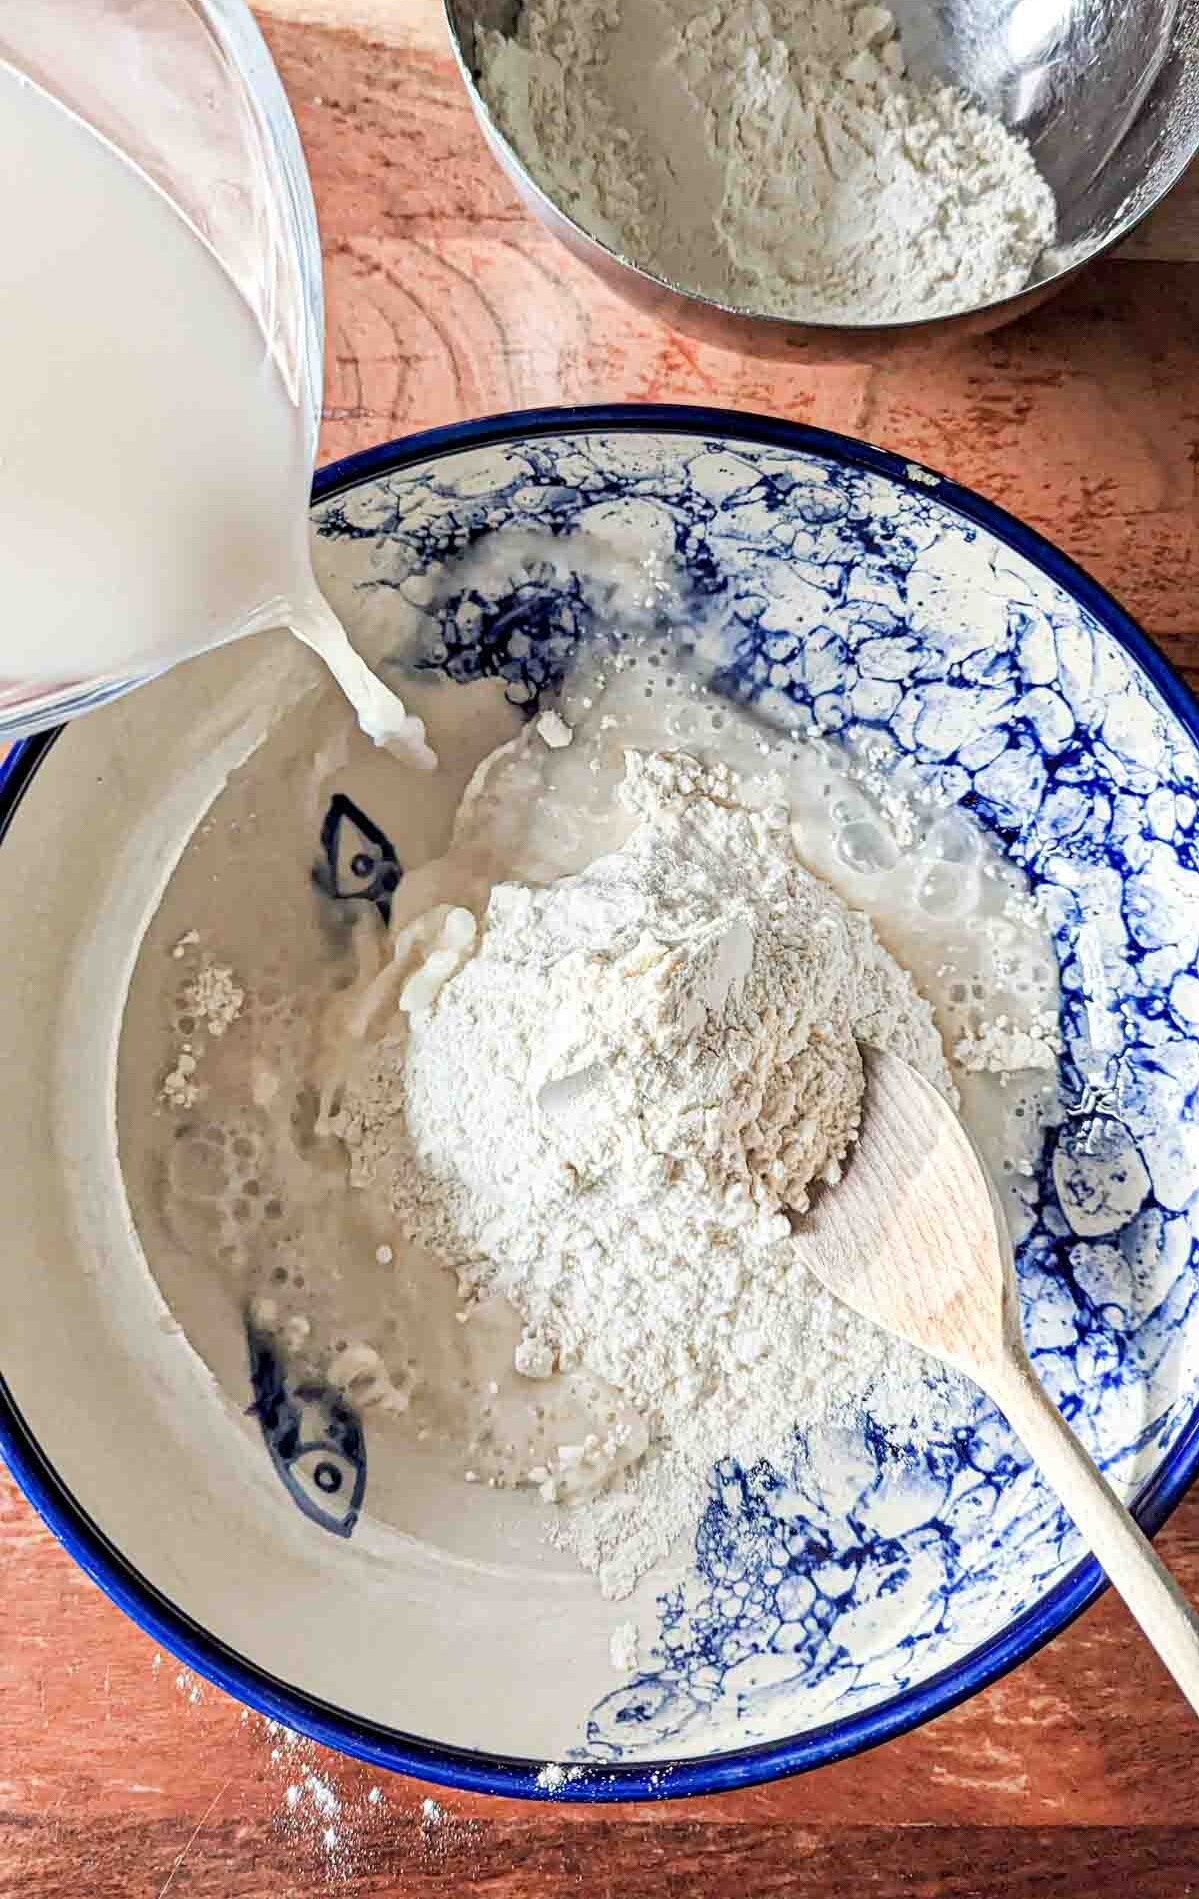
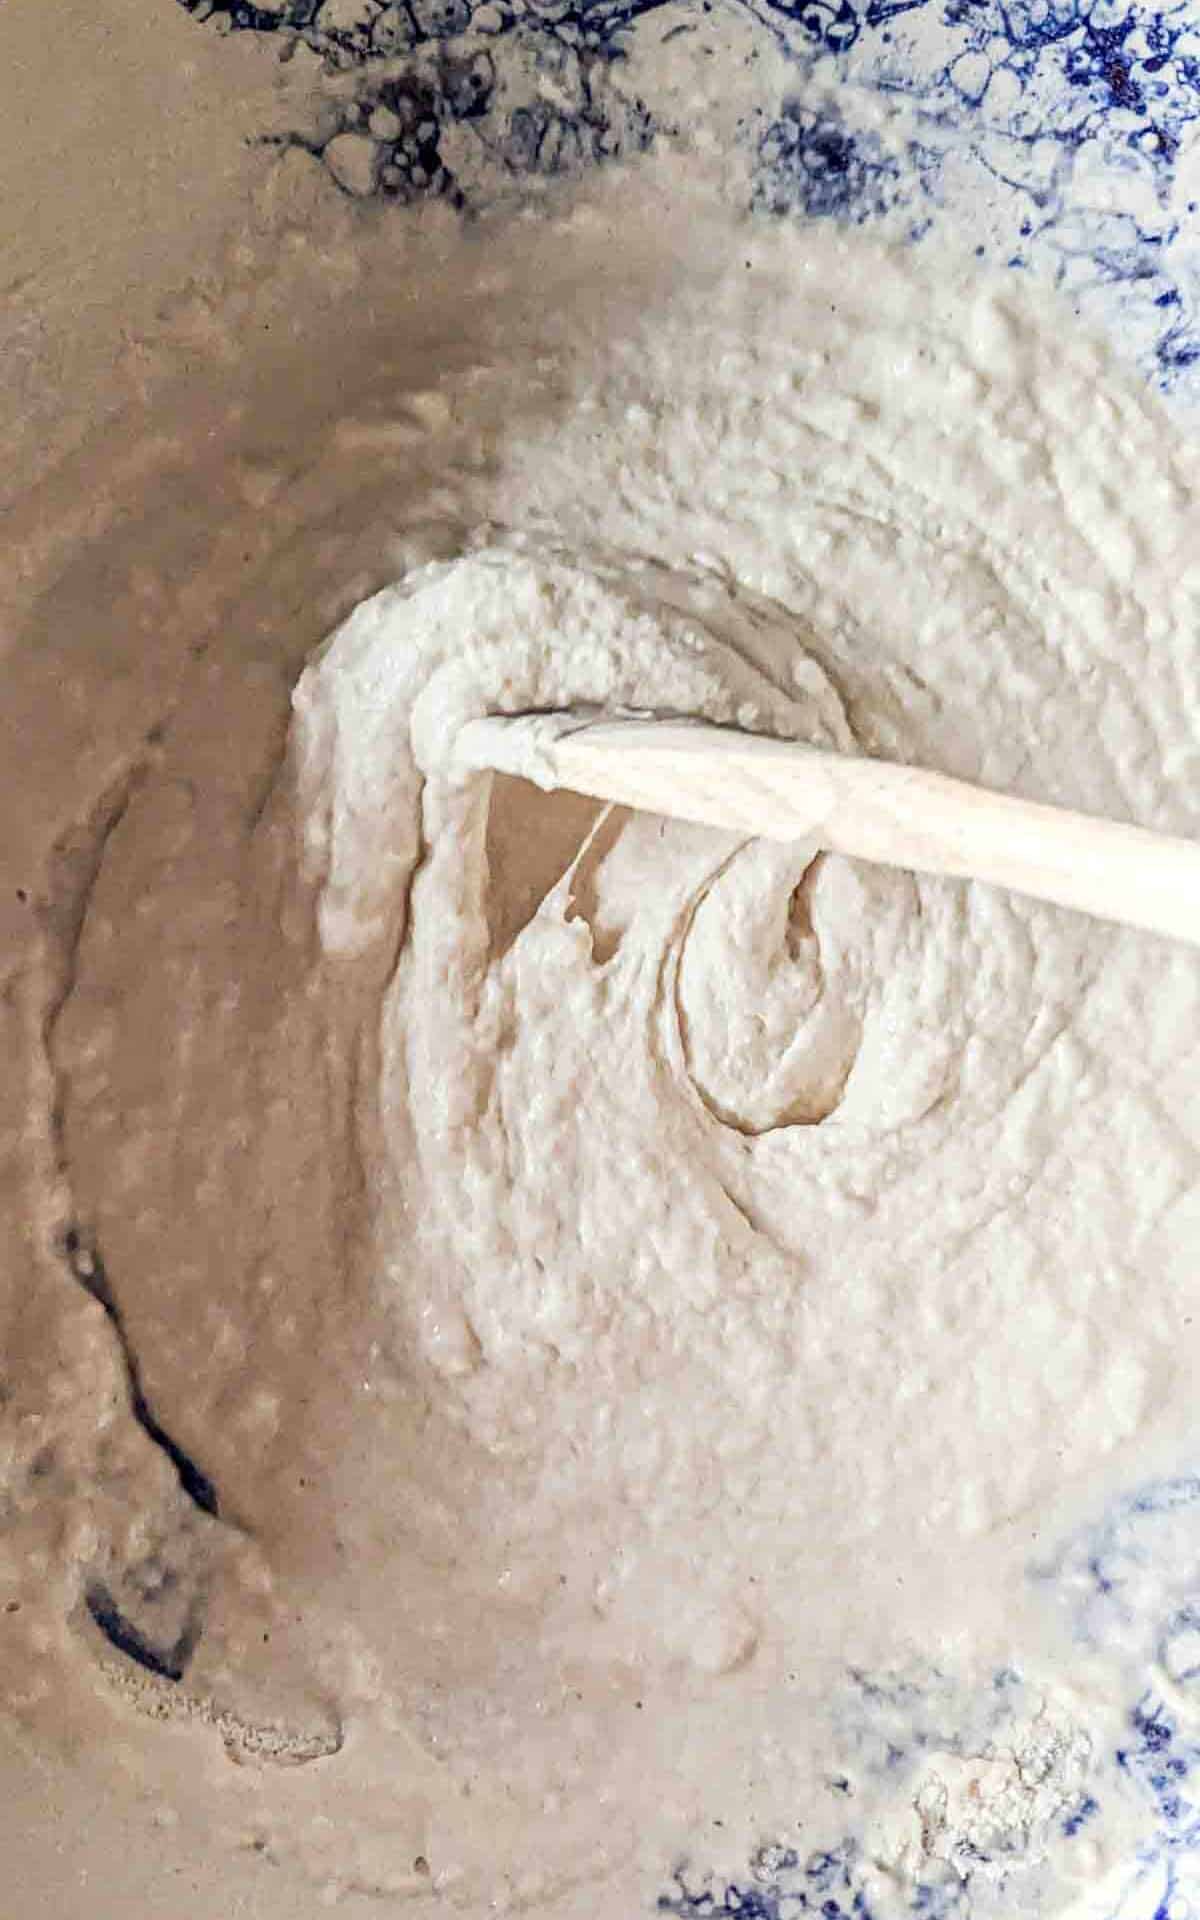
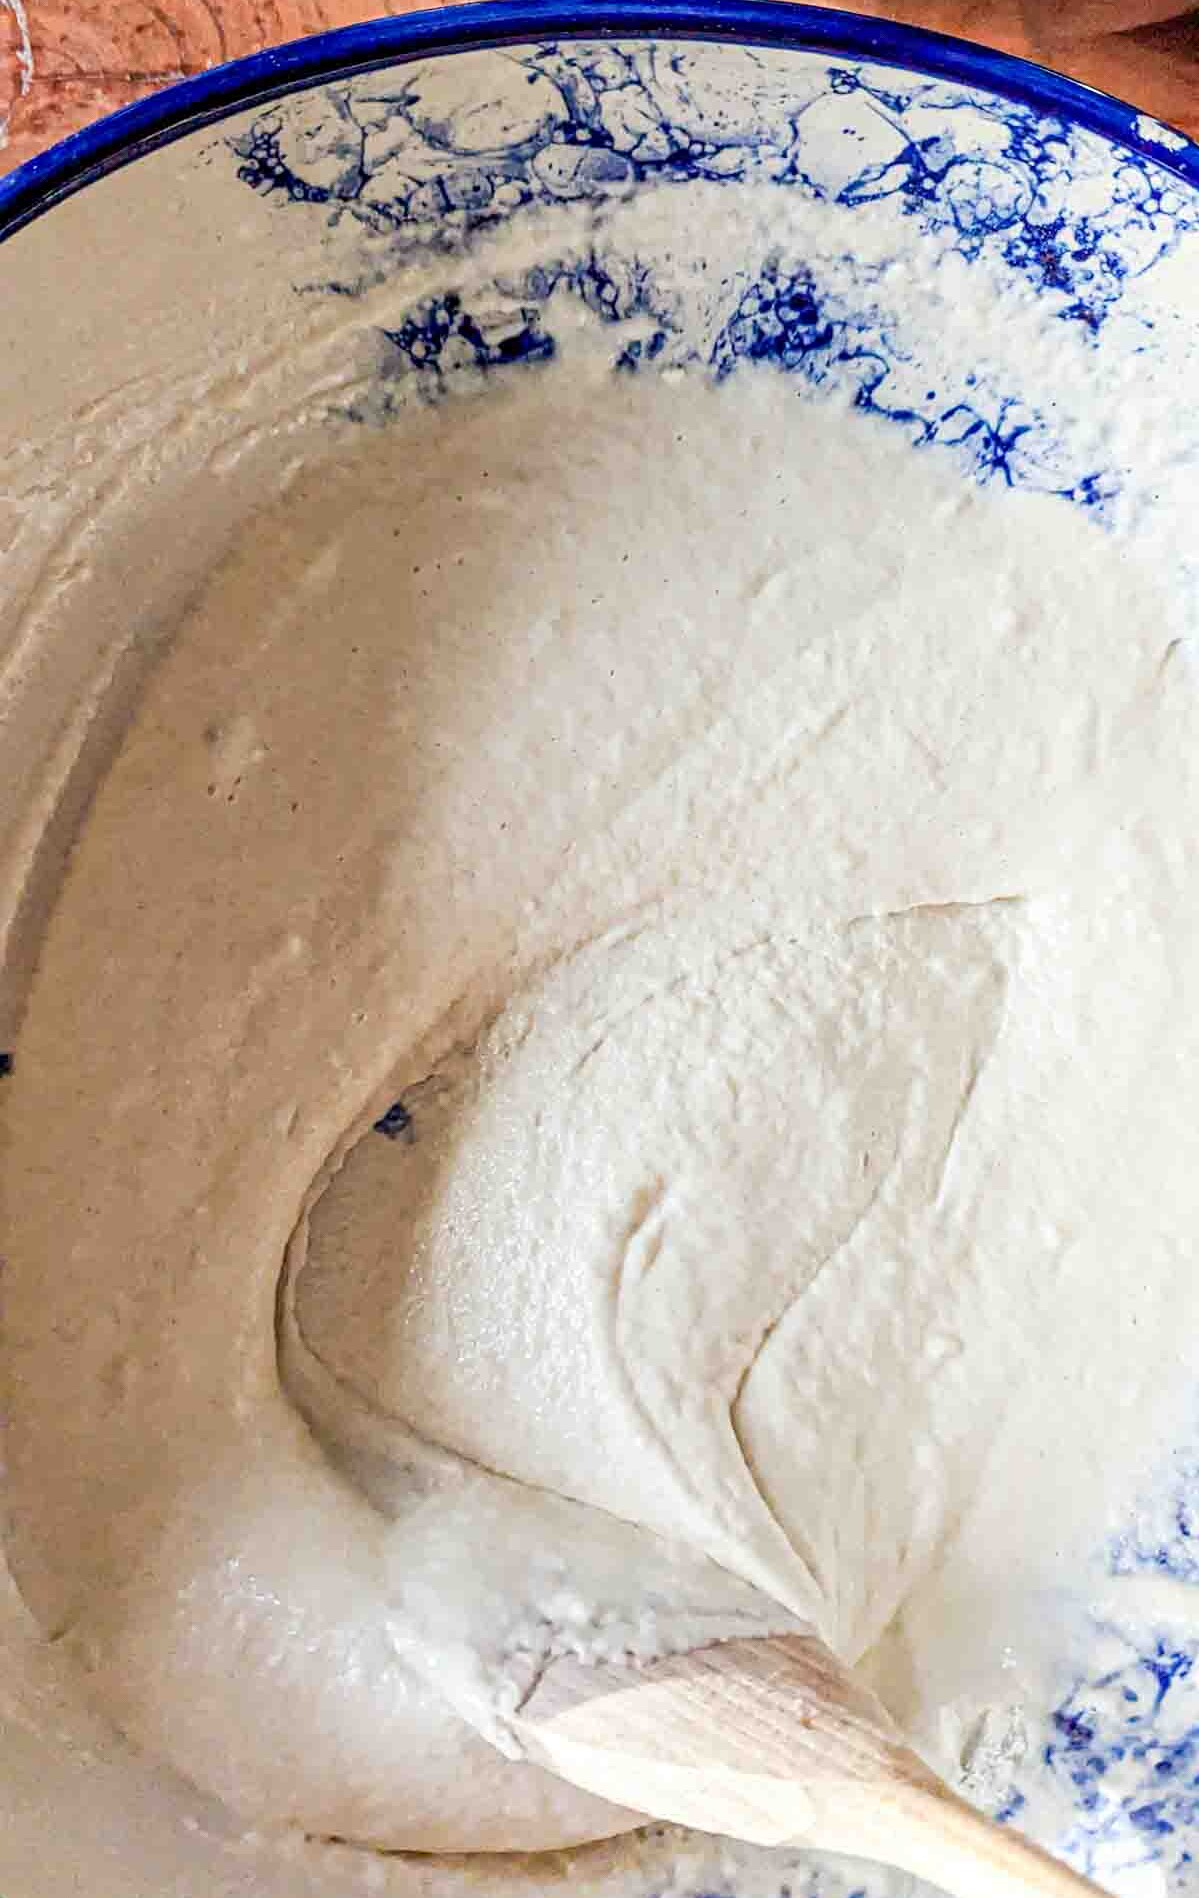
Stir for 1 minute or so, until it's smooth as you see in the third image above. Then add the rest of the flour and mix. The dough will be a bit shaggy which is okay.
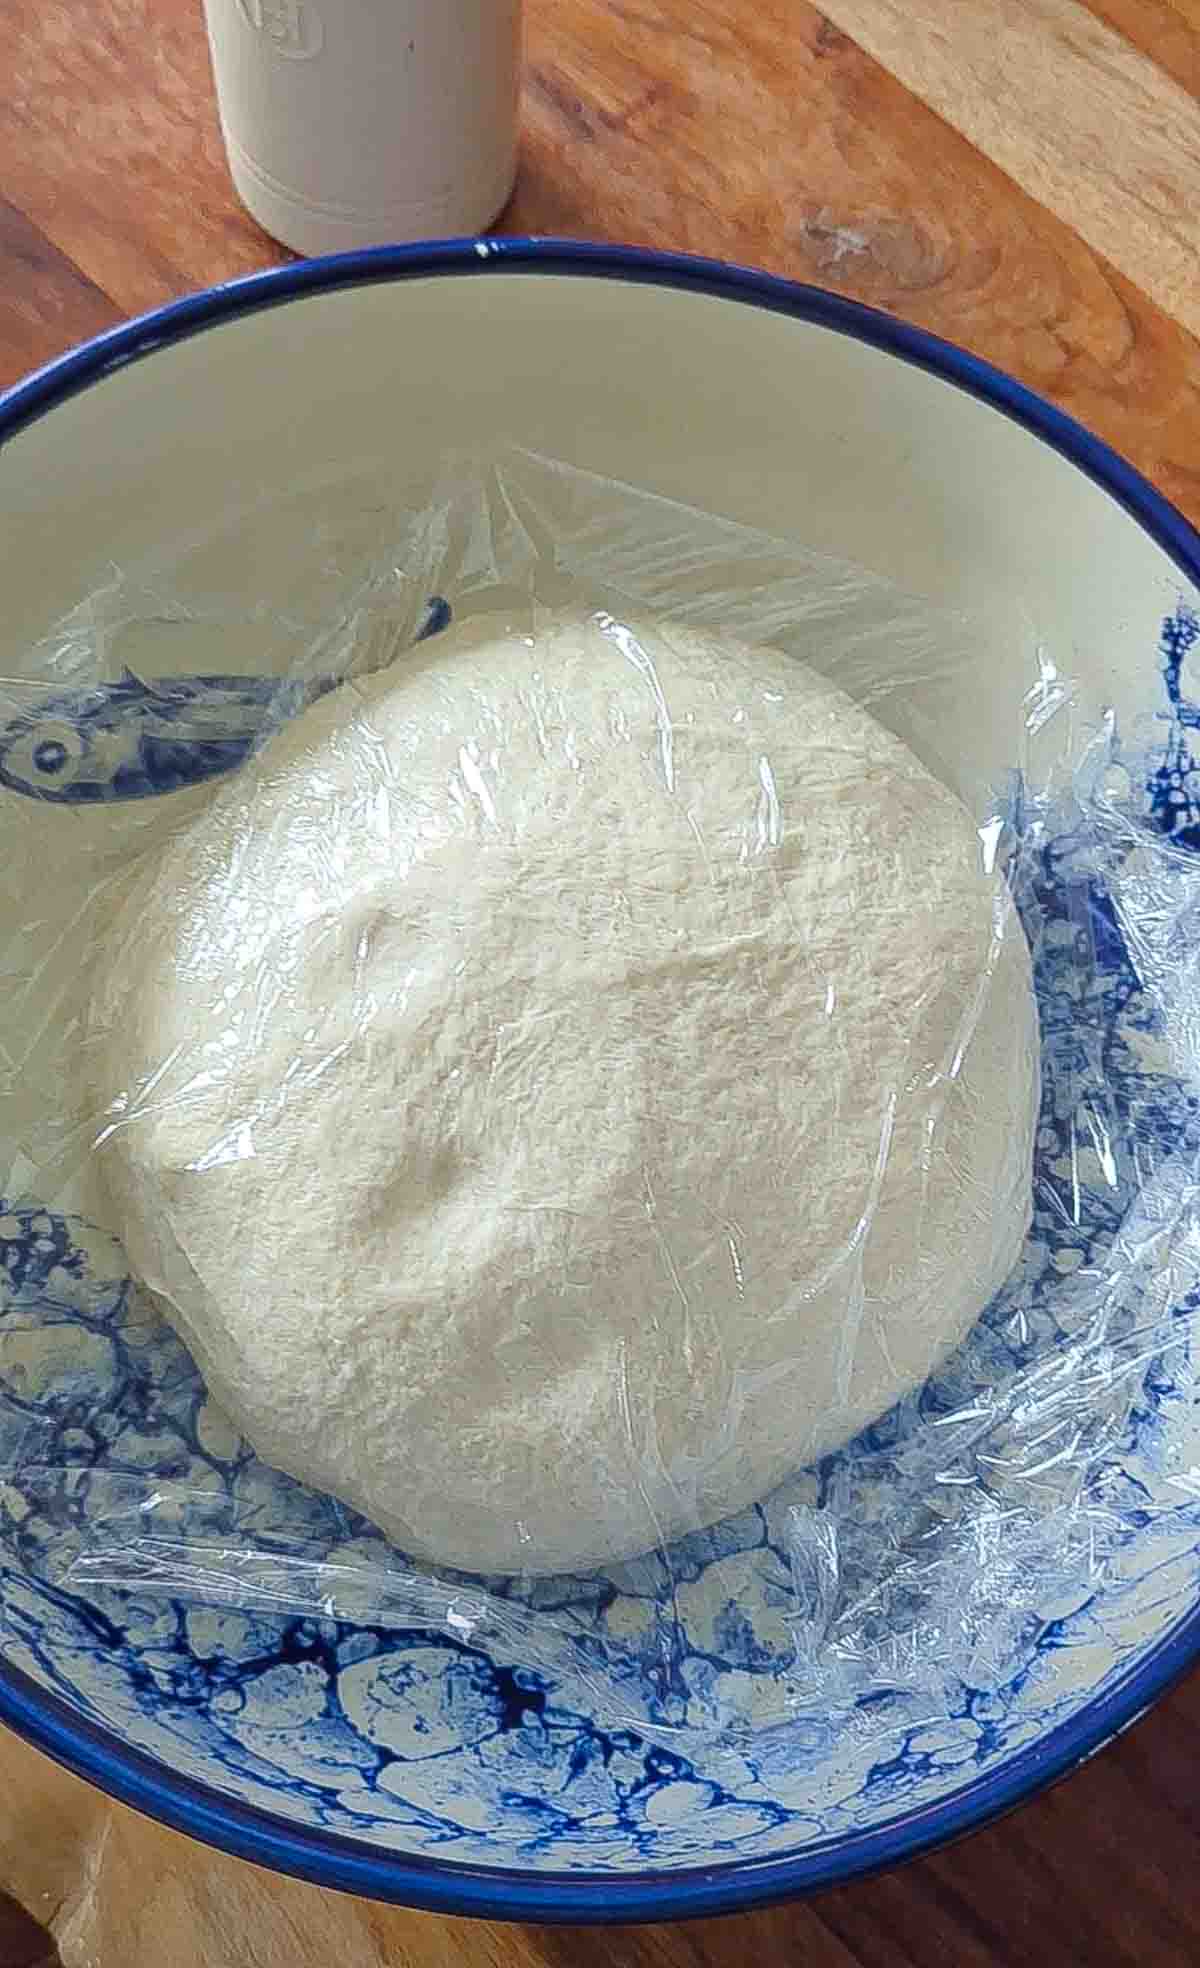
You can smooth is out by giving it a few folds with your hands or you can simply cover it with plastic wrap and leave it to rise.
Step 3: Rest & fold the dough
Proper resting is really important. The longer you can rest the dough, the better the fermentation which will result in better gluten formation, better flavor, a more open and chewy crumb, and a crisper crust.
But we don't always have time for a 12 hour overnight rest. You can still make a really good loaf will much less rest. I'd say the minimum amount of time you should rest the dough is 2 hours.
Any less and you won't get enough rise or enough flavor.
So cover the dough with plastic wrap, beeswax wrap, a lint-free kitchen cloth or whatever other wrap you'd like to use. Set aside in a neutral to warm spot (like an oven with only the light on).
While the dough is resting, set a timer for approximately 30-45 minute intervals, and when it goes off uncover the dough and fold it in on itself. Here's a good example of how that's done.
You basically want to pull the outer edges towards the center point and fold them in.
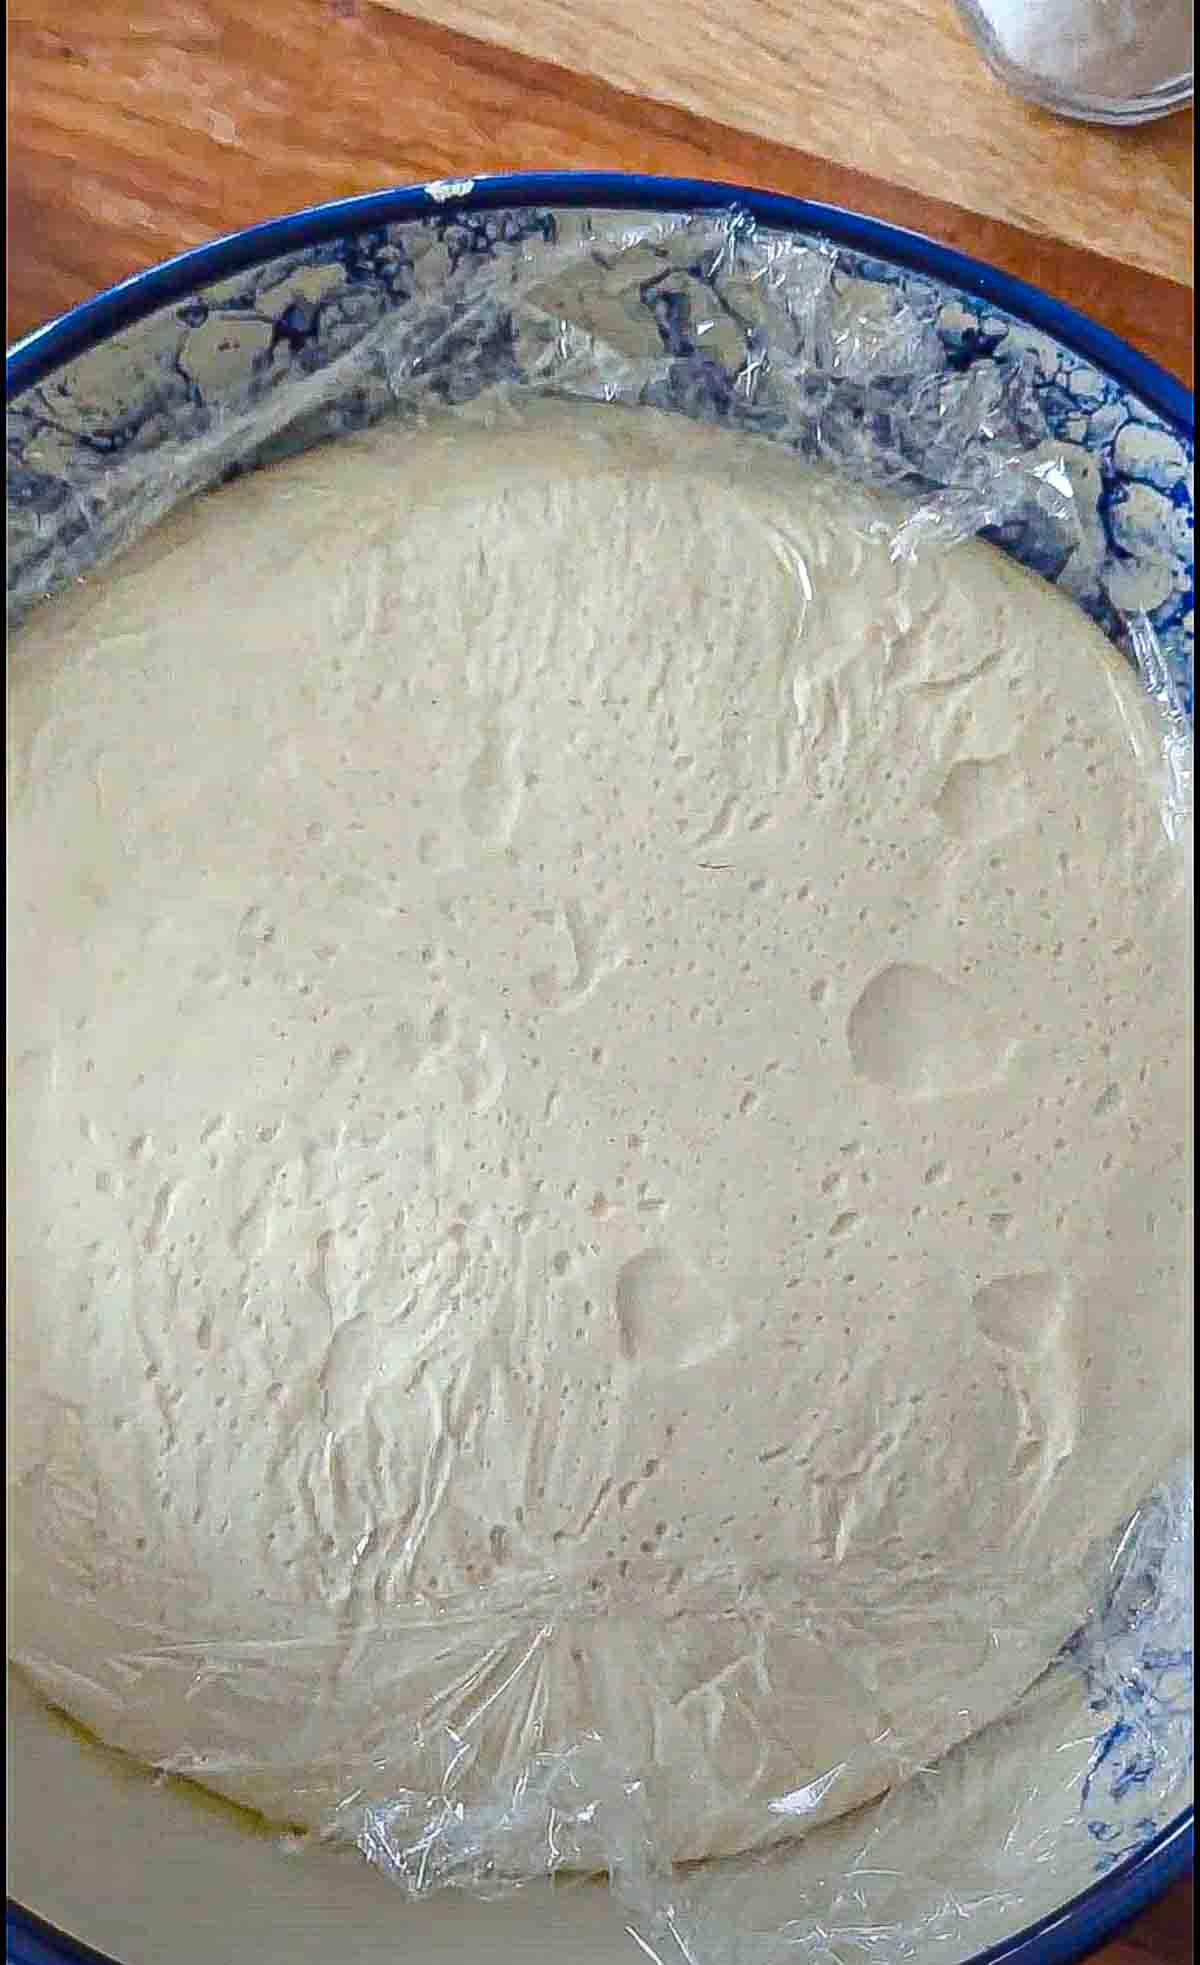
After 2 hours of resting and folding, the dough should approximately double in size.
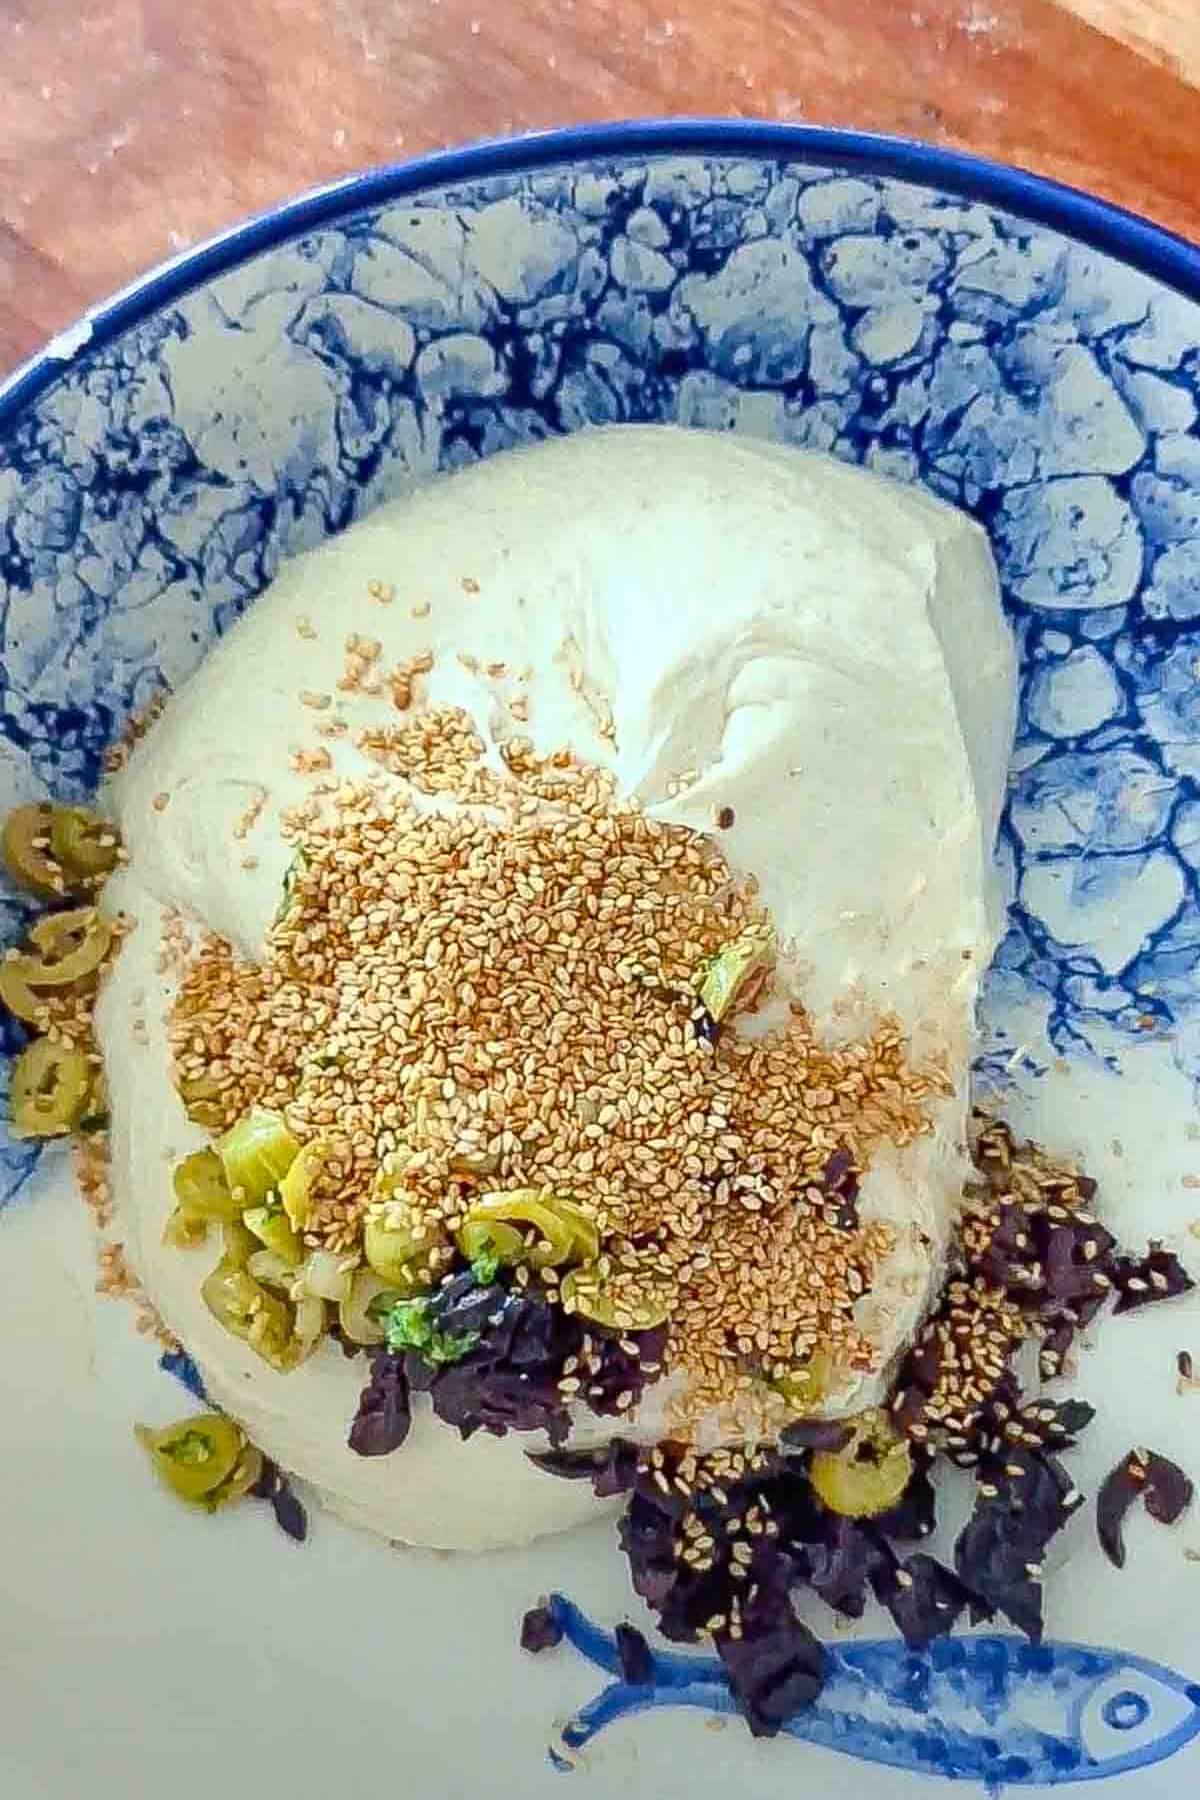
Step 4: Add the olives, sesame seeds and olive oil
Some people add olives to olive bread at the mixing stage. I didn't do it that way because I didn't want the olives to be mashed together with the dough. It's more a matter of preference than a requirement.
Make sure the pits are removed and slice the olives thinly. Then pour the olives and sesame seeds over the dough, and fold the dough a few times to incorporate. I did this by picking it up from the middle, give it a little shake so it lengthens, and then fold on itself. Repeat until everything is incorporated but try to end with a "loaf-like" shape.
Once the olives and sesame seeds are in the dough, place the dough either directly into the loaf pan or Dutch oven you'll be using or otherwise (if you want to preheat the pan itself for a nicer crust) then on some parchment paper in a bowl or proofing basket. This way, when you are ready to bake you can simply pickup the parchment paper by the edges and move the dough into your hot loaf pan.
If you don't have parchment paper then dust the bread pan or Dutch oven liberally with fine cornmeal or flour to make sure the loaf doesn't stick.
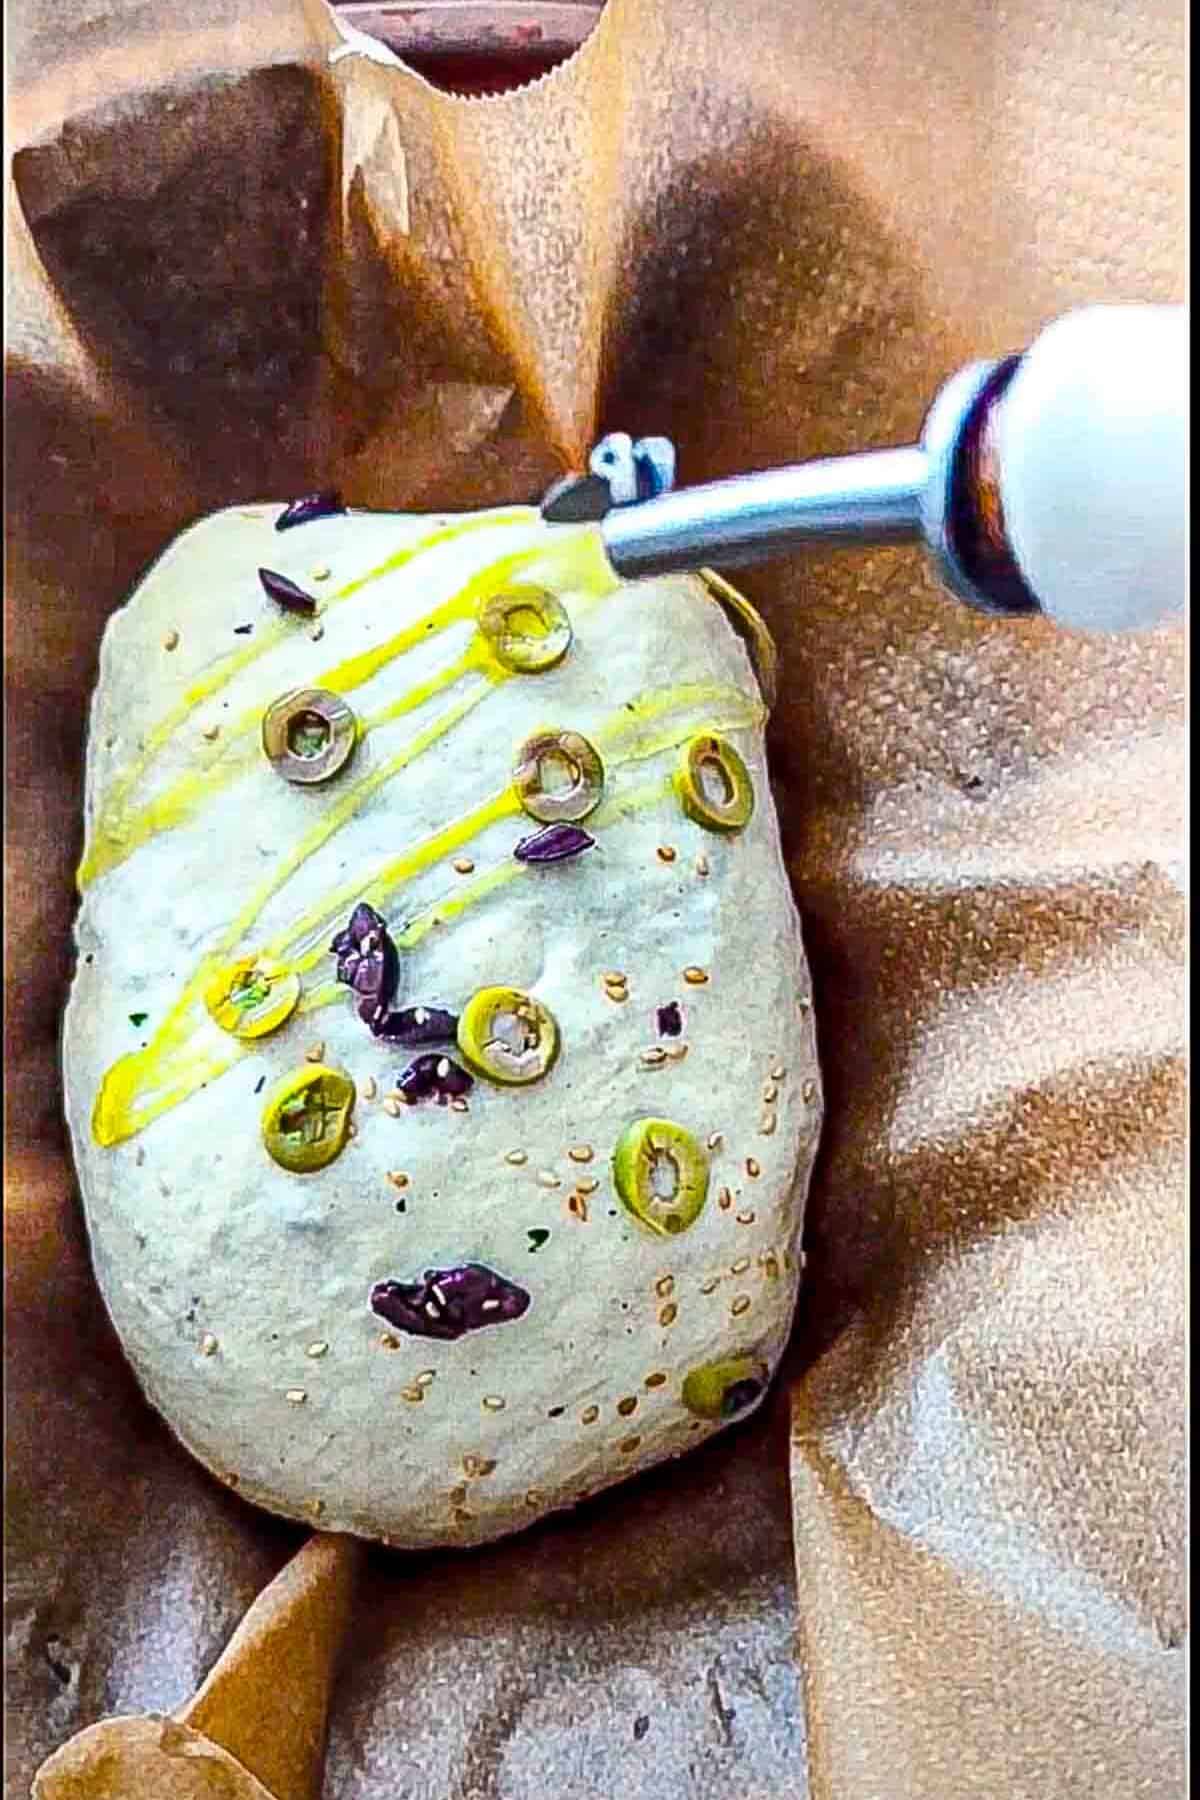
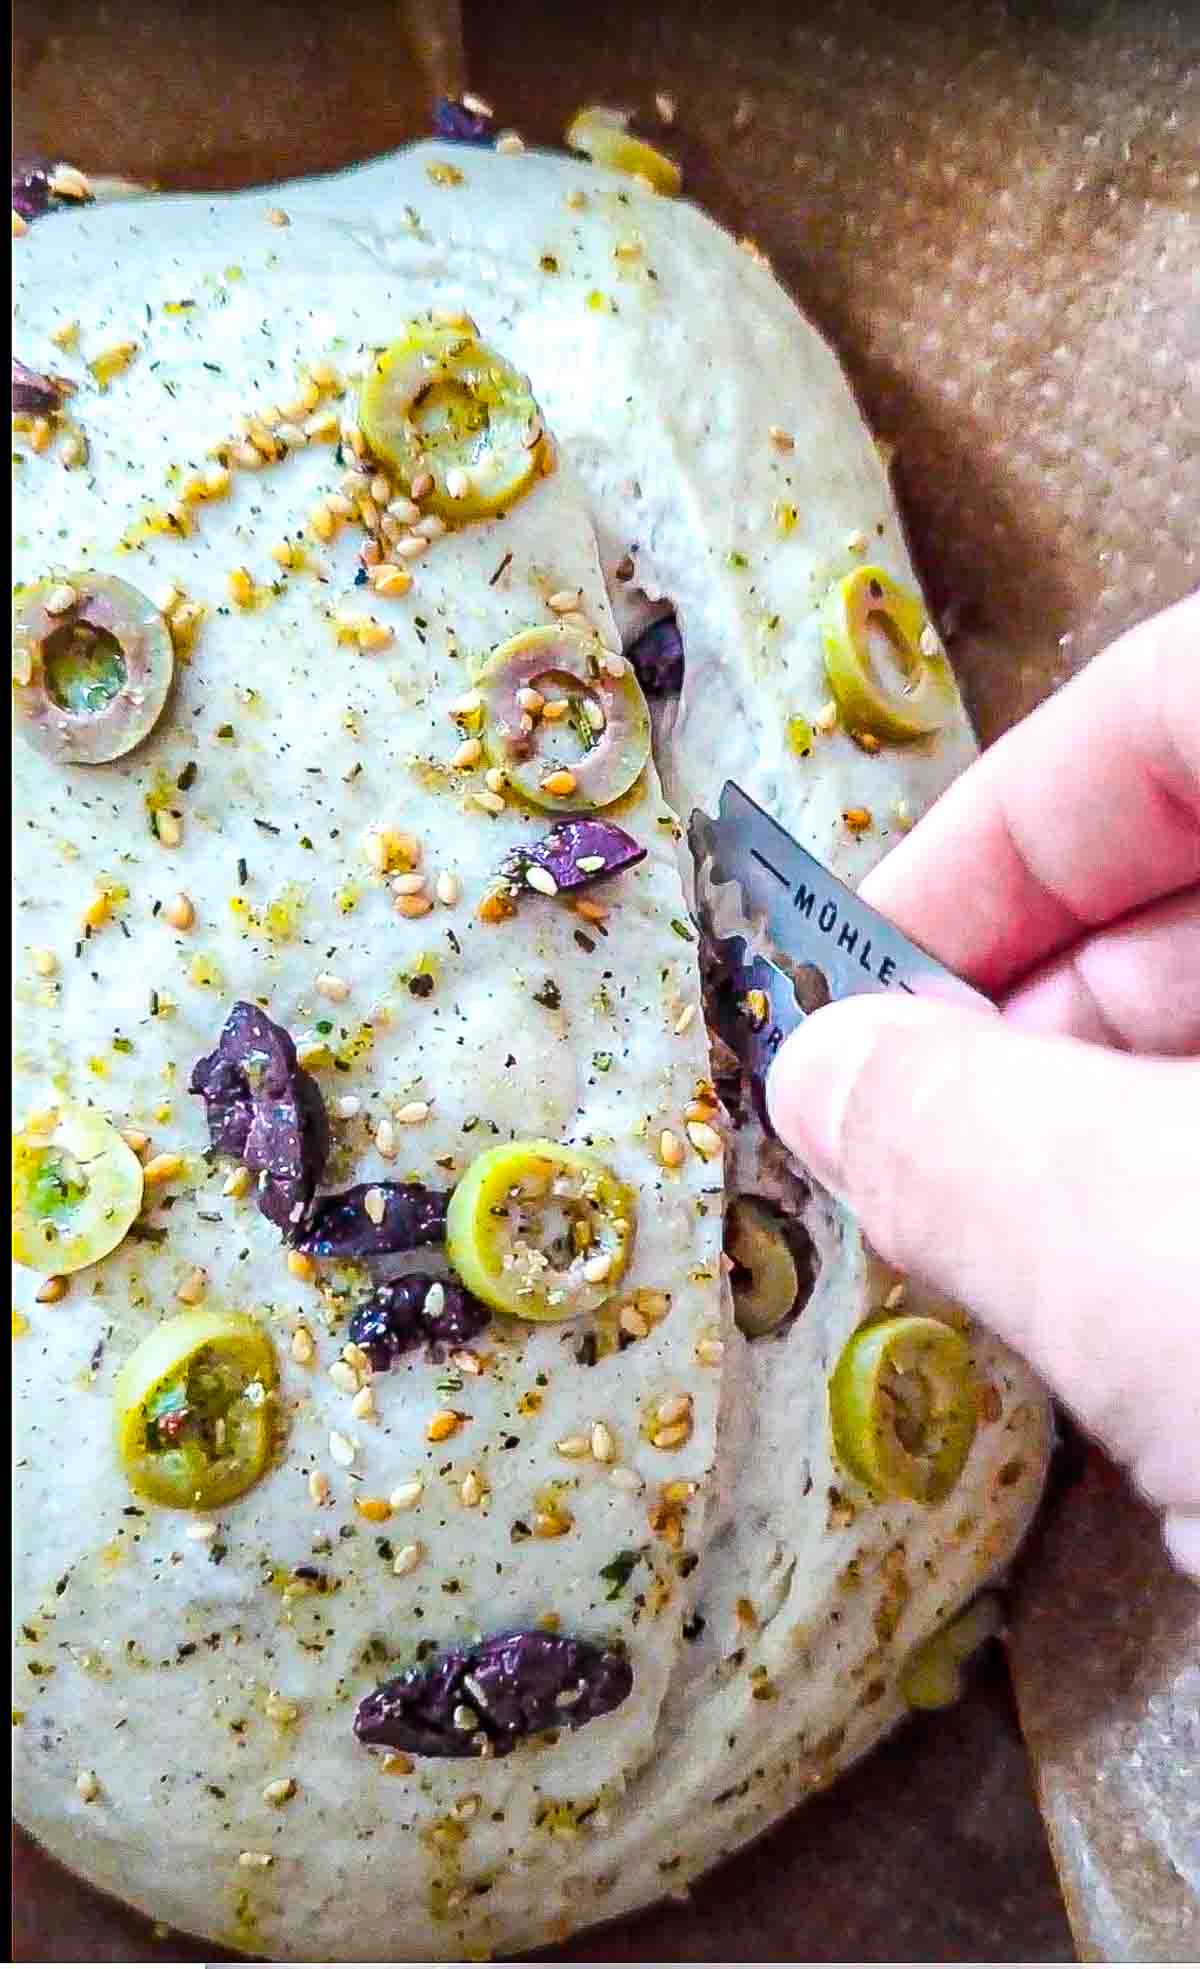
Step 5: Final shaping, resting and scoring
Rest the dough one final time for at least 30 minutes. In the meantime, preheat the oven to 200 C / 400 F. Just before you're ready to bake, use a sharp knife, bread lame or razor blade to score the bread.
Step 6: Baking the Sesame and Olive Bread
Bake at 200 C / 400 F for 25 minutes or until golden.
Recipe

Sesame & Olive Bread (Super Soft)
Ingredients
- 475 grams flour all purpose or bread flour
- 350 ml water
- 30 grams fresh yeast see recipe notes for alternatives
- 1 teaspoon salt
- 8 tablespoons mixed olives pitted and thinly sliced
- 4 tablespoons sesame seeds
- 1.5 tablespoons olive oil
Equipment
- 1 bread loaf pan (ideally oval or round like a Dutch oven)
Instructions
- Measure out the ingredients and combine the flour with the salt in a large bowl (or the bowl of your stand mixer if that's what you're using). In another smaller bowl, mix together warm water and yeast. Set aside to bloom the yeast (see recipe post for details).
- Mix together the wet and dry ingredients either in the bowl of a stand mixer or in a regular bowl if mixing by hand. See recipe post for tips on mixing dough by hand.
- Cover the dough and rest in a neutral to warm place for at least 2 hours or until doubled in volume. Set a timer to do a few quick folds to the dough every 30 minutes.
- Rest the dough one final time for at least 30 minutes. In the meantime, preheat the oven to 200 C / 400 F. Just before you're ready to bake, score the loaf with a sharp knife or blade.
- Fold the olives and sesame seeds into the loaf (saving a bit for garnish) and add a few drizzles of olive oil. Once ingredients are added, reshape the loaf, drizzle the top with olive oil and sprinkle the remaining olives + sesame seeds on top as garnish.
- Set the dough in your lined (or dusted) baking pan or proofing bowl and set aside for one final 30 minute rest.
- Preheat oven to 200 C / 400 F.
- Bake for 25 minutes or until golden.


Comments
No Comments