
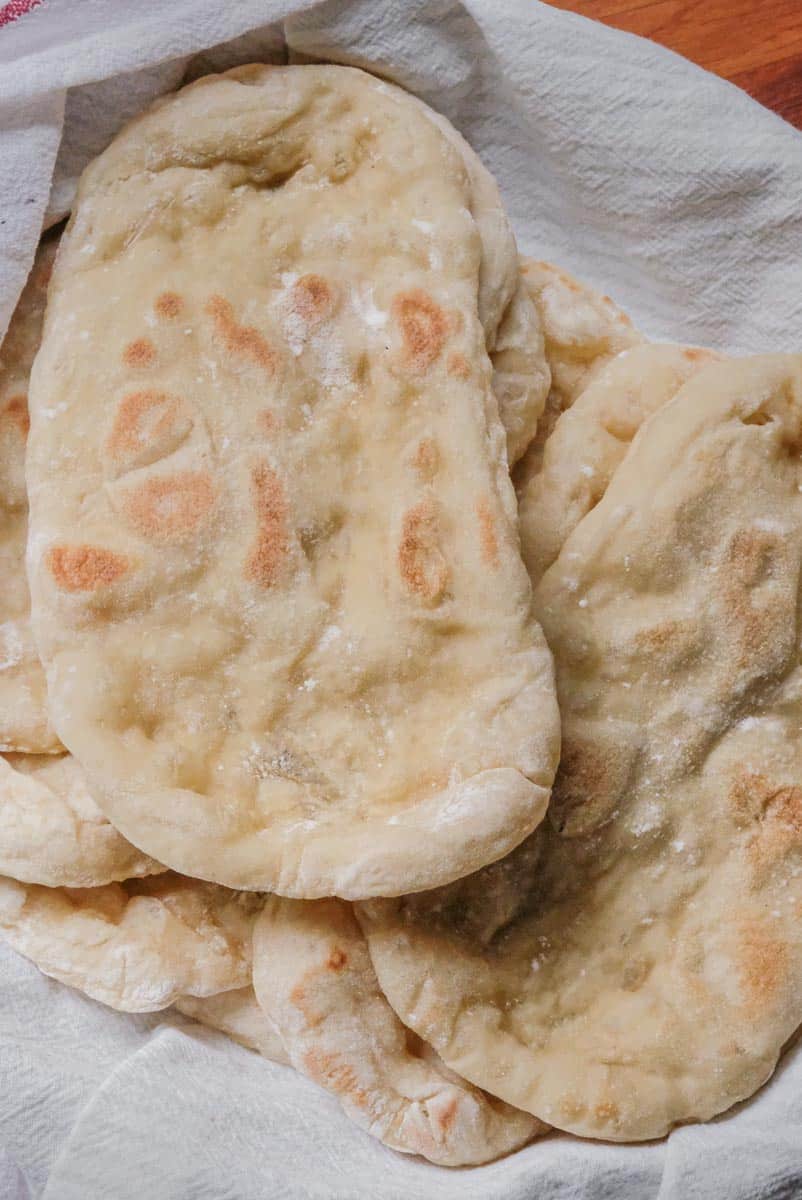
This pita bun recipe makes soft, fluffy, foldable pita buns that work perfectly as sandwich and burger buns. The dough comes together quickly and can be ready in as little as 90 minutes, making it ideal for same-day meals.
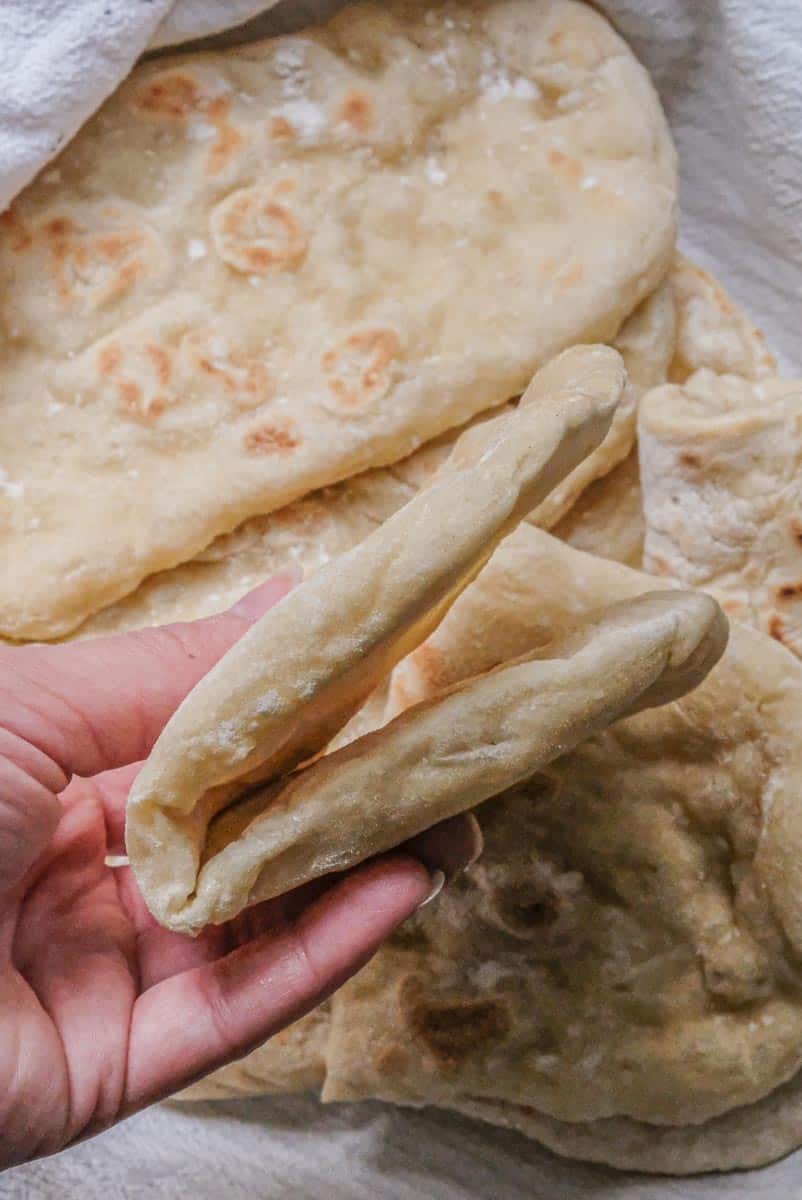
Instead of classic round pita for dipping, the dough is rolled out and shaped into slightly thinner, long ovals which are perfect for wrapping around burgers, fried chicken or other sandwich ingredients.
They are really easy to make at home: just mix the dough, let it rise in a slightly warm oven with a few strategic stretch and folds, then shape and cook on a hot skillet.
Just 1 hour of warm proofing is enough to produce light, pillowy buns with great structure.
Table of contents
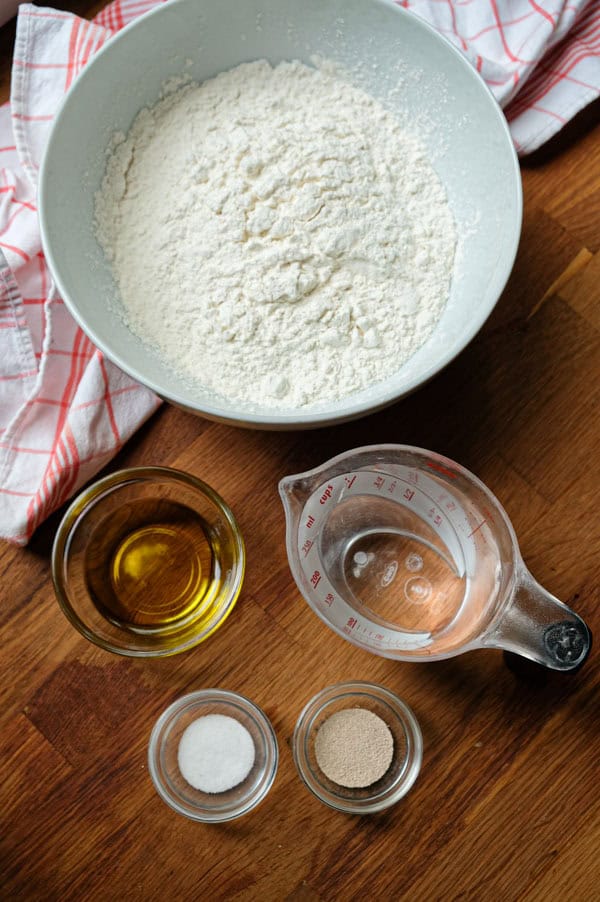
Ingredients
Bread flour: Bread flour has a higher protein content and so provides strong gluten development for structure, elasticity, and reliable puffing. This helps the pita buns stay soft and pliable. All-purpose flour also works, but bread flour is preferable for better chew and flexibility.
Lukewarm water: Lukewarm water activates the yeast and jump-starts fermentation. If you want a precise temperature, aim for around 30 °C / 85 °F.
Active dry yeast: Active dry yeast is ideal for quick, warm fermentations since it has a predictable rise and isn't highly temperature sensitive. If you want to substitute instant yeast you can do so 1:1 by weight (mixed directly into the flour) but then skip the warmed oven (use oven with light on only) so the yeast doesn't deplete too fast. Fresh yeast can also be used at about 3× the weight.
Olive oil: Tenderizes the dough, improves extensibility, and helps the pitas stay soft after cooking.
Salt: For flavor and gluten development.
Equipment
- Kitchen scale:
Weighing ingredients on a kitchen scale is better for good technical execution of breads and bread doughs than volumetric measures. If you don't have one then there are volumetric measures in the recipe card but YMMV. - Small bowl or measuring cup:
For mixing the wet ingredients evenly before adding to the dry ingredients. - Large mixing bowl:
For mixing and proofing the dough. - Oven thermometer (if you don't have a digital oven):
The quick rise method makes the process faster in a warm oven but the temperature really needs to be precise or the yeast can be overproductive and exhaust itself before the big event. If you have a digital oven then you can set the temperature predictably but if you don't then a thermometer is helpful. - Skillet (non-stick or cast iron):
A hot, dry skillet provides the quick heating needed for pita to puff. Both cast iron and non-stick are good options to quickly puff and lightly char the pita buns.
Instructions
These pita buns can be made with 2 different methods which are outlined in this section: quick rise method or overnight ferment method.
The quick rise makes a really good pita bun very quickly while the overnight develops more flavor - that's the tradeoff for expediency.
1. Mix the Dough
In a small bowl or measuring cup, combine the lukewarm water and olive oil. Sprinkle in the yeast and stir to dissolve. Then mix the flour and salt in a large bowl.
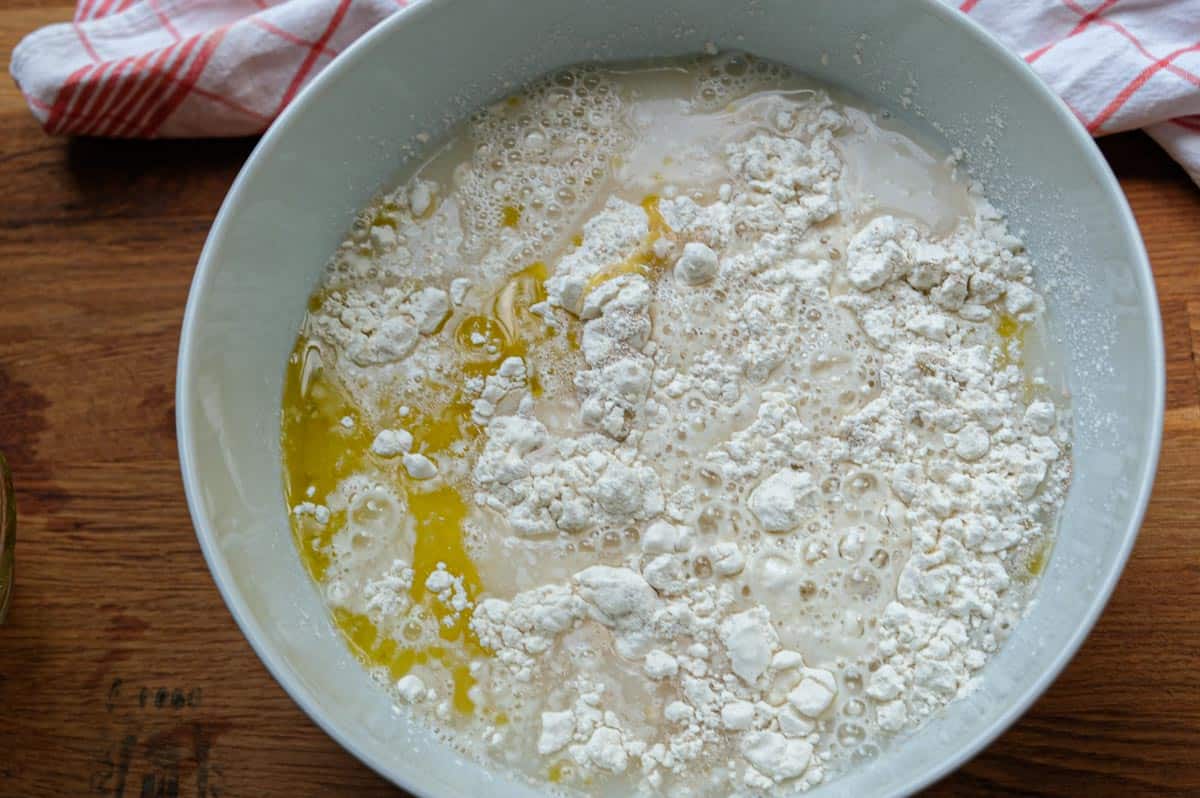
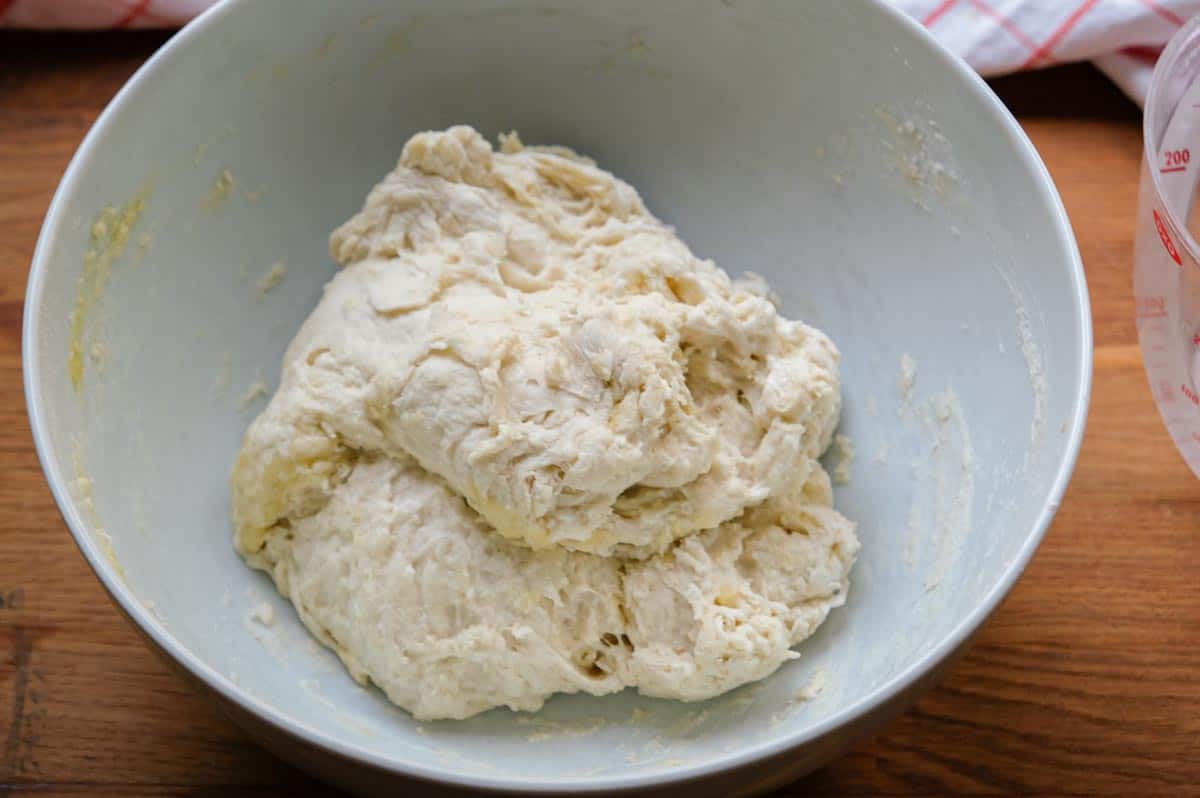
Pour the wet ingredients over the dry ingredients. Use a wooden spoon to mix until a shaggy dough forms.
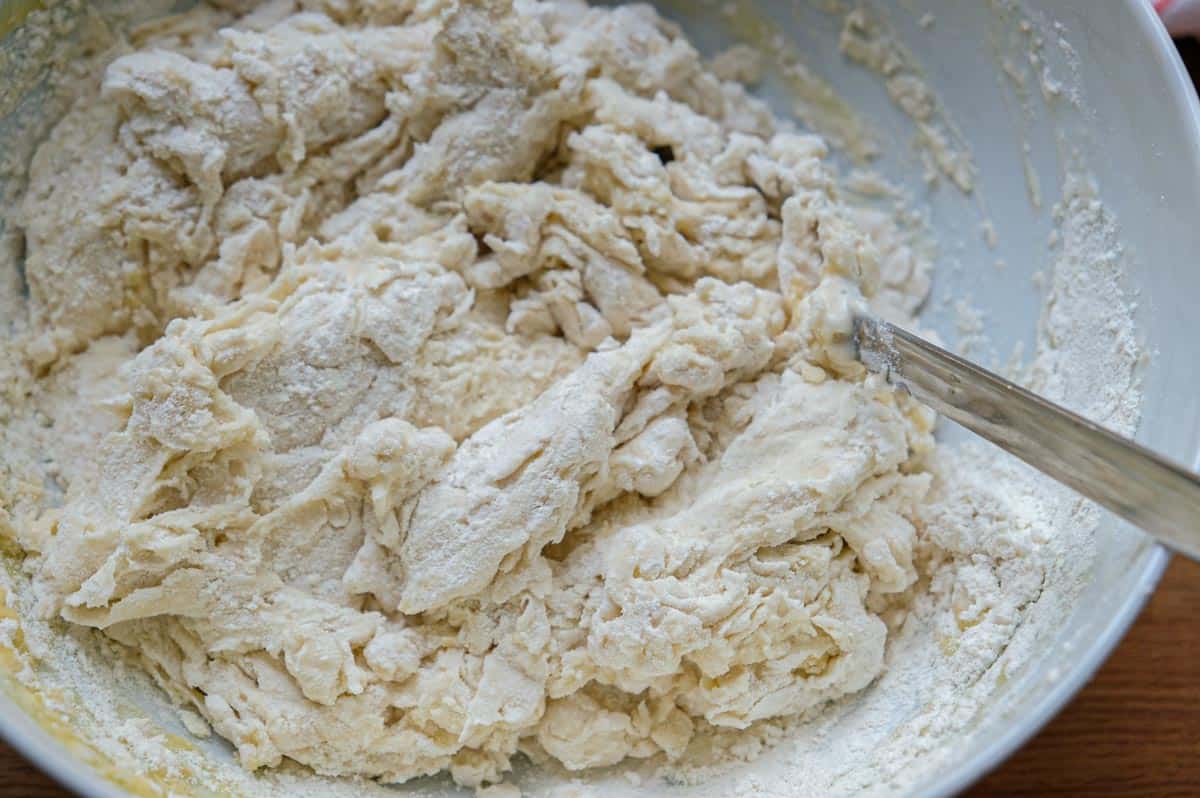
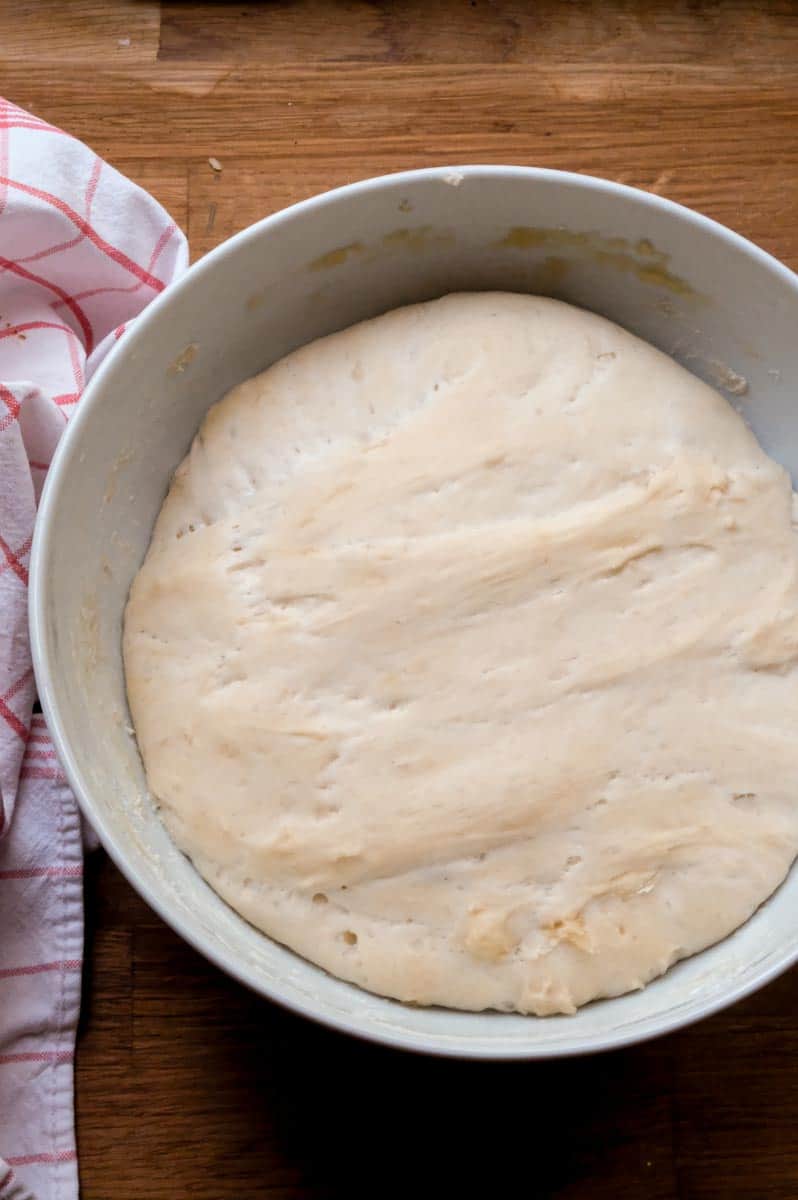
Lightly wet your hands and then gently knead in the bowl until the dough comes together into one cohesive ball.
2. Proof the Dough (2 Methods)
Proofing Method 1: Quick-Rise Warm Oven
(About 1 Hour Total)
This method is great for fluffy pita same day.
Preheat the oven to 30°C / 80°F. The oven should feel barely warm, never hot as excess heat will cause the yeast to deplete too quickly.
If your oven doesn't go low enough then you can just preheat to whatever the lowest temperature is (usually 50 °C / 122 °F) then turn the oven off, leaving only the oven light on. The residual warmth will still accelerate the proofing process, but it might not be as quick.
Cover the bowl and place the dough in the warm oven for 20 minutes.
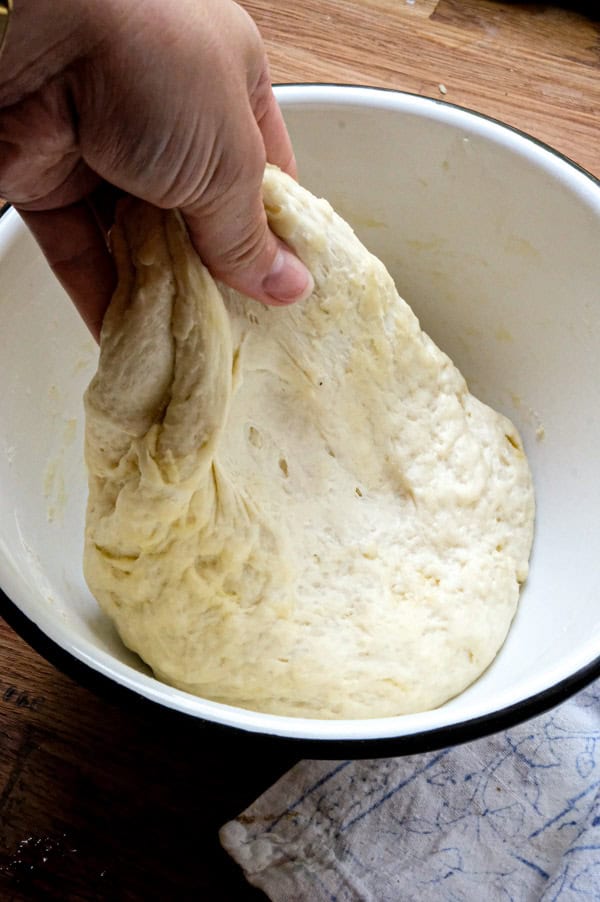
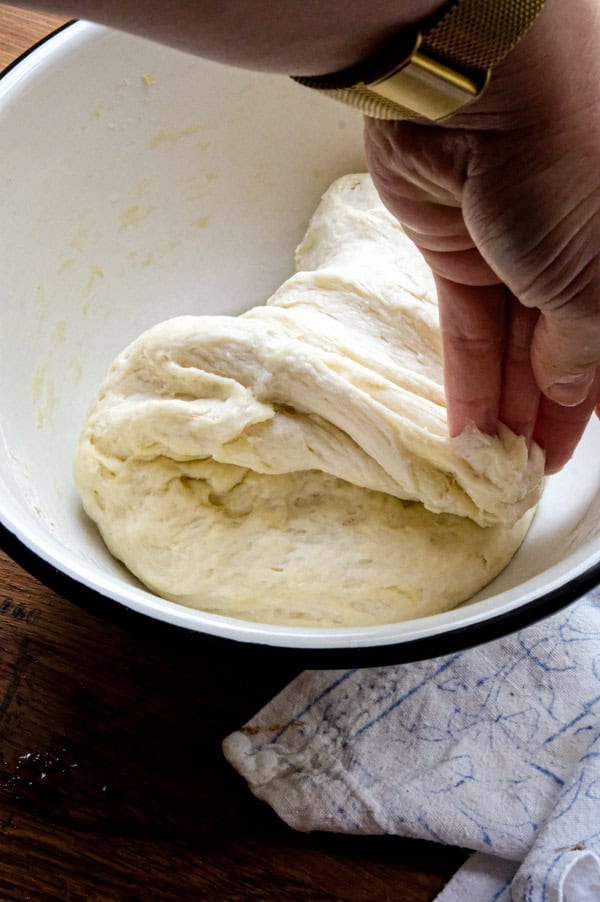
After 20 minutes, remove the dough and perform 3-4 stretch and folds, gently pulling up the dough and folding it over itself to build structure.
Cover and return the dough to the warm oven.
Repeat the 20-minute rest + stretch-and-fold cycle two more times, for a total of 60 minutes.
The dough should be airy, slightly jiggly, and roughly doubled in volume. The photo below shows the dough after the first round of stretch and folds, and then after the 20 minute final warm proof. Not the increase in volume.
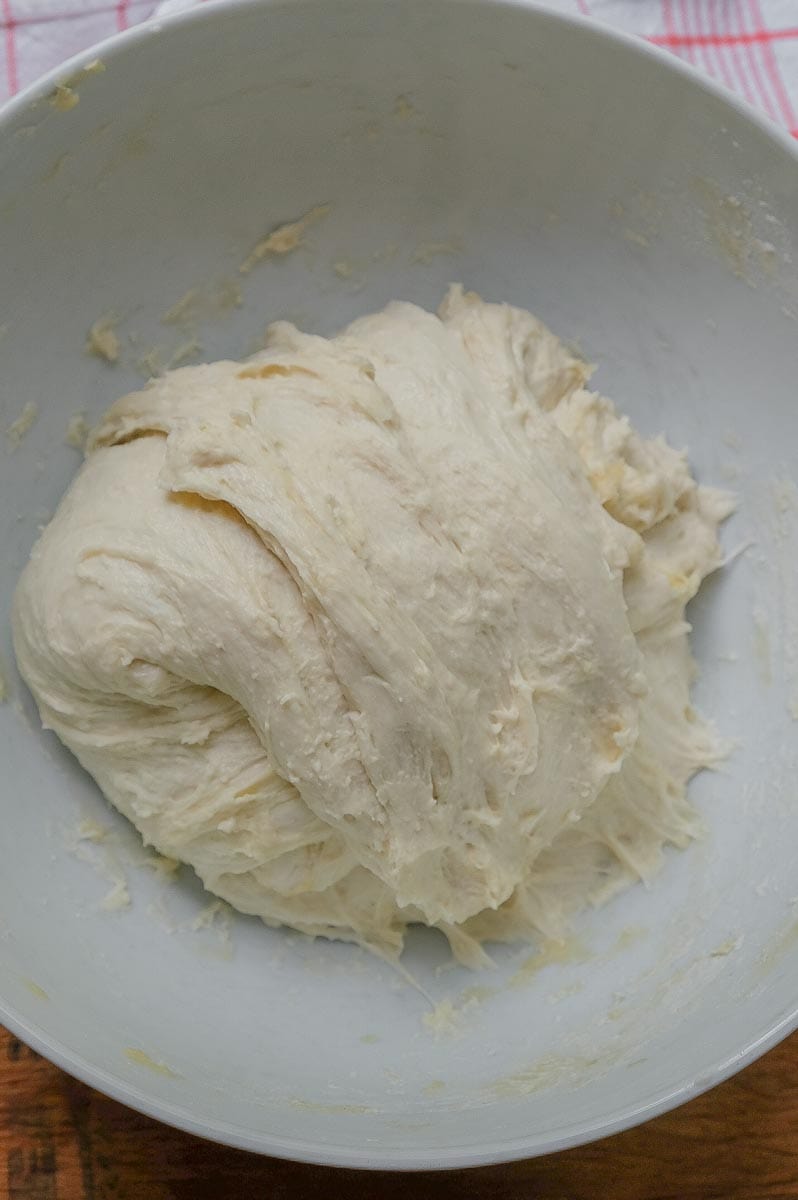
If it still feels dense, continue resting in 20-minute increments, adding another round of stretch and folds after each rest.
Cold-Ferment Proofing Method
(Overnight Fermentation in the Fridge)
This method takes longer but develops deeper flavor and slightly more structure while still producing soft pita.
After you've formed a cohesive dough following the mixing steps above, cover it and leave at room temperature for 45-60 minutes, until it has visibly risen.
Do a series of 5-6 stretch and folds, then cover tightly and refrigerate for 8-24 hours.
After the long cold ferment, remove the dough from the fridge and let it sit at room temperature for 30-45 minute.
If your dough develops a dry skin while cold fermenting, gently brush it with water when you remove it from the fridge. By the time it comes to room temp, it should soften up.
Do another round of 5-6 stretch and folds. The dough should now be airy and close to doubled in volume.
If the dough is not doubled in volume, then continue letting it rest at room temperature or warm oven (around 30°C / 80°F) in 20 minute increments followed by stretch and folds.
3. Shape the Dough
Liberally flour a work surface and turn the dough out. Cut the dough into 8 even pieces.

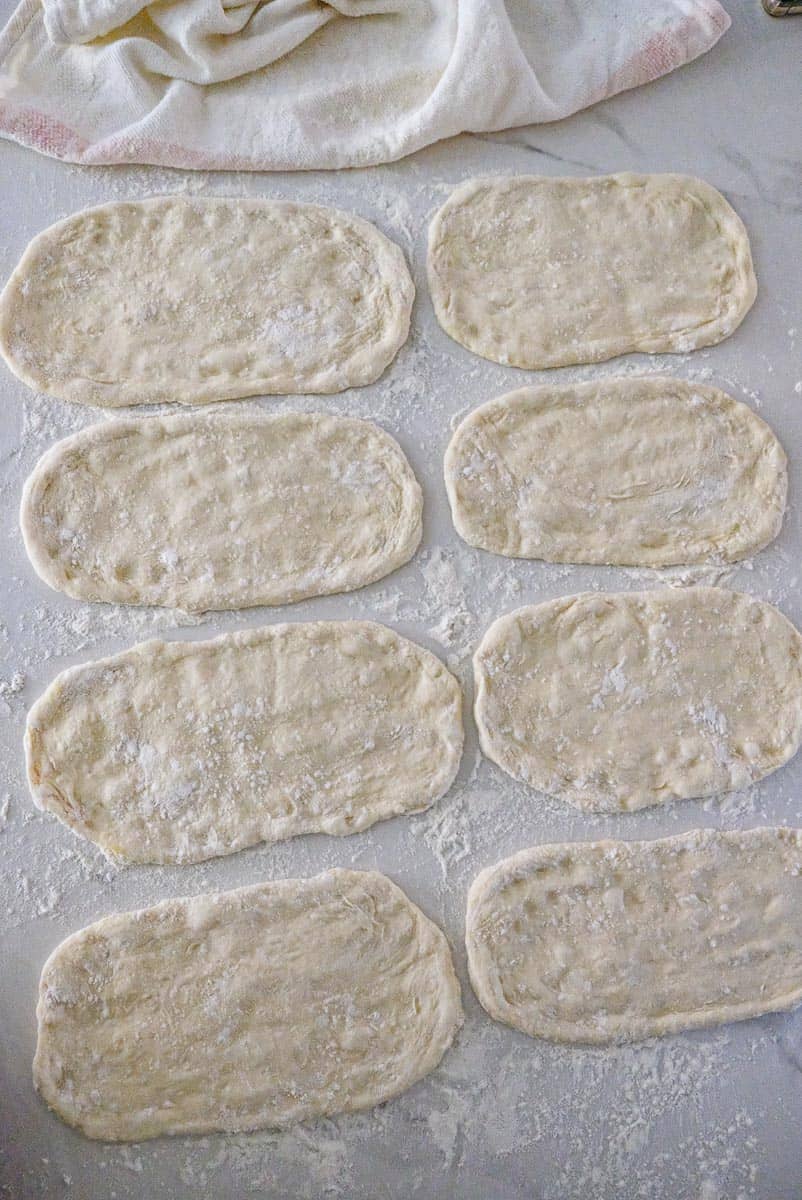
Roll up each piece of dough into a ball, and then lay the ball on the floured surface and use your fingers to spread into an oval about 20 × 10 cm / 8 × 4 in and a little more than 0.5 cm thick (about ¼ in).
Once all the pieces of dough are shaped, lay them out and lightly cover with a towel. Leave to rest for 15 minutes until puffed up again.
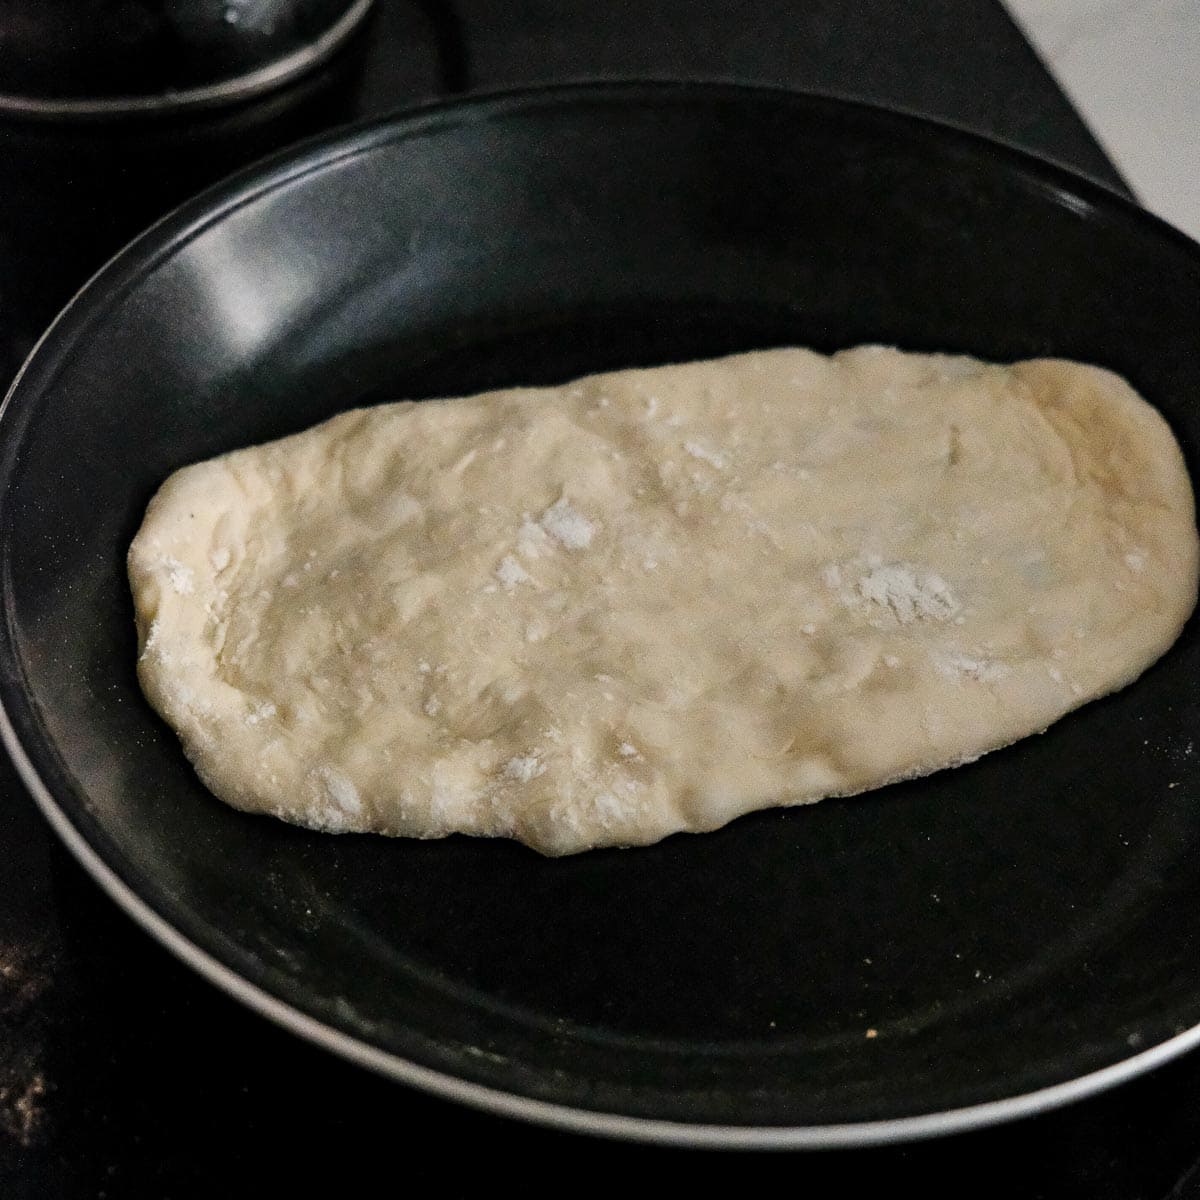
Once the dough has rested, heat a non-stick or cast iron skillet over medium heat.
Lay a piece of pita dough in the skillet and cook for 2-3 minutes or until it's puffed up and you can see some air bubbles like in the photo below.
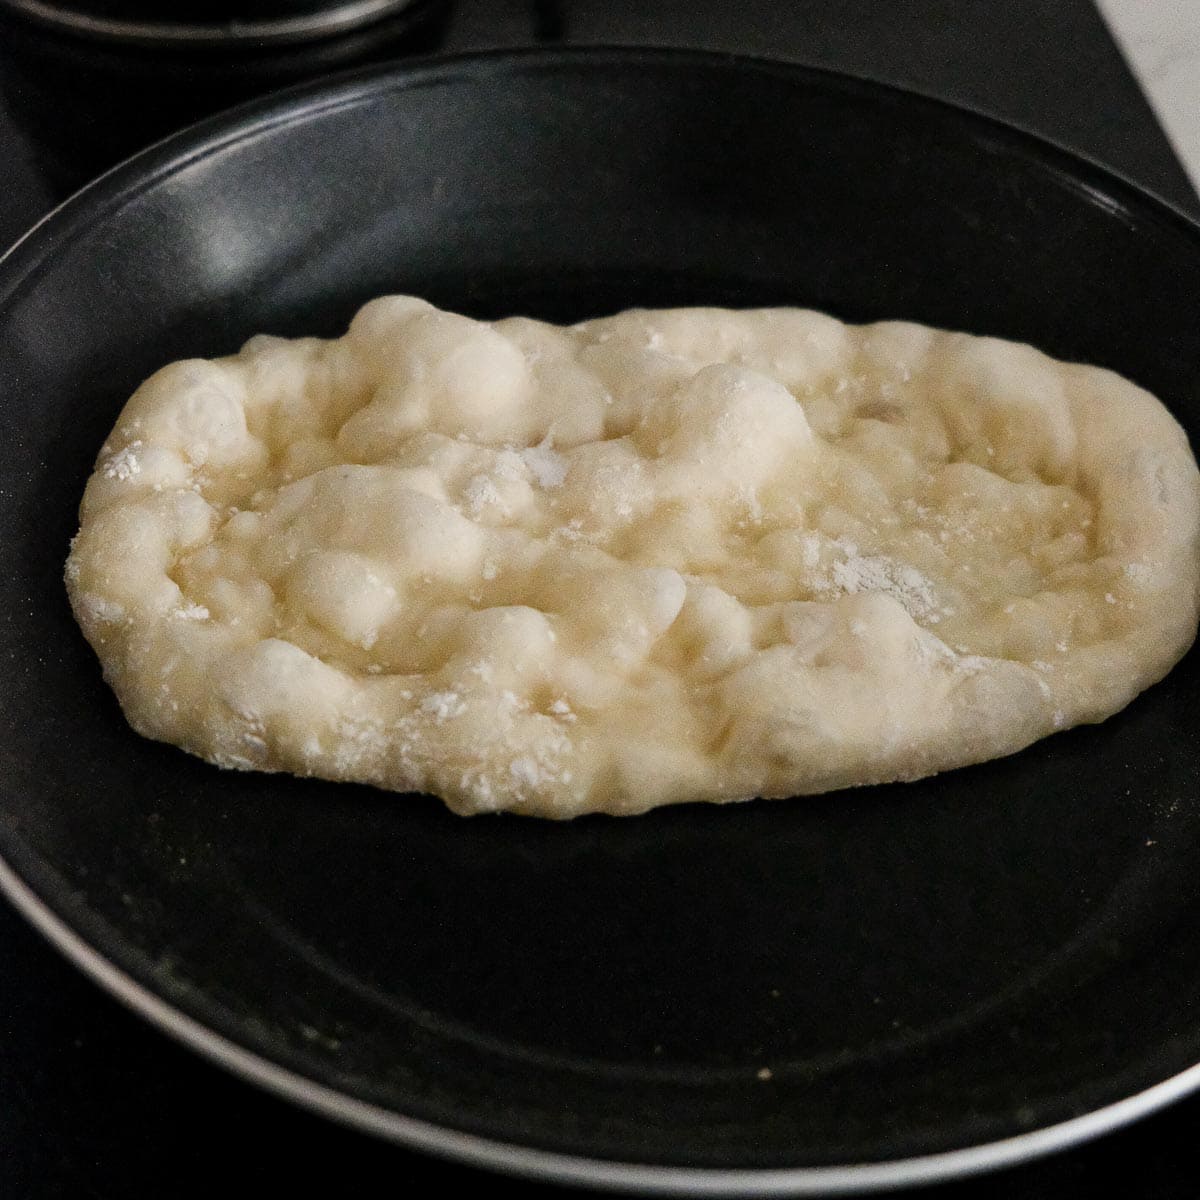
Once pita is puffed up, flip it and cook same amount of time on the other side.
Put cooked pitas on a plate and cover with a towel to keep them soft.
Serving Suggestions
These pita buns are perfect for burgers or sandwiches but if you end up with more buns than you need, you can also use them for dipping!


- As a sandwich or burger bun: Use these pita buns as nature intended, a fluffy wrapping for burgers or sandwiches. In keeping with the Greek theme, they works especially well for Greek chicken burgers, grilled chicken, or pork souvlaki burgers.
- Serve with dips: Warm soft and dippable pita is perfect alongside dips like
Recipe

Soft Pita Buns for Burgers & Sandwiches
Ingredients
- 400 grams bread flour 3¼ cups
- 250 ml lukewarm water 1 cup plus 2 tablespoons
- 1 tablespoon olive oil
- 7 grams active dry yeast 2¼ teaspoons
- 5 grams salt 1 teaspoon
Equipment
- kitchen scale
- small bowl
- large bowl
- oven thermometer
- skillet non-stick or cast iron
Instructions
Quick Rise Proofing Method (1 Hour Rise in Warm Oven)
- Preheat oven to just warm (30 °C / 80 °F * no hotter or yeast will deplete too fast).
- In a small bowl or cup combine the water and olive oil then sprinkle in the yeast and stir.
- In a large bowl mix the flour and salt.
- Pour the wet ingredients over the dry ingredients. Use a wooden spoon to mix into a shaggy dough. Use wet hands to lightly knead until a smooth ball forms.
- Cover dough and put in warm oven. Set timer for 20 minutes.
- After 20 minutes take out the dough and do a series of 3-4 stretch and folds**, then cover and put back in oven.
- Repeat 2 more times for a total of 60 minutes warm oven rise. The dough should be airy, jiggly and about doubled in volume. If not, do more warm oven rest and stretch+fold until it is.
Cold-Ferment Proofing Method (Overnight in Fridge)
- In a small bowl or cup combine the water and olive oil then sprinkle in the yeast and stir.
- In a large bowl mix the flour and salt.
- Pour the wet ingredients over the dry ingredients. Use a wooden spoon to mix into a shaggy dough. Use wet hands to lightly knead until a smooth ball forms.
- Cover and leave at room temperature for 45-60 minutes, the dough will have noticeably risen.
- Do a series of 5-6 stretch and folds, then cover and refrigerate the dough for 8-24 hours.
- Remove from fridge and let sit at room temperature 30-45 minutes.
- Do another round of 5-6 stretch and folds. The dough should be airy and about doubled in volume. If not, do more room temperature or warm oven rest in 20 minute increments followed by stretch+fold until it is.
Shape & Cook
- Once the dough has proofed sufficiently and is doubled in volume, divide the dough up into 8 equal balls.
- Roll or press/stretch each piece into an oval about 20 × 10 cm / 8 × 4 in and a little more than 0.5 cm thick (about ¼ in).
- Cover, and rest 10-15 minutes.
- Heat a dry skillet over medium-high.
- Cook 30-60 seconds per side until puffed and lightly charred in spots.
- Stack hot pita buns in a bowl and cover immediately with a towel to keep them soft.


Comments
No Comments