
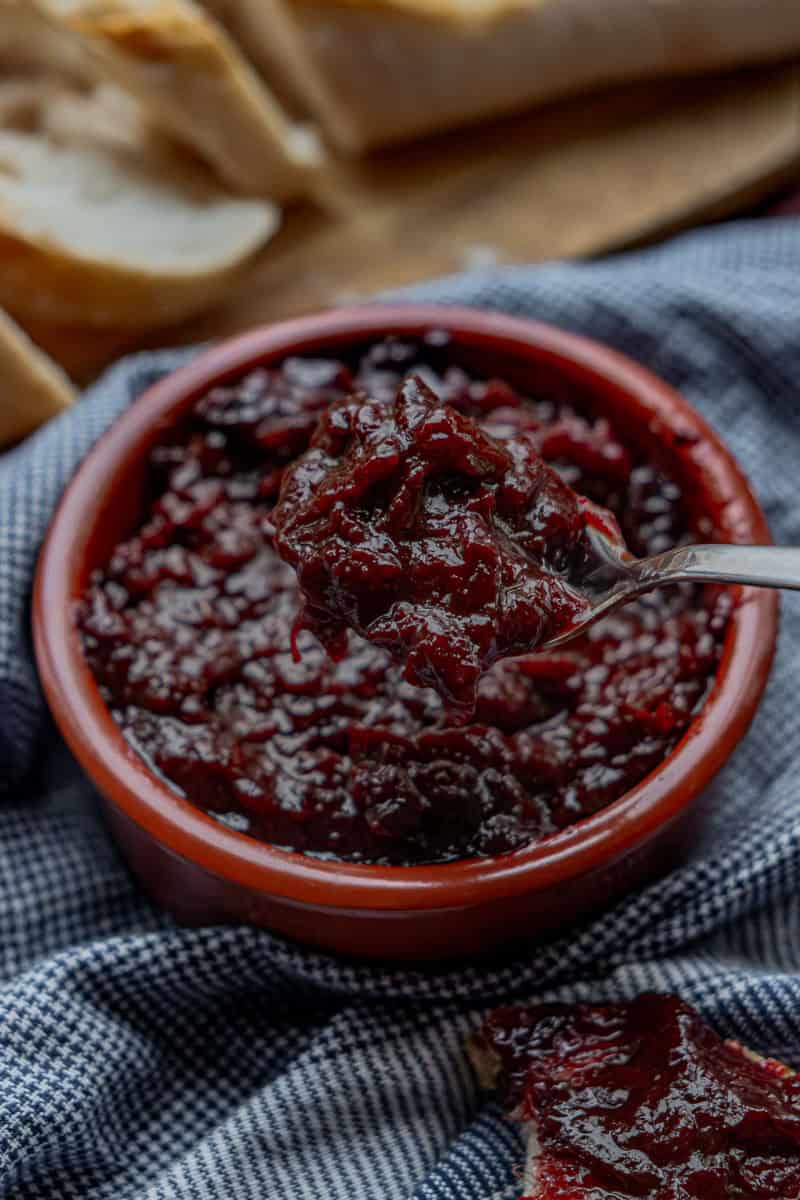
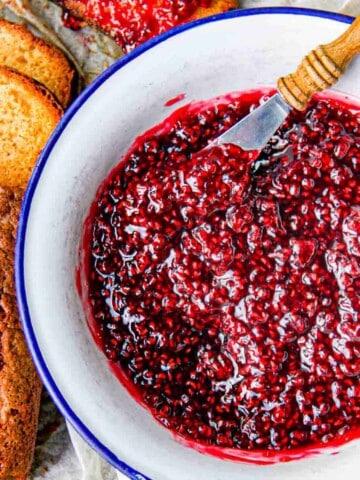
Romanian plum butter (magiun de prune) is a thick, dark fruit preserve made by slowly cooking ripe plums until they reduce to a naturally sweet, rich and caramelized fruit spread.
Plum butter is probably the most widespread fruit preserve in Romania because plums are ubiquitous in Romania. A lot of the country is rural and near everyone in the countryside has at least one plum tree.
Plums grow so well in Romania in fact that Romania is the largest producer of plums in the European Union and second largest in the world only after China.
Romanians love plums, whether just eaten warm straight off the tree or turned into spirits, lovely plum butter like this one, or one of the many sweets made with plum butter like crescent cookies.
Making homemade plum butter is really straight-forward and easy. It keeps for a long time in the fridge and did I mention it's really easy to make? Here we go.
Ingredients

Ripe European prune plums (prunus domestica)
The plums used traditionally for plum butter are European prune plums i.e. prunus domestica. These plums are small, oval-shaped and have a stark white cast.
They are different from the plums commercially available in Western Europe and North America which are Japanese plums i.e. prunus salicina (developed largely in the U.S. despite the name).
Prunus domestica are better for plum butter because, despite being smaller, they are actually meatier with firmer flesh that can withstand long cooking and thicken as moisture evaporates. Prunus salicina are bred to be large and juicy which is great for eating but also makes them more watery, resulting in more liquid release during cooking and a soupy situation that takes much longer to reduce into a paste.
That being said, prunus domestica is hard to find in my experience so sometimes we have to make do with prunus salicina. These plums also make perfect plum butter, they just take a bit longer to cook.
Sugar
Sugar is not needed and isn't usually used in traditional plum butter, but that's assuming you are using very ripe plums (i.e. soft, squishy and juicy). If your plums are not so ripe they can be a bit firm and dry. A bit of sugar added at the beginning helps breakdown the plum fibers and kickstart the moisture release process.
It's a small amount of sugar and doesn't really do a whole lot in terms of sweetening the final plum butter. In this case I added a scant half cup for 4 kg / 8 lbs of plums (2 tablespoon per kg / 2 lbs).
It's role is more about moisture than sweetness and it's okay to skip it if you want to avoid added sugar.
More Fruit Preserves
- Homemade Blueberry Preserves in Syrup
- Homemade Raspberry Preserves in Syrup
- Thick Black Currant Syrup with Whole Fruit
Instructions
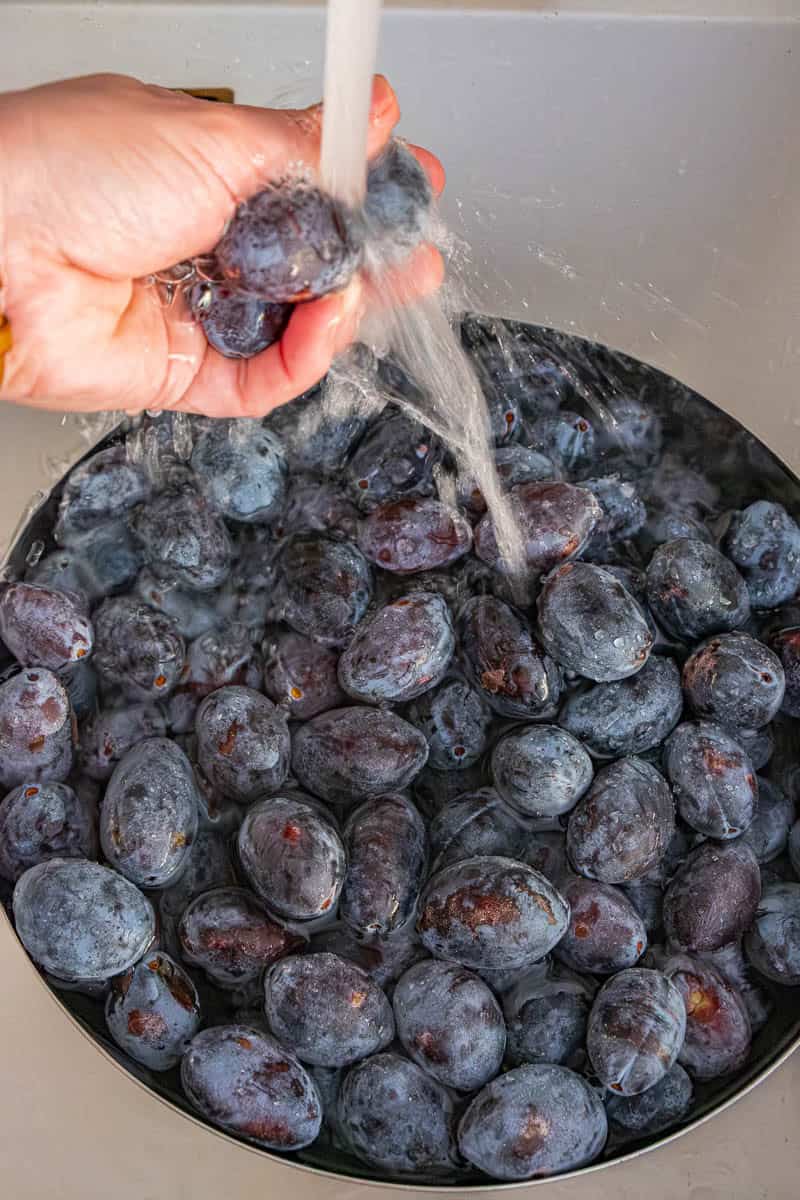
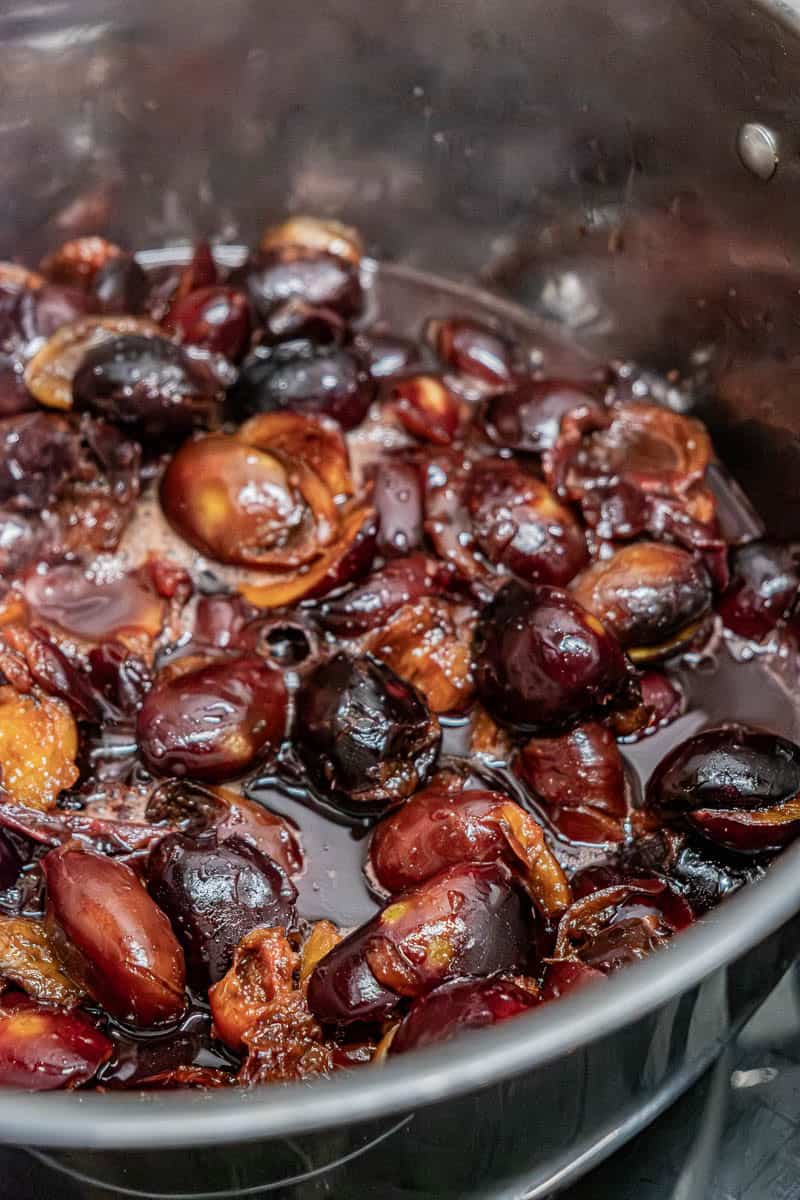
1. Wash, cut, pit
Start by thoroughly washing the plums. Then cut or break them open lengthwise to remove the pits and put them all in a large bowl.
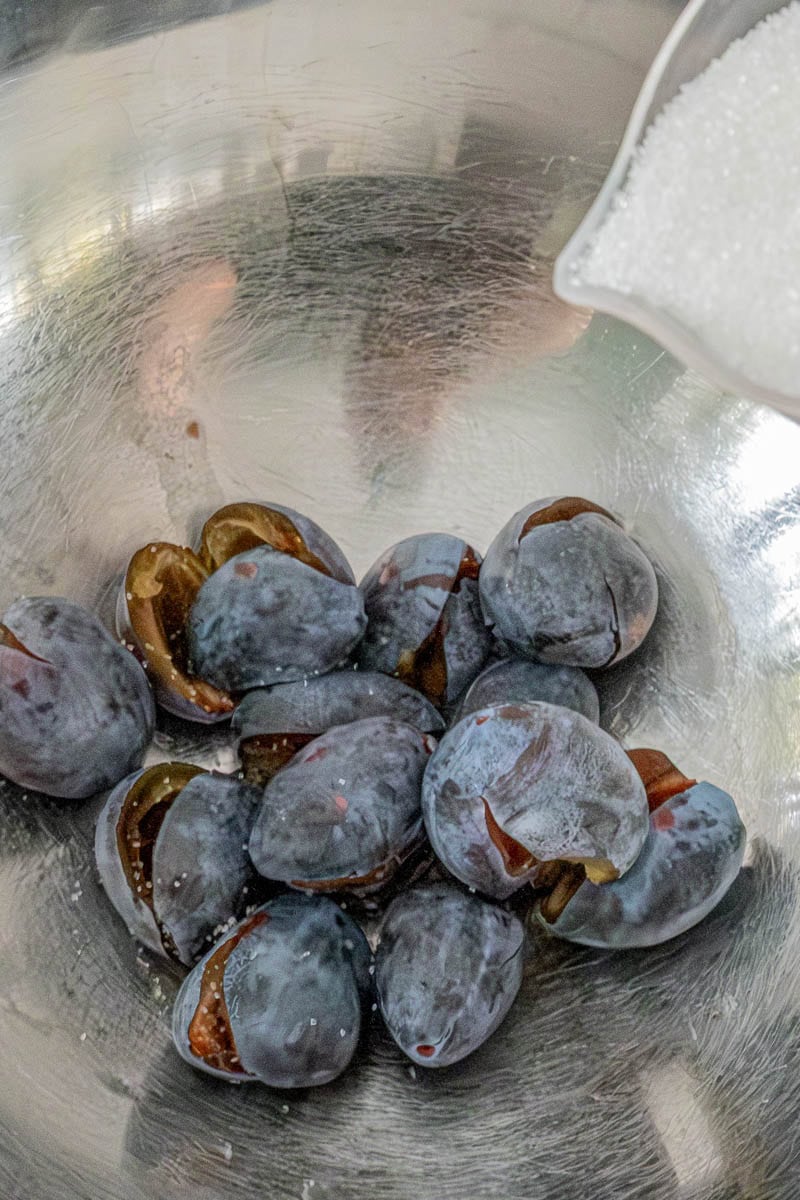
1.5 Optional Osmosis Kickstart
If your plums are a bit firm/underripe and you're adding some sugar, sprinkle the sugar in already over the cut and pitted plums.
Let them sit for 1-2 hours, until you see liquid has pooled in the bottom of the bowl.
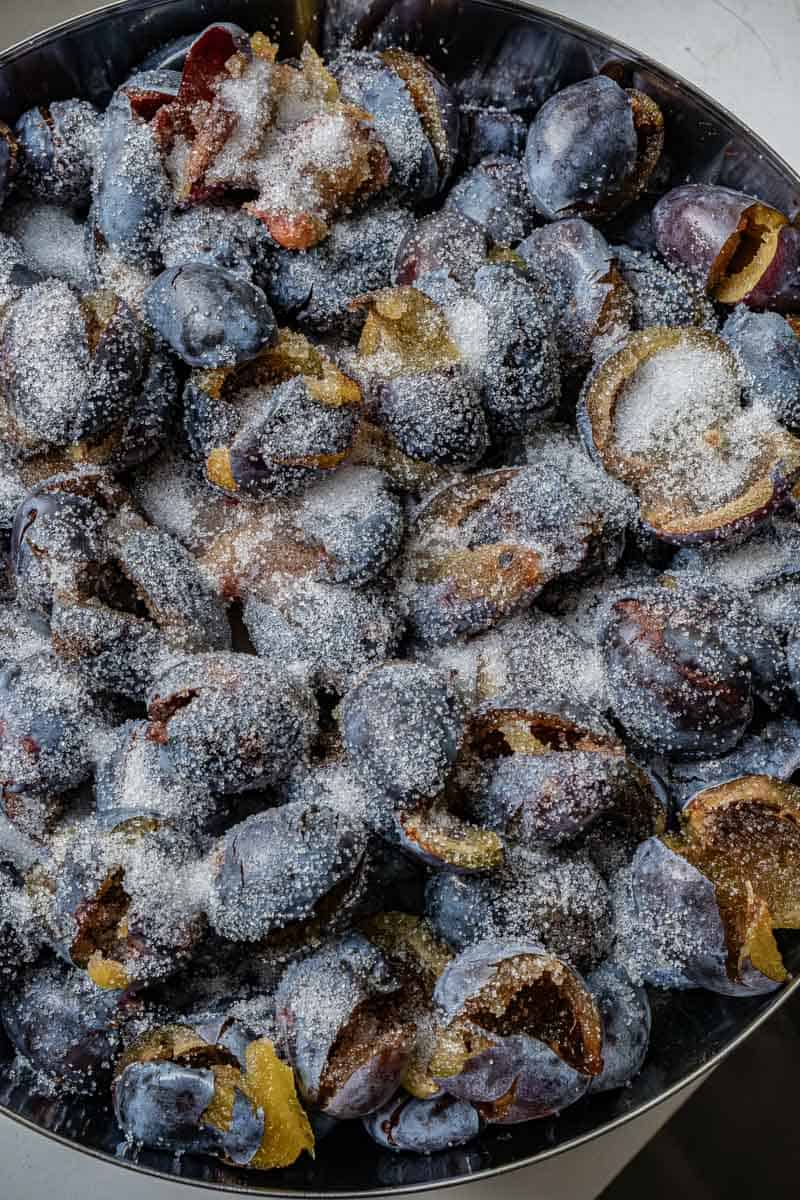
Sprinkling a small amount of sugar on cut plums starts the process of osmosis so moisture can begin releasing out of the plums.
This kickstarts the breakdown of the plums, and the released liquid also prevents scorching when everything is added to the pot.
Depending on how much time you have, you can also skip this step and go straight to cooking.
2. Cook low and slow
Put the plums in a large heavy-bottomed pot like a Dutch oven over medium heat. Stir frequently until they soften and release more liquid (first 15-20 minutes), then lower heat to medium-low or low.
The lower the heat, the more hands-off the process (less stirring) but then it will take longer. You can do slightly higher heat (medium-low) but then you'll need to stir more frequently.
In any case be sure to stir frequently. If you feel the plums sticking to the bottom of the pot at all, then lower the heat.
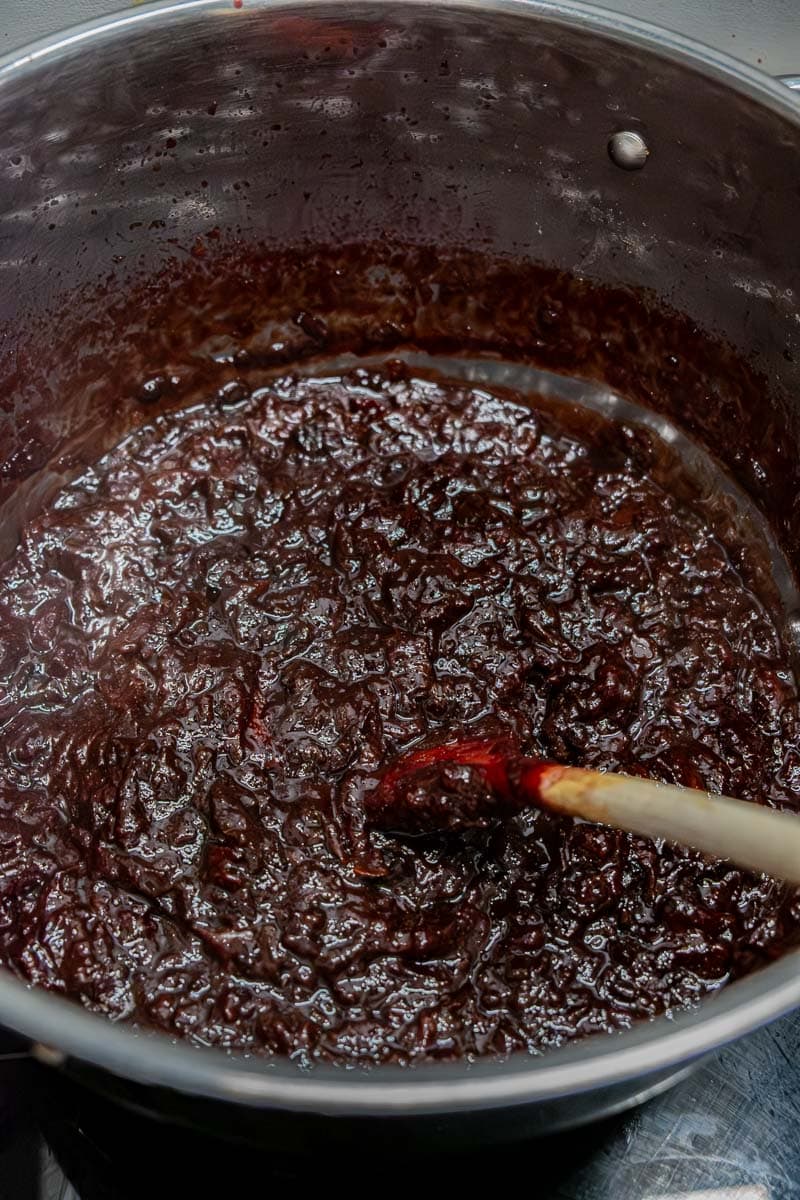
Continue stirring regularly over low heat. The plums will continue to soften and breakdown as they release more liquid, thicken and then finally caramelize. This process takes at least 3 hours but can be more.
3. How to know when it's ready
The plum butter is ready when it's evenly thick. You should be able to form small mounds with it on a spoon. You shouldn't see any liquid pooling in the pot when you stir.
4. How to store plum butter
Allow the plum butter to cool and then transfer into clean jars. It will keep for 2-3 weeks in the fridge.
For longer term storage you can do one of the following:
- Freezer method: store in zip bags in the freezer. Will keep for 4-5 months;
- Jar method: Pour hot plum butter into sterilized glass jars, seal and boil in a pot of water (fully submerged) for 10 minutes to seal (lid should no longer pop when pressed). Then let cool 24 hours. Will keep at room temperature for up to a year. Refrigerate after using and consume within 2-3 weeks.
Serving Suggestion for Plum Butter
Plum butter is great as is for simple breakfasts or can be used as an ingredient in more elaborate preparations, for example:
- Spread on fresh or toasted bread, especially good with butter or cream cheese;
- Swirl into yogurt or oatmeal;
- Use it to fill crepes or top pancakes or croissants;
- Use as a filling for cookies;
- Serve with aged cheeses on a cheese board in place of jam or marmalade;
- Spoon over brie, wrap in puff pastry and bake;
- Use as a glaze for roast meats;
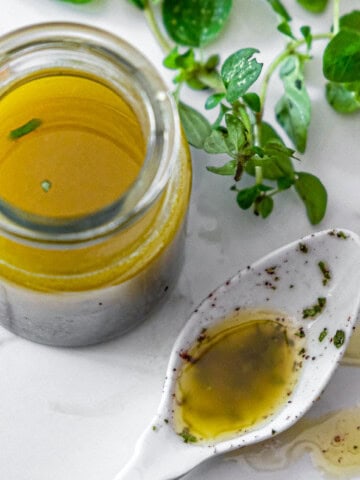
- Mix with oil and vinegar to make a homemade plum vinaigrette.

Recipe

Plum Butter (Traditional Romanian Magiun de Prune)
Ingredients
- 4 kg European plums about 9 lbs
- 0.5 cup sugar optional to kick off osmosis
Instructions
- Wash, halve, and pit the plums (no peeling needed).
- (Optional) Sprinkle with a small amount of sugar and let sit 1-2 hours to release juice.
- Transfer plums to a large, heavy-bottomed pot and cook over medium heat until softened and juicy, stirring often (15-20 minutes).
- Reduce heat to medium-low and cook uncovered, stirring regularly to prevent sticking, until plums fully break down (3 hours plus).
- The plum butter is ready when it is very thick, dark, and glossy and a spoon dragged through leaves a line that does not quickly fill with liquid.
- Cool slightly, then store in fridge/freezer or hot-pack into jars (see recipe post for details).
Nutrition
Related Recipes
If you like this recipe, you may also like:

Comments
No Comments