
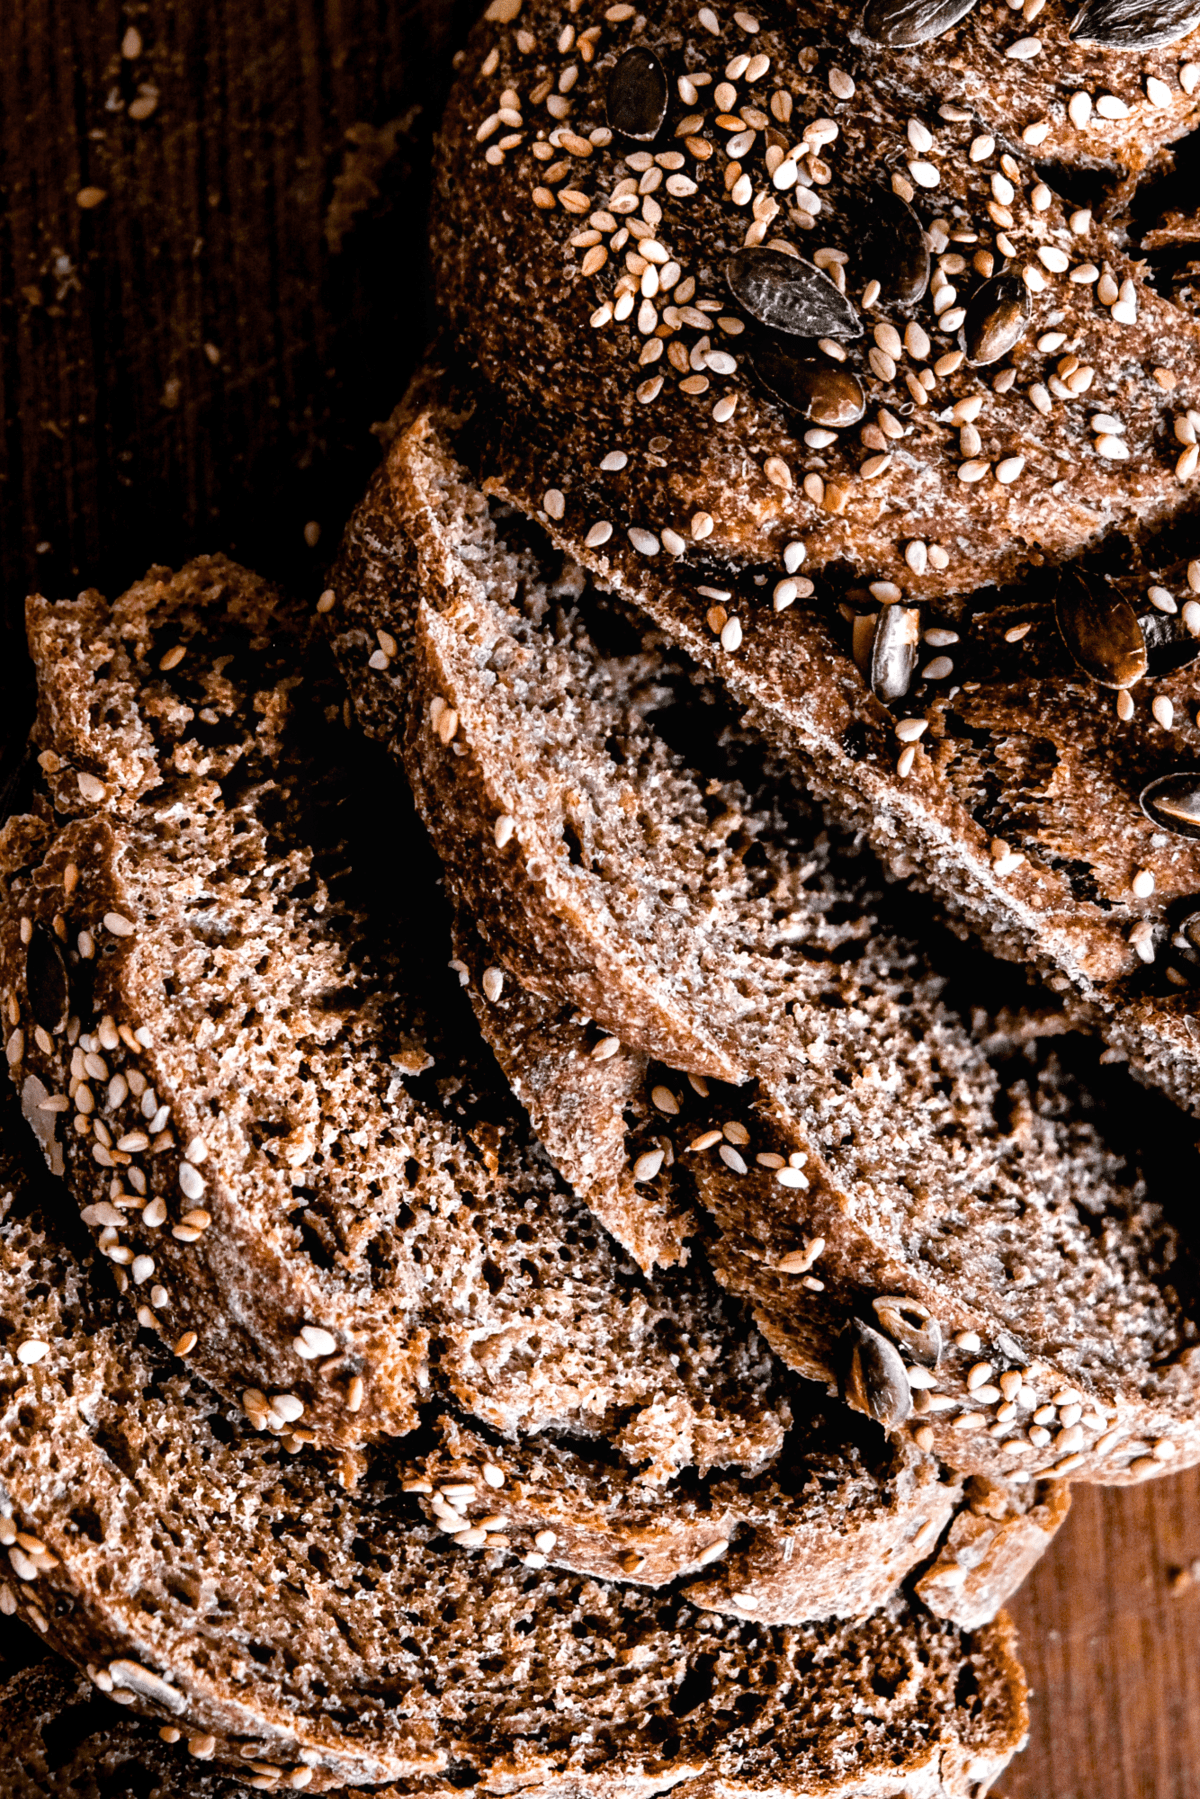
This braided whole wheat bread is an easy go-to recipe to have on standby when you want some fresh, hearty and healthy bread in the house. The braid adds a nice touch but is wholly optional if you can't be fussed.
Since the quarantine started everyone and their mother has been jumping on the sourdough bandwagon. It's become a near obsession on an international scale. Everywhere I look I see a different recipe for sourdough this or sourdough that.
I get it. Sourdough is delicious. I also like sourdough and even took part in a sourdough workshop in Amsterdam back in January. But the thing is, sometimes you just want a loaf of bread and you don't want to have to nurture a living organism for weeks to get it.
Please welcome to the stage traditional time-saving yeast leavened bread.
It's simple to make, basically foolproof, and if you're a beginner baker it's a great way to enter the world of bread baking without being frustrated or discouraged by all of the intricacies and nuances of sourdough.
The flour to water ratio for whole wheat braided bread
The ratio I use in this recipe is a tried and true one.
600 grams of flour to 440 grams of water
This is roughly equivalent to 4 cups of flour and two cups of water. I've used this water to flour ratio for white flour loaves as well as whole wheat loaves, pizza crusts, garlic butter naan and focaccia.
It makes a really good multi-purpose dough that's reliable and easy to use.
Special Equipment
Mixing Equipment
You don't need any special equipment to make this. A stand mixer is optional. Personally I prefer making a one-off loaf like this the old-fashioned way - by hand-kneading.
Feel free to use a stand mixer but there's also a lot to be said for slowing down and kneading some dough. Think of it as a little mindfulness break. Just you and the dough. Ohmmmm ?♀️
Baking Equipment
For the baking dish I recommend an oval or loaf shaped pan made ideally of ceramic or cast iron covered with a lid or in a pinch some aluminum foil.
Pan material
The ideal materials for bread baking are cast iron and ceramic. I used an oval shaped clay Romertopf for this loaf. A cast iron Dutch oven will also work (though you'll need to adjust the shape accordingly).
Other good alternatives to cast iron and ceramic are non-stick metal, silicone and plain metal - just make sure to properly oil and dust uncoated metal loaf pans with flour or cornmeal so the loaf doesn't stick.
Pan shape
A loaf shaped pan like the oval clay Romertopf I used here will hold in the edges of the loaf and help it rise higher.
Size: The Romertopf I used has a base of 20 cm x 10 cm and an outer edge of 28 cm x 19 cm (8 x 4 inches and 11 x 7.5 inches respectively).
Alternatives
If you don't have an appropriately sized loaf pan or other oval shaped baking dish you can also bake it on a baking sheet or in a casserole covered with aluminum foil. It won't rise as much (think ciabatta rather than a sandwich loaf) but it will still be good.
Alternatively, if you have a round dish like a Dutch oven you could pull the ends of your braid together into a circle, pinch them under and bake a round braided loaf.
Just make sure you dust your baking sheet with cornmeal or oil and then flour so your loaf doesn't stick.
Ingredients for whole wheat braided bread loaf
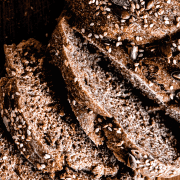
For this particular whole wheat bread I used regular whole wheat flour and fresh cake yeast. I added salt, smoked paprika and dried summer savoury to the dough and then topped the loaf with pumpkin and sesame seeds.
Essential Elements
- Whole wheat flour 600 grams
- Warm water 440 grams
- Wet cake yeast 15 grams
- Salt 1 teaspoon
Seasoning & Toppings
- Pumpkin seeds 1 tablespoon
- Sesame seeds 2 teaspoons
- Smoked paprika 1 tablespoon
- Dried summer savoury 1 teaspoon
Substitutions
Flour
Feel free to use white flour instead of whole wheat. I often use this same ratio for baking with white flour and it turns out great.
Yeast
Swapping the wet cake yeast for active dry yeast is simple and noted in the recipe below. It's basically 15 grams of wet yeast or 10 grams of active dry yeast.
Seasoning
Feel free to change up the seasonings and toppings to your liking.
Some nice flavour combinations for the dough could be rosemary and black olives, thyme and finely chopped sun-dried tomato, pesto, or really go for it with some sneaky parmesan. Just add a ⅓ of a cup of any additions you like.
Topping
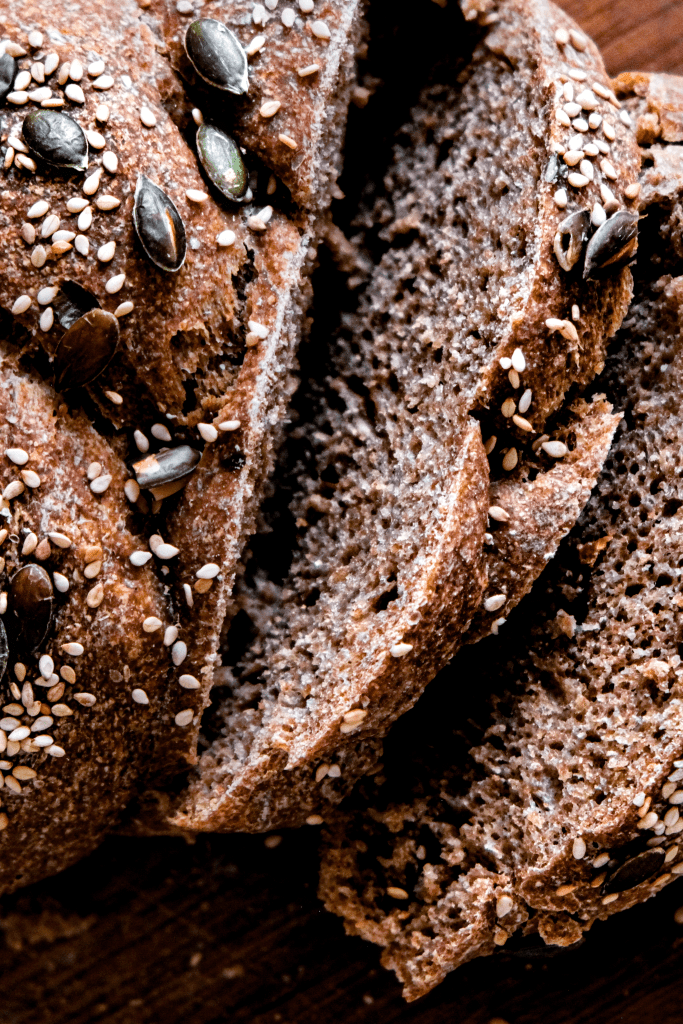
Nuts and seeds are great as a topping because they add texture, crunch and flavour to your first bite.
I really like the combination of pumpkin seeds and sunflower seeds but there are so many options.
Sunflower seeds, almonds and pine nuts are especially tasty, flax seeds add great texture, and sesame seeds mixed with poppy seeds, a bit of garlic powder and onion powder is a classic 'everything bagel' combination.
Since the bread bakes mostly covered, there's little risk of the nut and seed topping burning. Just make sure to keep a close eye on pine nuts since they can go from fine to charred very quickly.
How to make a basic whole wheat braided bread
Step 1: Mixing the dough
Making the dough is simple. Mix the yeast and warm (not hot) water in one bowl, the flour and salt in another. Let the yeast bloom i.e. get foamy and then combine the wet and dry ingredients in whichever bowl is bigger.
I like to use either a fork or a wooden spoon to get the initial messy mixing done and save my hands for once the dough is incorporated.
Step 2: Kneading the dough
Kneading by hand
Once it's all basically incorporated, turn the dough out onto a lightly floured surface and knead it (fold it over itself, press it down with your palm, turn it a quarter turn and repeat).
If it gets sticky add more flour a little bit at a time. You don't want to add too much flour since this will offset the flour to water ratio. The dough will get less sticky the more you knead it.
If your hands get covered in sticky dough, rub them together vigorously to get the dough to clump up and come off. If the dough feels too sticky to work with and you feel you're adding too much flour, use a little bit of oil.
Stand mixer option
You can also do this with a stand mixer with the dough hook attachment. I have a stand mixer and have made bread both with the dough hook and by hand.
Generally I find that a bit of hand kneading helps the gluten form better than just the dough hook.
Whereas the dough hook just tosses the dough around, kneading by hand folds the layers over themselves and helps form long and strong stands of gluten - and of course the gluten is what traps the bubbles created by a rising loaf and gives you beautiful air pockets and rise.
If you don't want to hand-knead it all it's alright. You can split the kneading by-machine and by-hand however you like. Half-and-half or even just finish with a few minutes of hand kneading will still be beneficial.
How to know when the dough is ready
After you've kneaded it for 15 - 20 minutes it should be smooth and elastic.
Step 3: Rest + fold-and-turn
Put it back into a clean bowl and cover with a clean kitchen cloth to proof for about an hour.
Every 20 minutes uncover it and do another set of fold-and-turns.
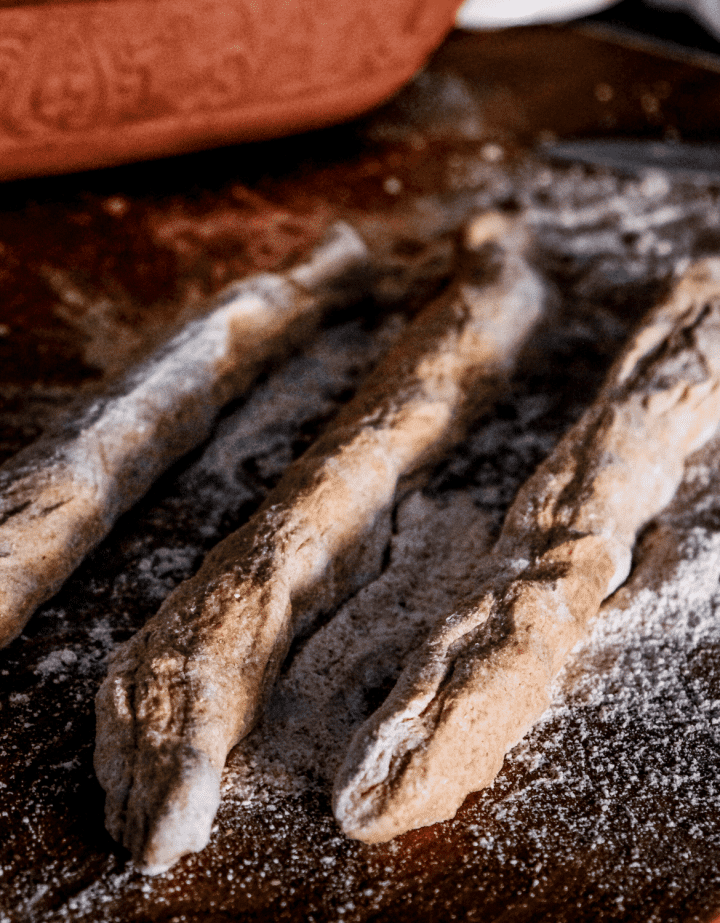
Step 4: Shaping the dough
After an hour turn it out again onto a lightly floured surface and give it another quick knead.
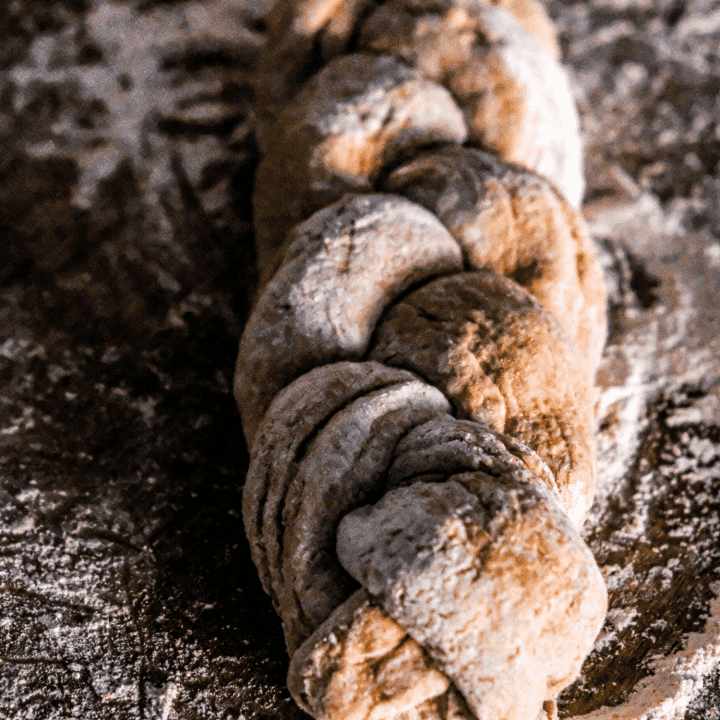
Use a knife to cut it into 3 roughly equal pieces and gently stretch those pieces into long tubes. Line up the tubes and braid them and then gently tuck in the edges under the loaf.
If you're using a round Dutch oven instead of a loaf pan, you may want to bring the two ends of the braid together into a circle.
Likewise, you can totally skip this braiding step. If you just want a plain loaf shape then use your palms to flatten the dough into roughly the shape of a circle and then roll up the ends until it looks like a rolled carpet.
Move your shaped dough to your baking dish that you've oiled and floured on the bottom and up the sides (you can also use cornmeal to prevent sticking).
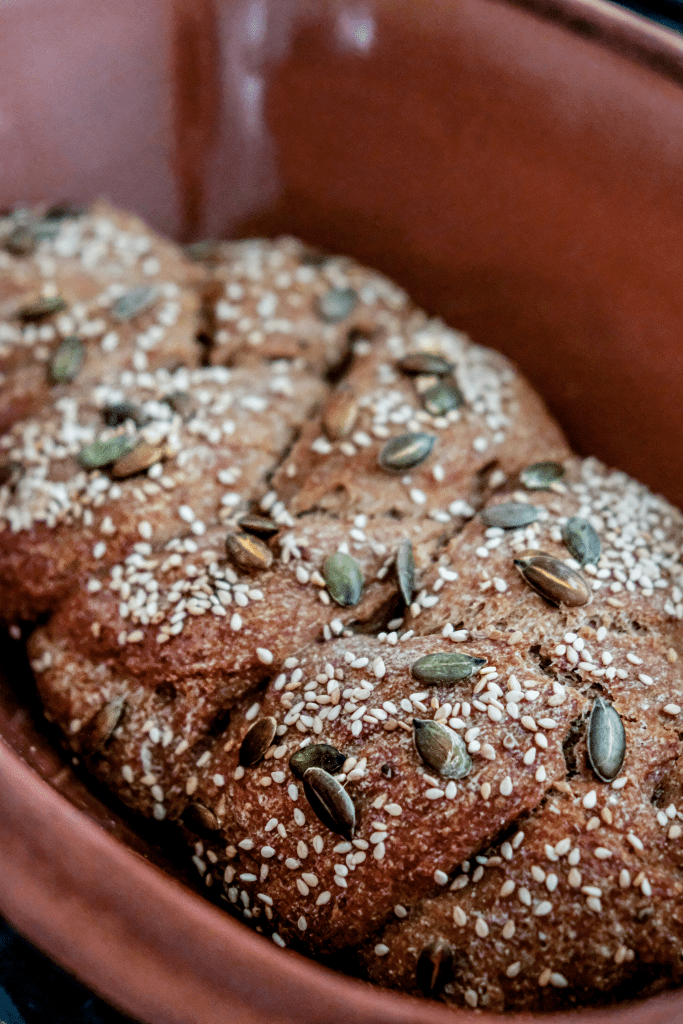
Step 5: Final proof
After you've put it in the baking dish, let it proof for at least another 30 minutes up to an hour.
Preheat oven to 225 C / 440 F with the oven rack set in the lower third of the oven.
Step 6: Baking the whole wheat braided bread
When ready to bake, you can add the toppings and score the bread (if you didn't braid it).
Since it's a braided loaf you don't need to score it. If you chose not to braid it, then you will need to score it so it can rise with controlled cracking. Score to your heart's content. One long score or a few smaller ones works. You can also get creative.
For the toppings, use your fingers to gently wet the surface of the dough with a bit of warm water and sprinkle on the seeds.
Cover and bake in the preheated oven for 40 minutes. Remove lid and bake for another 15 minutes uncovered.
Serving Suggestion
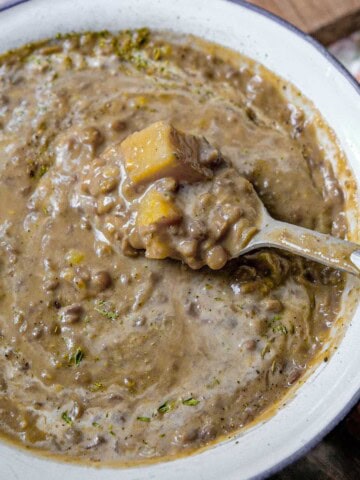
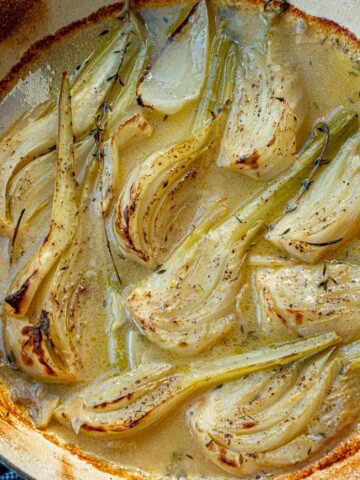
This bread is really nice with a hearty homemade soup or stew like chicken and leek soup with mushrooms and brown rice, cabbage roll soup with rice meatballs, or slow cooked beans with smoked ham hocks.
You can also enjoy it with a nice dip like Romanian garlicky white bean spread with caramelized onions.

Related


Recipe
Easy Braided Whole Wheat Loaf
Ingredients
- 600 grams whole wheat flour
- 440 grams water
- 15 grams fresh yeast or 10 grams active dry yeast
- 1 tablespoon pumpkin seeds
- 2 teaspoons sesame seeds
- 1 tablespoon smoked paprika
- 1 teaspoon dried summer savoury or thyme
- 1.5 teaspoons salt
Instructions
- Mix the yeast and warm (not hot) water in one bowl, the flour and salt in another. Let the yeast bloom i.e. get foamy and then combine the wet and dry ingredients in whichever bowl is bigger.
- Once it's all basically incorporated, turn it out onto a lightly floured surface and knead it (fold it over itself, press it down with your palm, turn it a quarter turn and repeat).
- After you've kneaded it for 15 - 20 minutes it should be smooth and elastic. Put it back into a clean bowl and cover with a clean kitchen cloth to proof for about an hour. Every 20 minutes uncover it and do another set of fold-and-turns.
- After an hour turn it out again onto a lightly floured surface and give it another quick knead.
- Use a knife to cut it into 3 roughly equal pieces and gently stretch those pieces into long tubes. Line up the tubes and braid them and then gently tuck in the edges under the loaf.
- Move it to an oval baking dish that you've oiled and floured on the bottom and up the sides (you can also use cornmeal to prevent sticking).
- After you've put it in the baking dish, let it proof for at least another 30 minutes up to an hour.
- Preheat oven to 225 C / 440 F with a tray in the lower third of the oven.
- When ready to bake, use your fingers to gently wet the surface of the dough with a bit of warm water and sprinkle on the seeds.
- Cover and bake in the preheated oven for 40 minutes.
- Remove lid and bake for another 15 minutes uncovered.


Comments
No Comments